DIY Cards with Kids
Since being home in Buffalo, I’ve spent a lot of time making cards. Everyone has been having their own version of struggles throughout this crisis, and this is something that has personally helped me to relax and feel productive! Most of the cards I’ve made look more like the designs from my DIY Watercolor Valentines post, but I wanted to show you some quick, easy, low mess designs you can create with kids! All the supplies I used are ones I found right at home and can be adapted based on what you have around. If you are interested in learning how to create watercolors like mine, follow us on Facebook for a LIVE tutorial next Tuesday, April 14th.
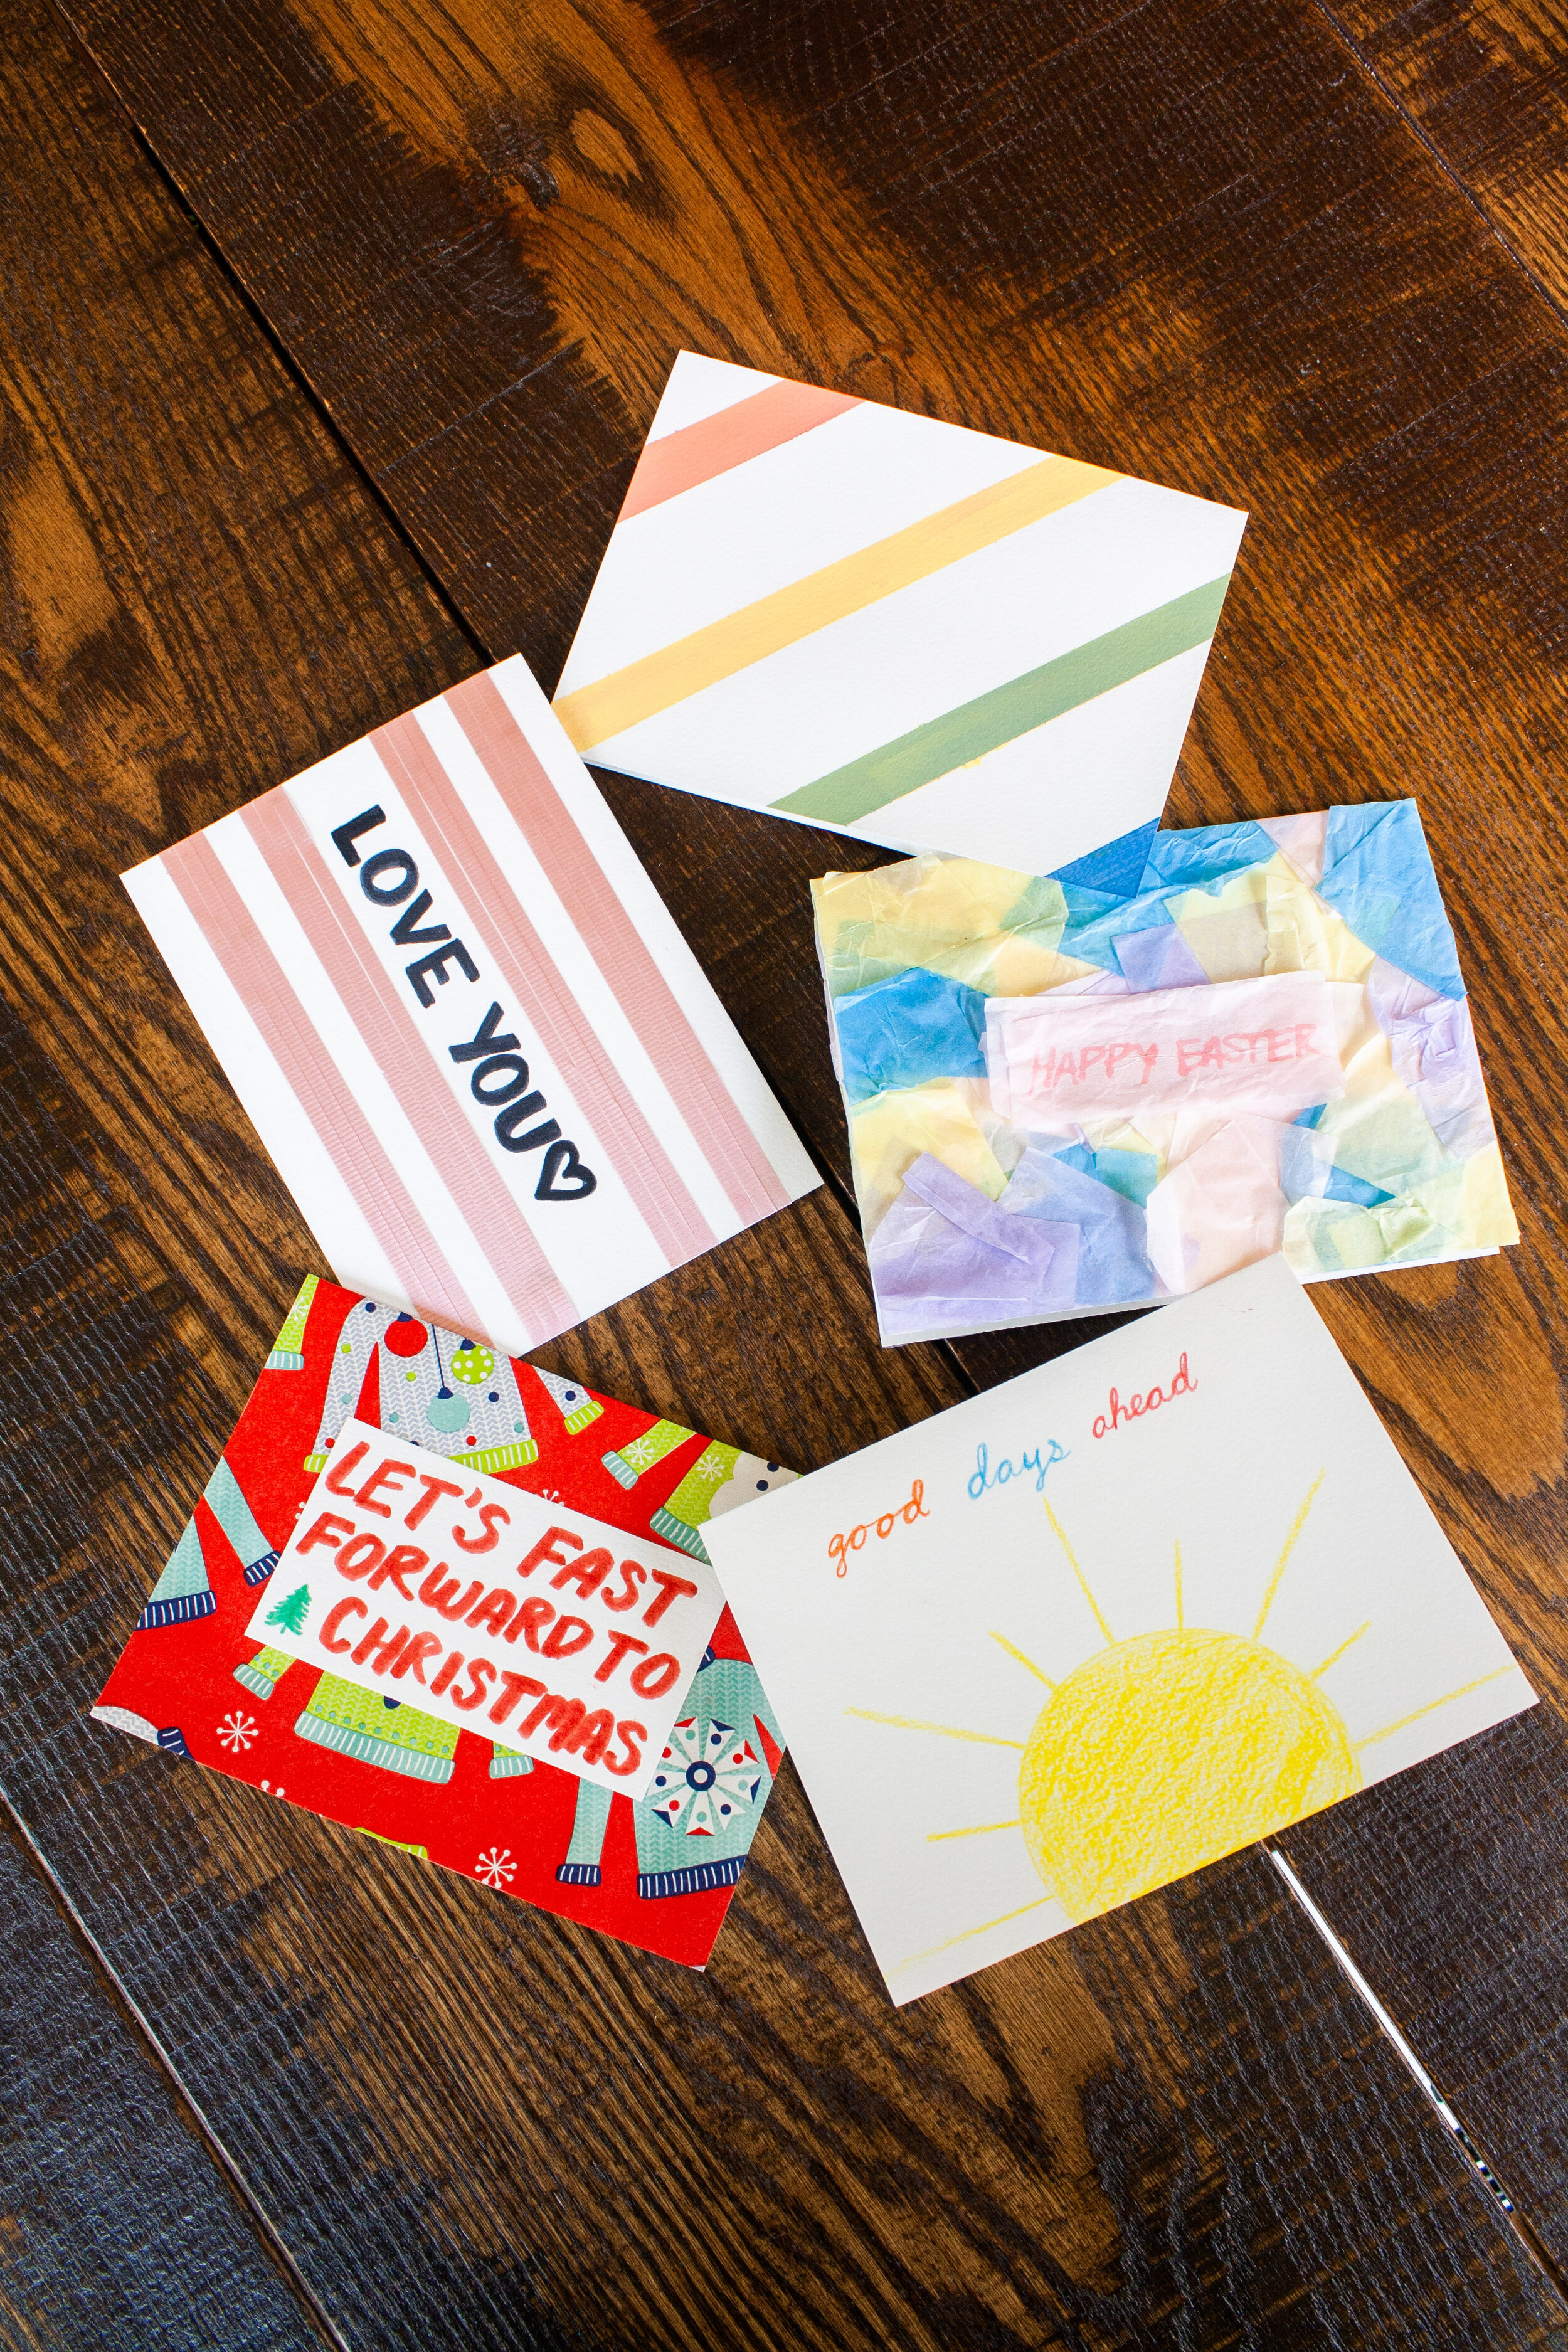
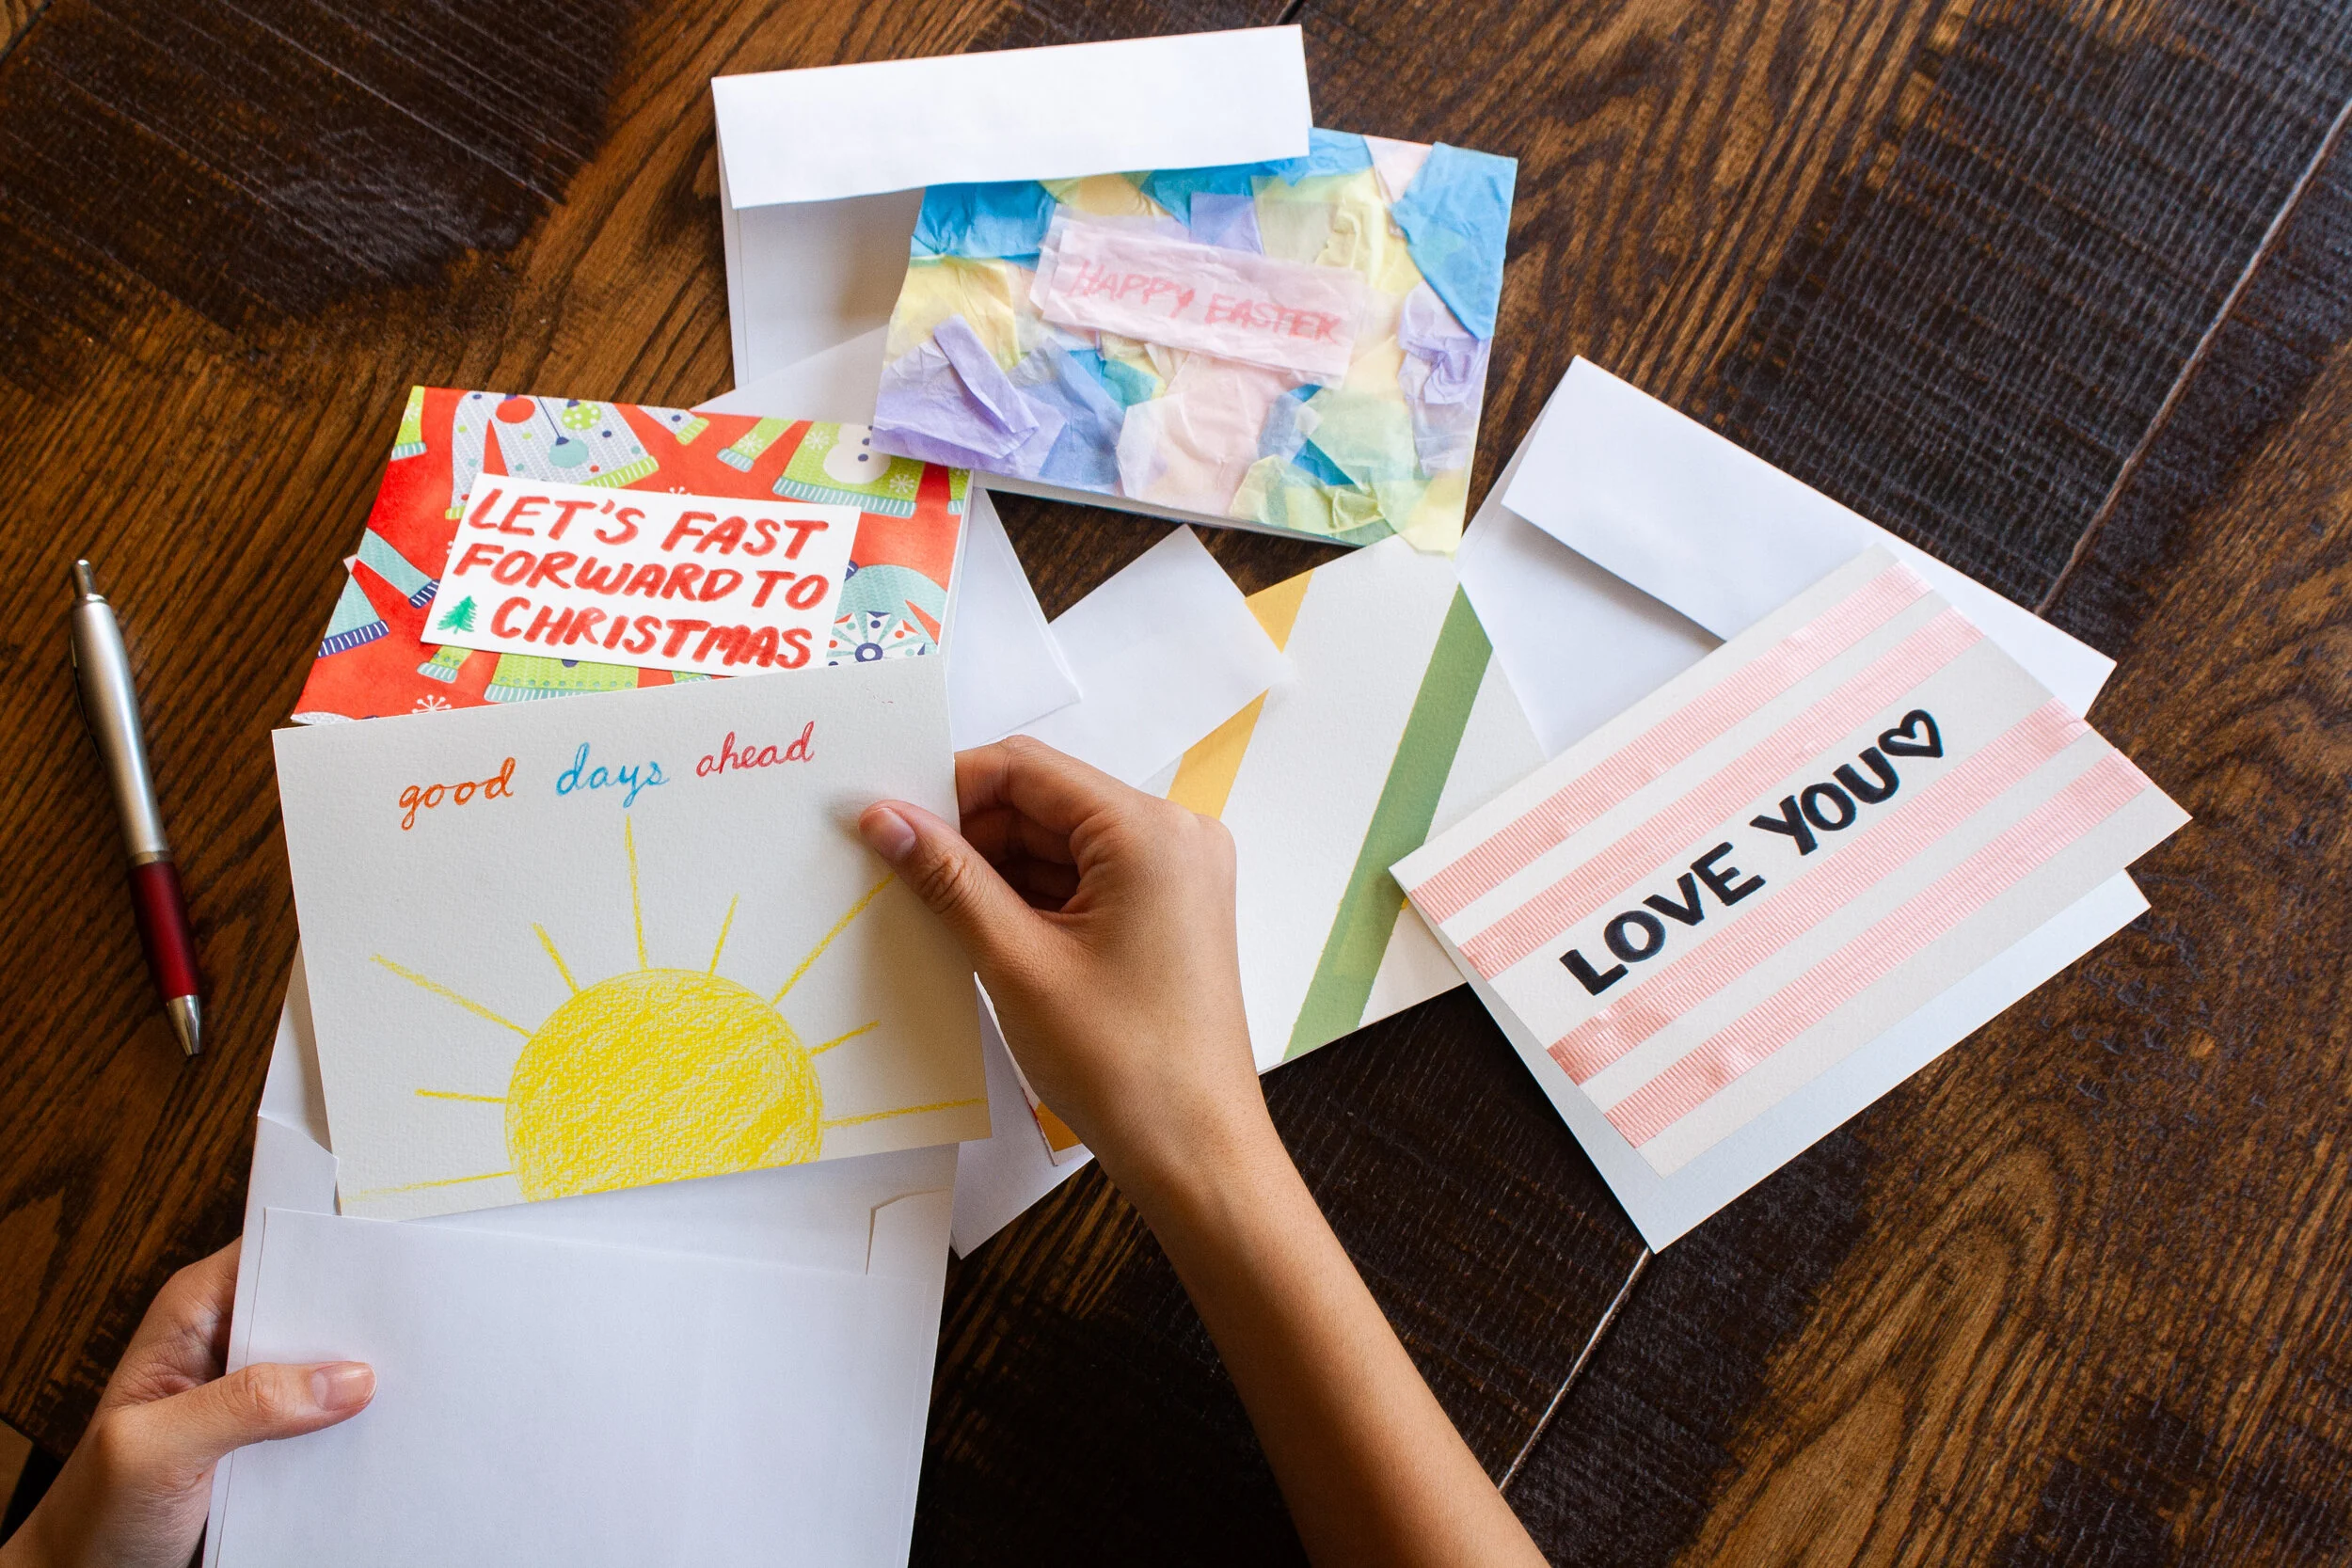
The great thing about a craft project like cards is that when you’re done, they can serve a separate purpose. You can send cards with sweet notes to all the people in your life that you miss right now. My first initiative when the quarantine started was to send cards to Love For The Elderly, an organization that distributes cards to people in nursing homes. Those people are especially lonely right now while they can’t see any visitors, and these cards can brighten their days in ways you wouldn’t imagine! I sent cards to their PO box, to my own grandparents, and to a local nursing home where my Dad treats patients. I really hope I helped get a smile on a few faces. By making cards with your kids and sending them off to friends, family, or even Love For The Elderly, there might just be a few more smiles in the world right when we really need them most!

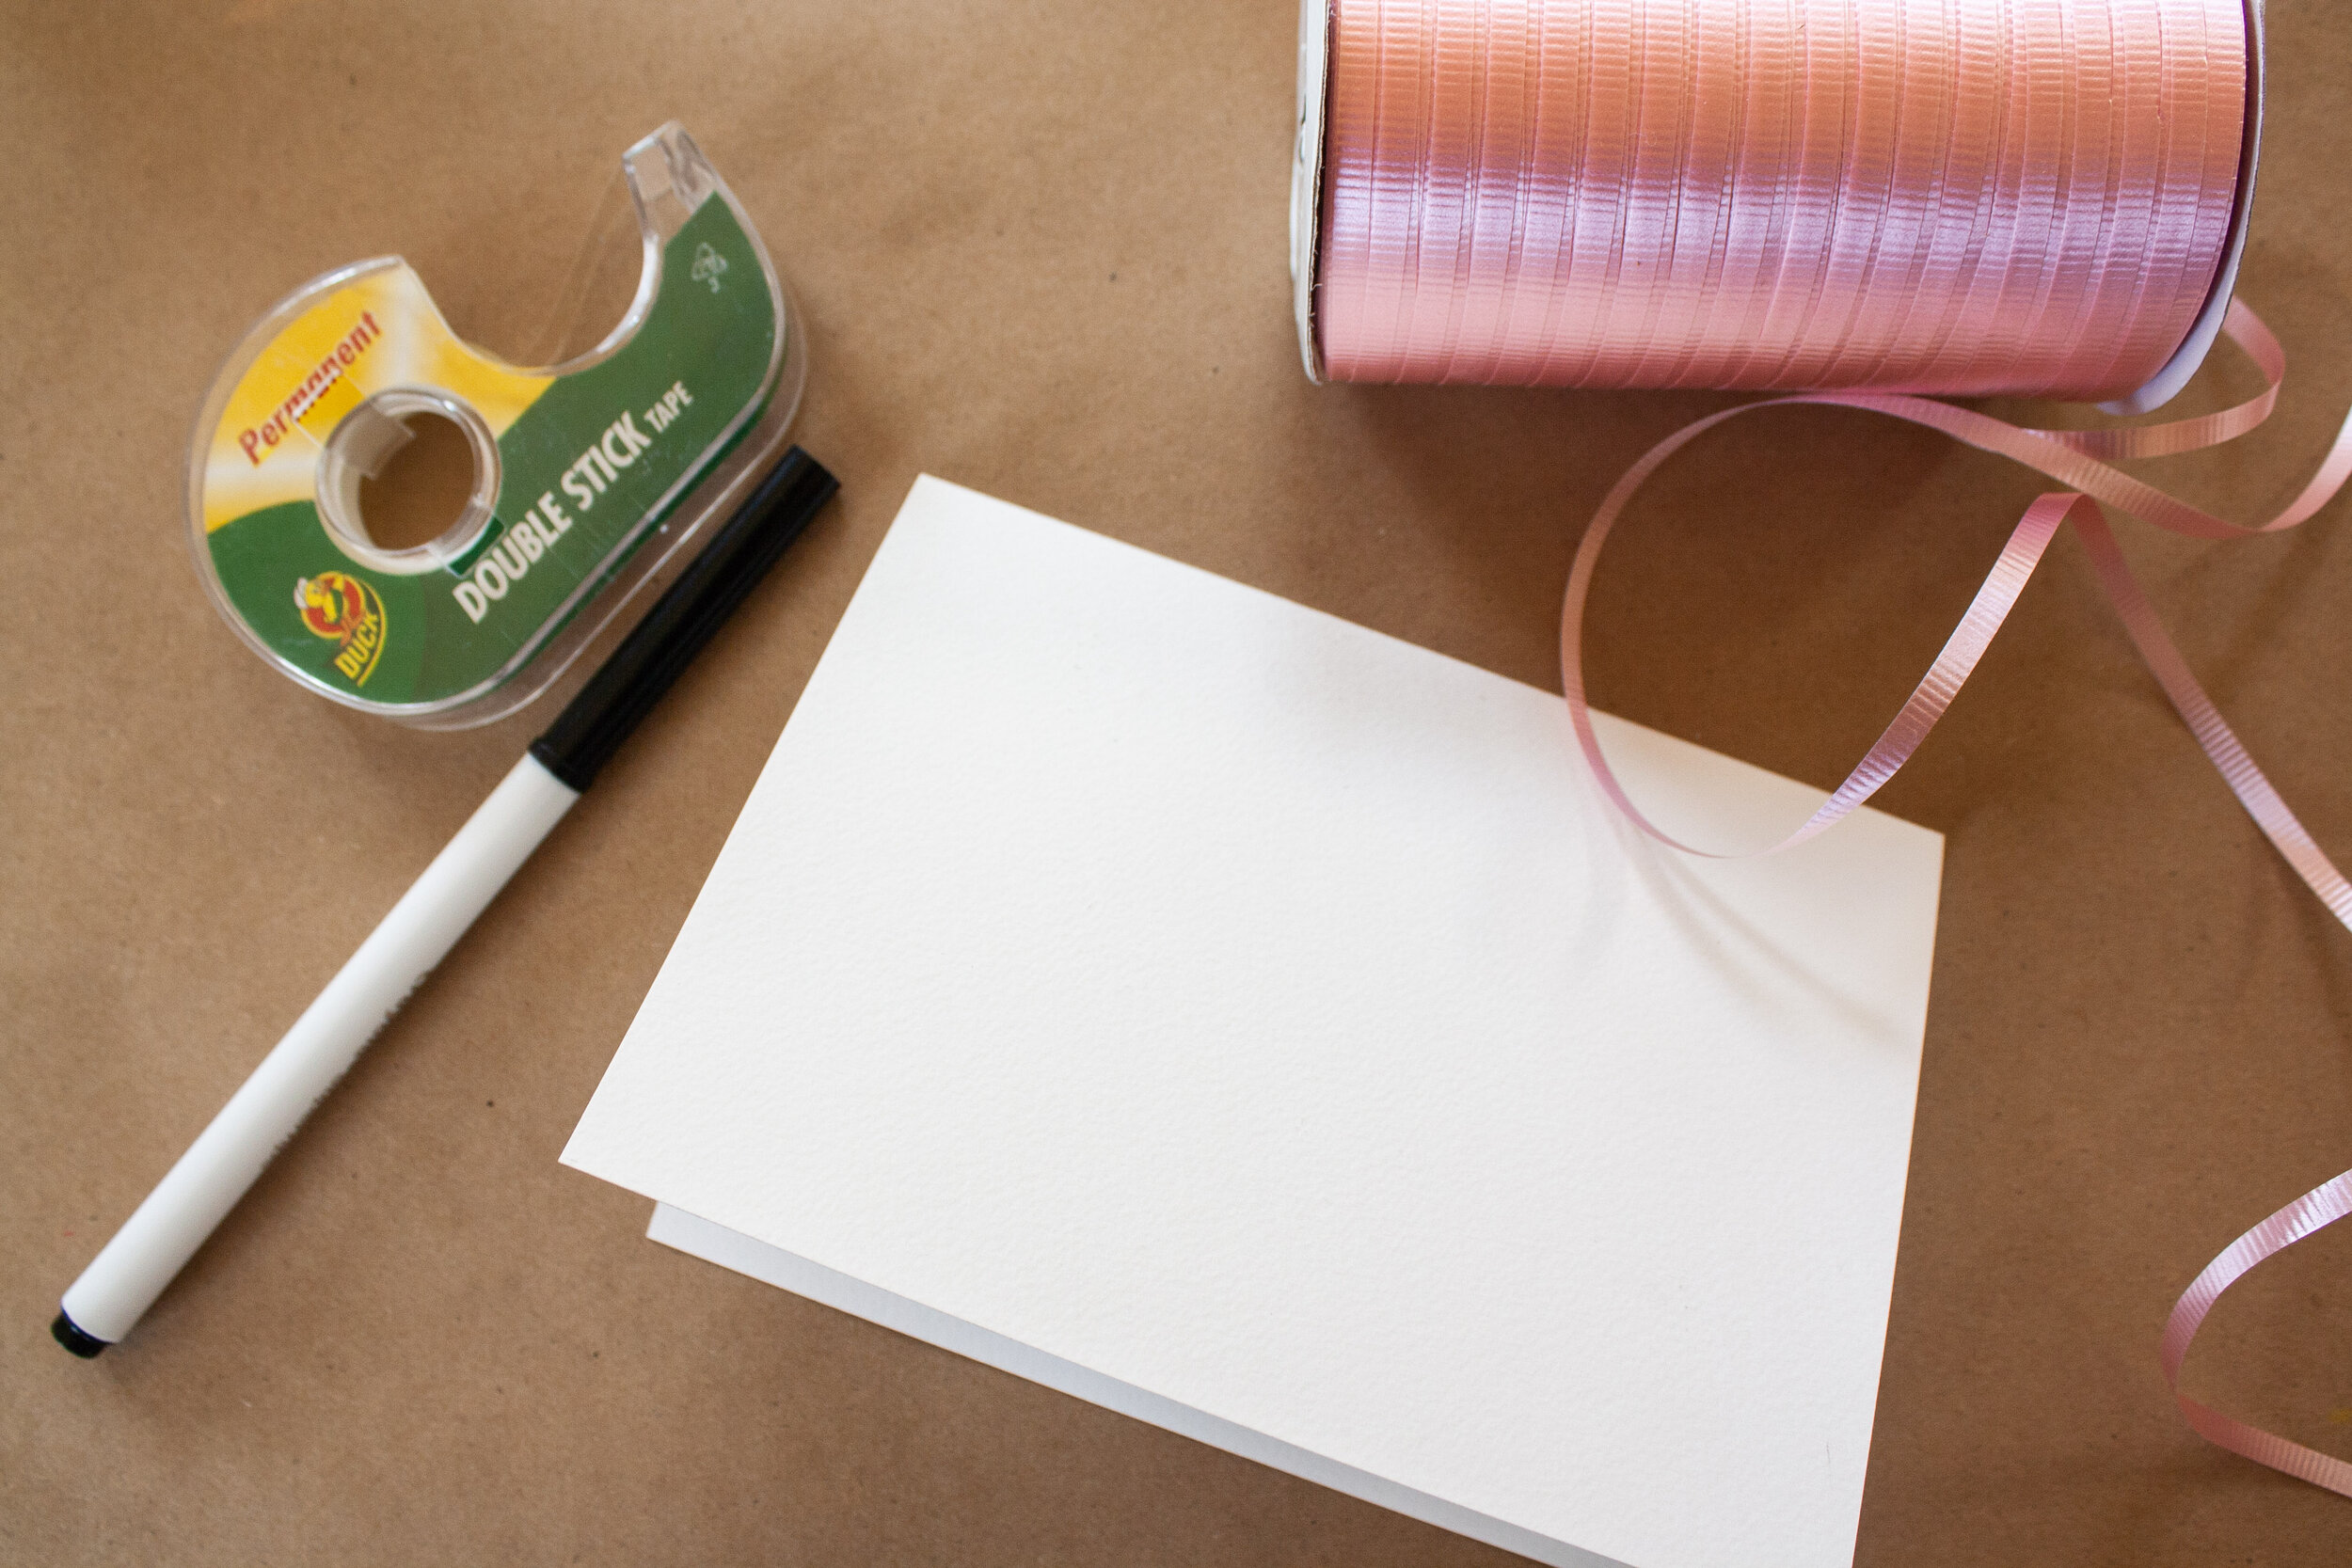
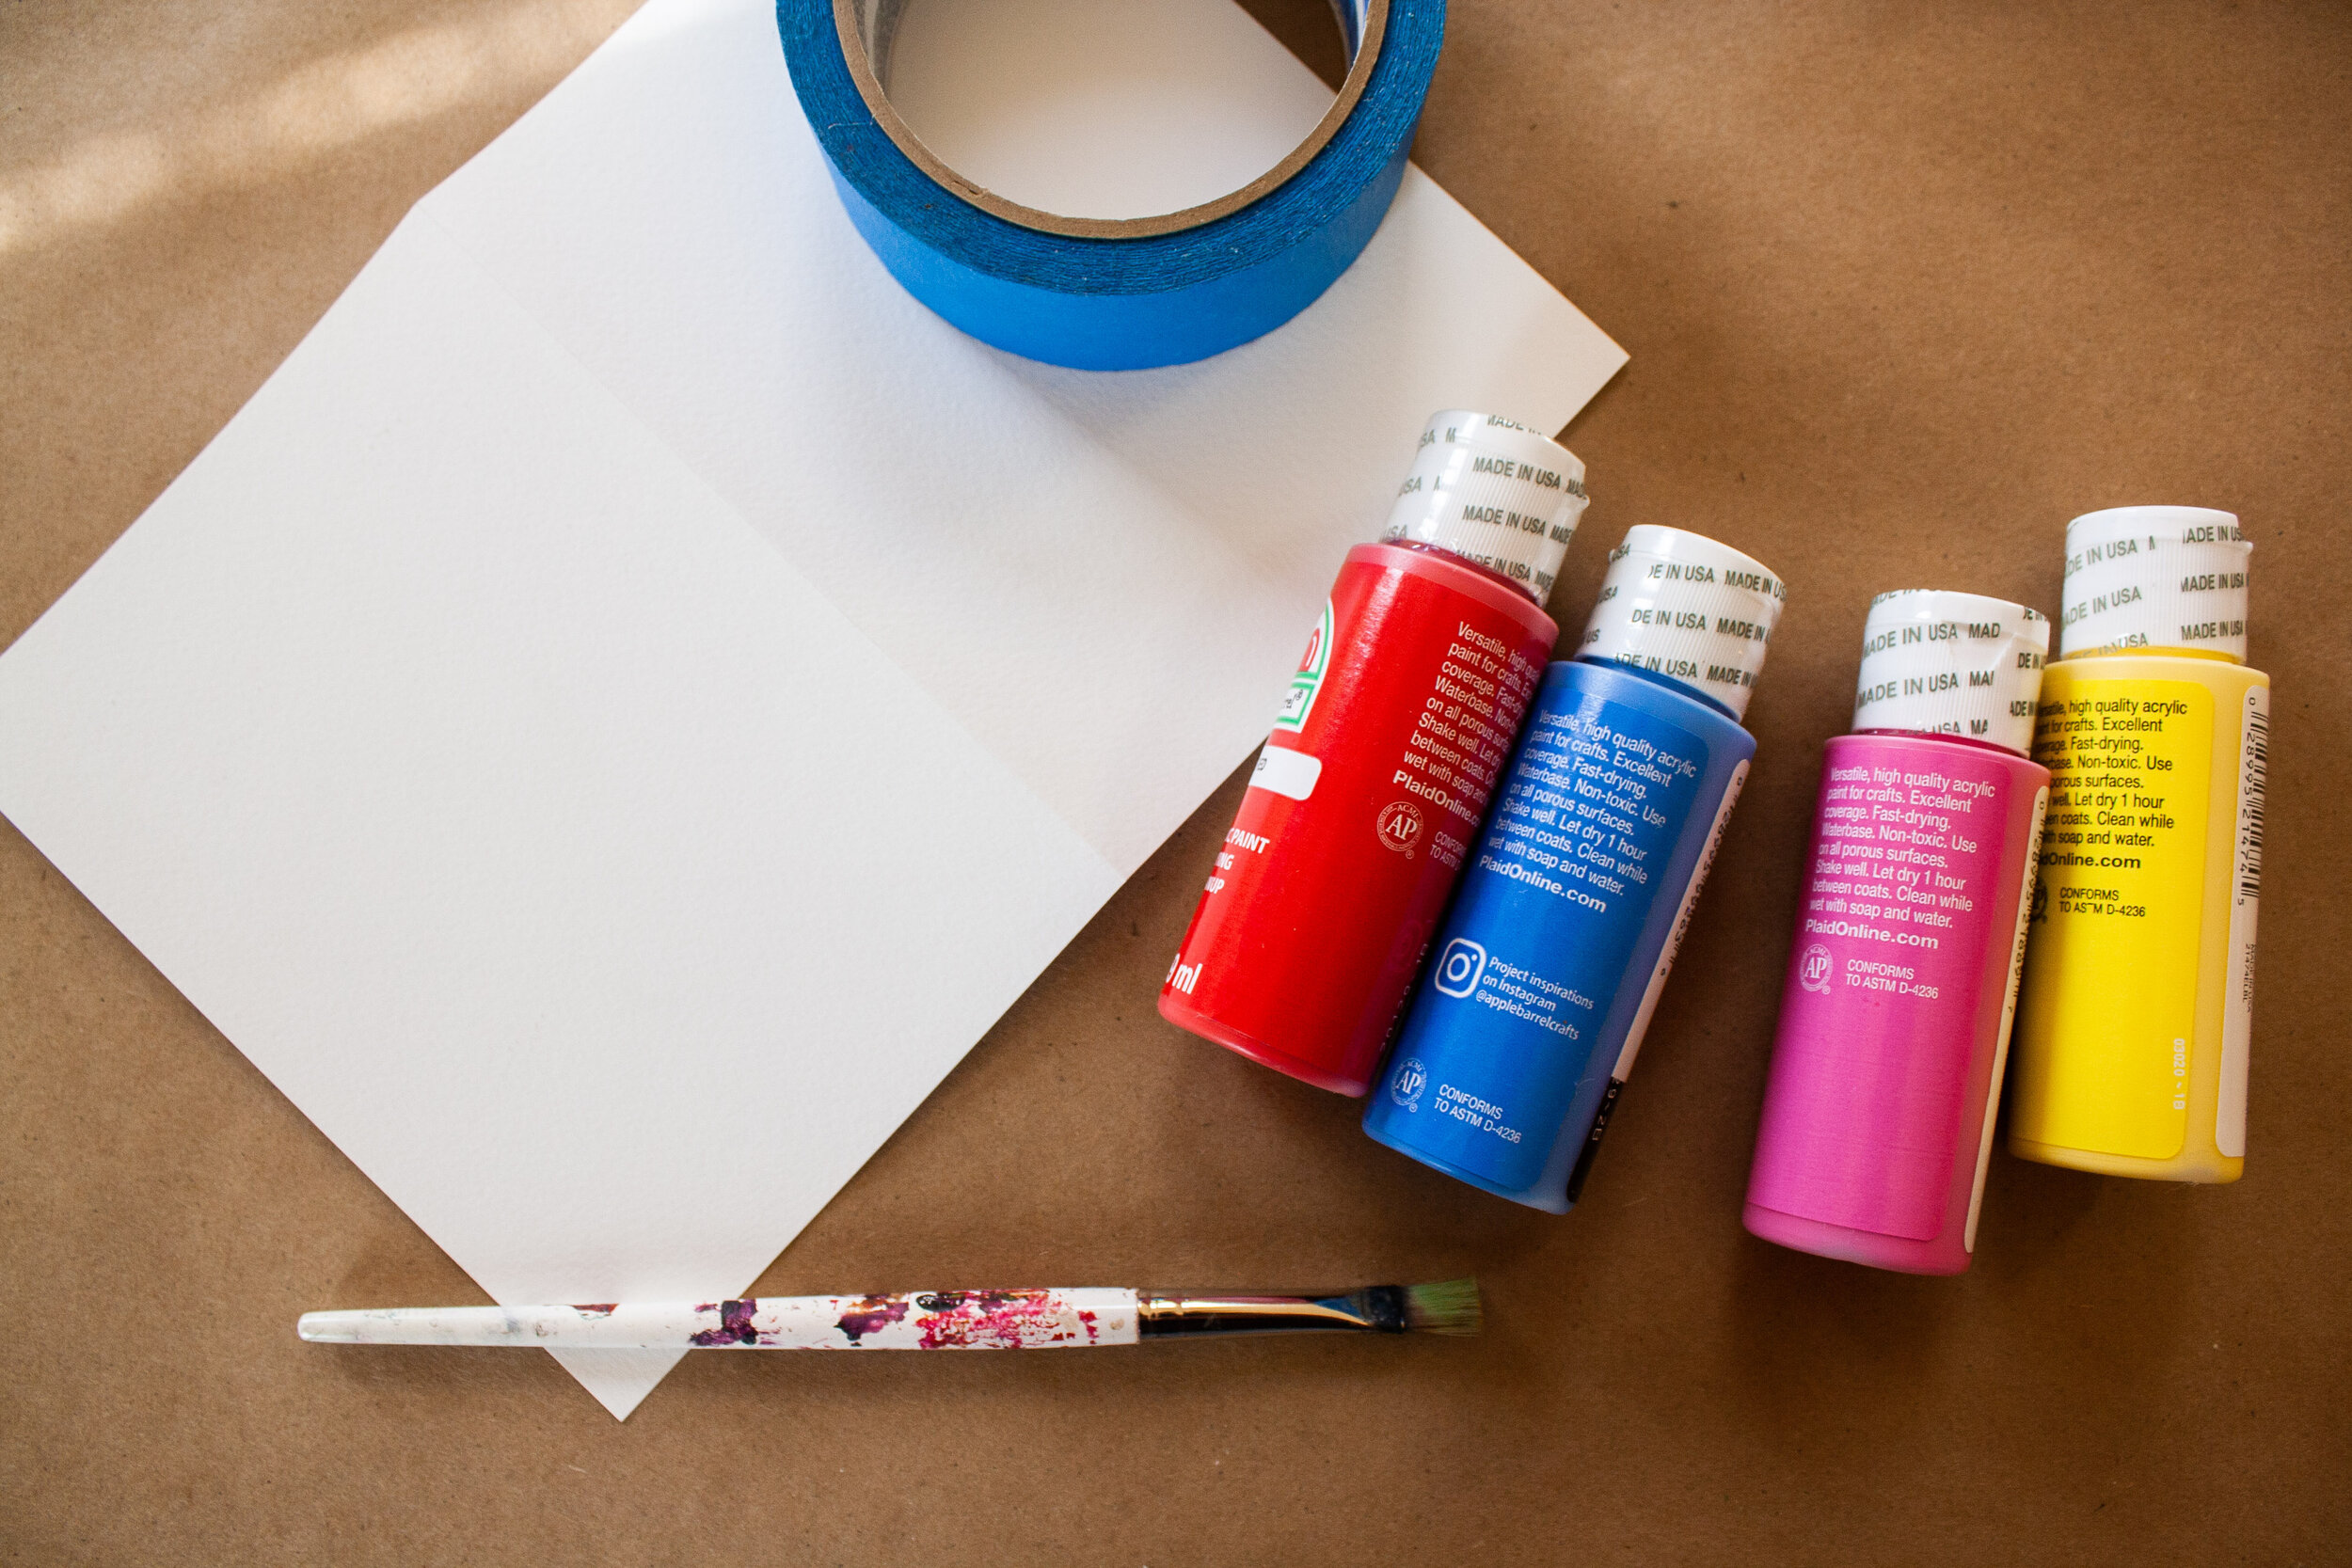
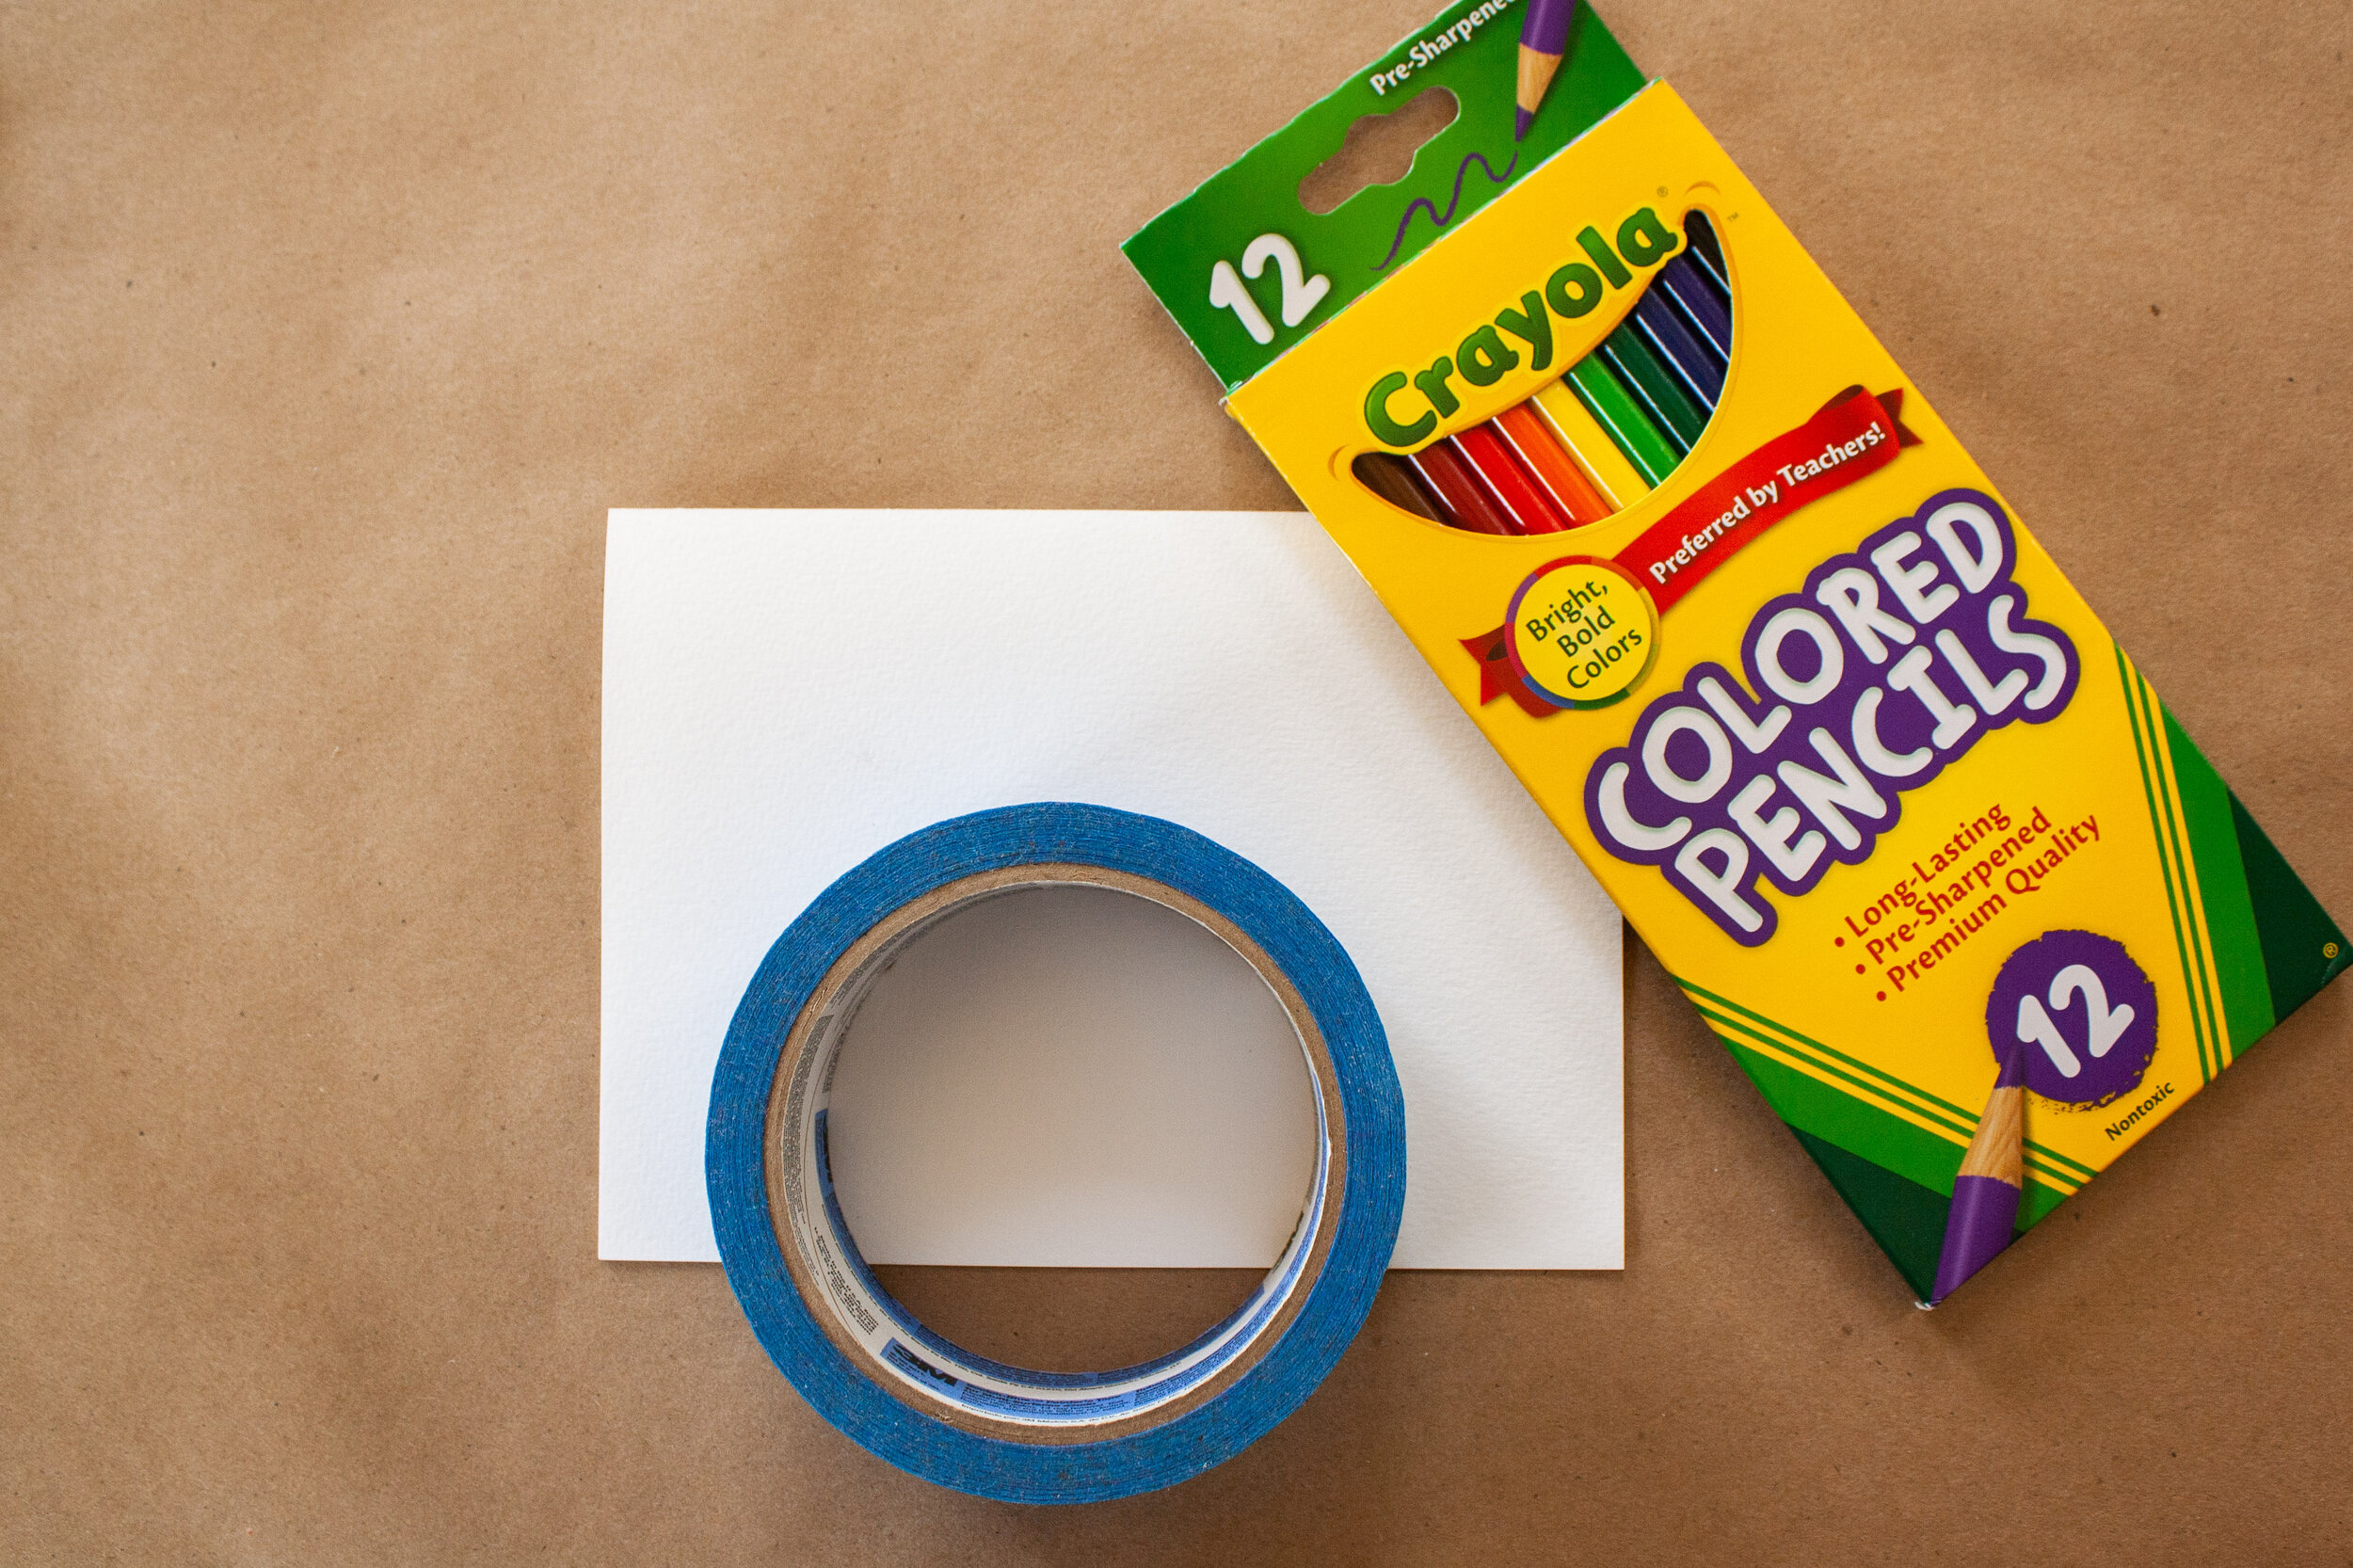
As you can see, I gathered up some really basic household items and art supplies. You can really use anything you want to decorate these cards as long as you have a plain base to start with. I recommend white paper for the cards because it will be easier to write on! I used a heavy card stock and created the cards myself. I had a box of A6 sized envelopes and created my cards based on that size. If you’ve got extra cards laying around, maybe leftover from old greeting cards, you can use those too!
Before you start crafting: Measure your envelopes and cut your paper down to fit when folded in half. My paper was sized at 8” by 6” then folded in half to be 4” by 6”. Test the size out by slipping the card into the envelope to be sure it fits. Trim as needed until it can comfortably slip in and out of the envelope.

Pastel Tissue Paper Card
For this card, you just need 2+ colors of tissue paper, scissors, double sided tape (or glue!) and a marker.
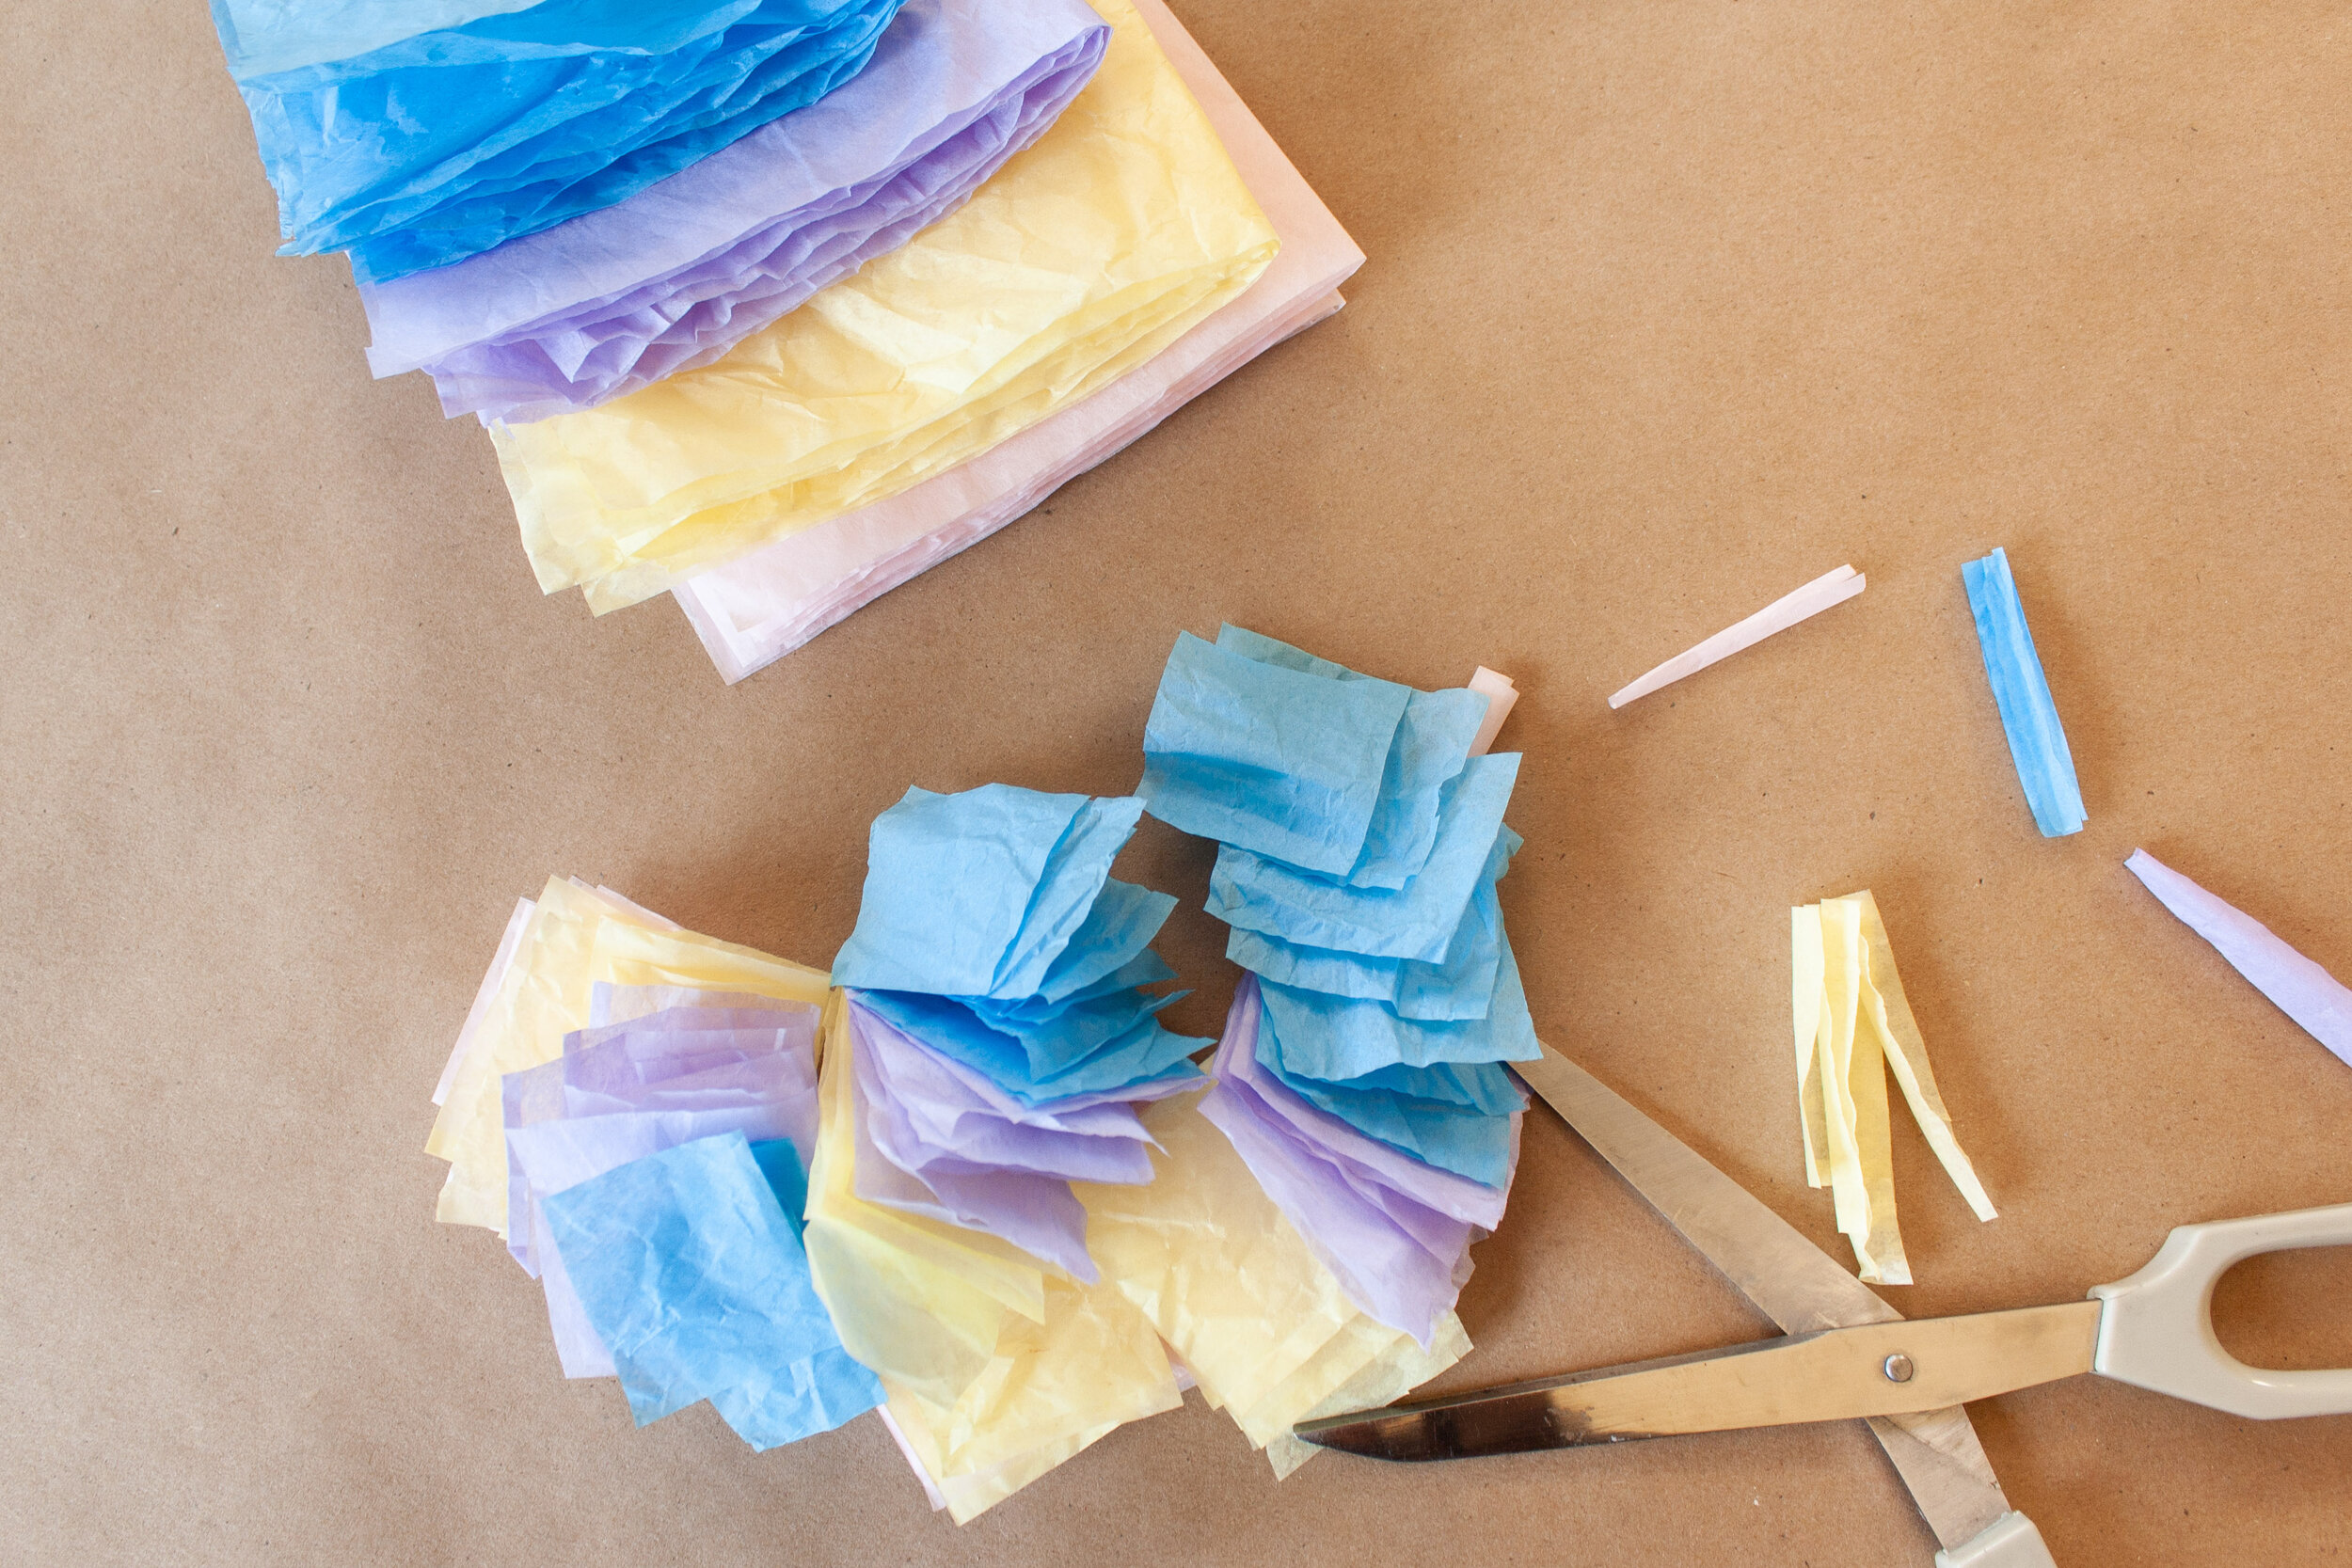

Step 1: Fold your tissue paper and cut into small squares.
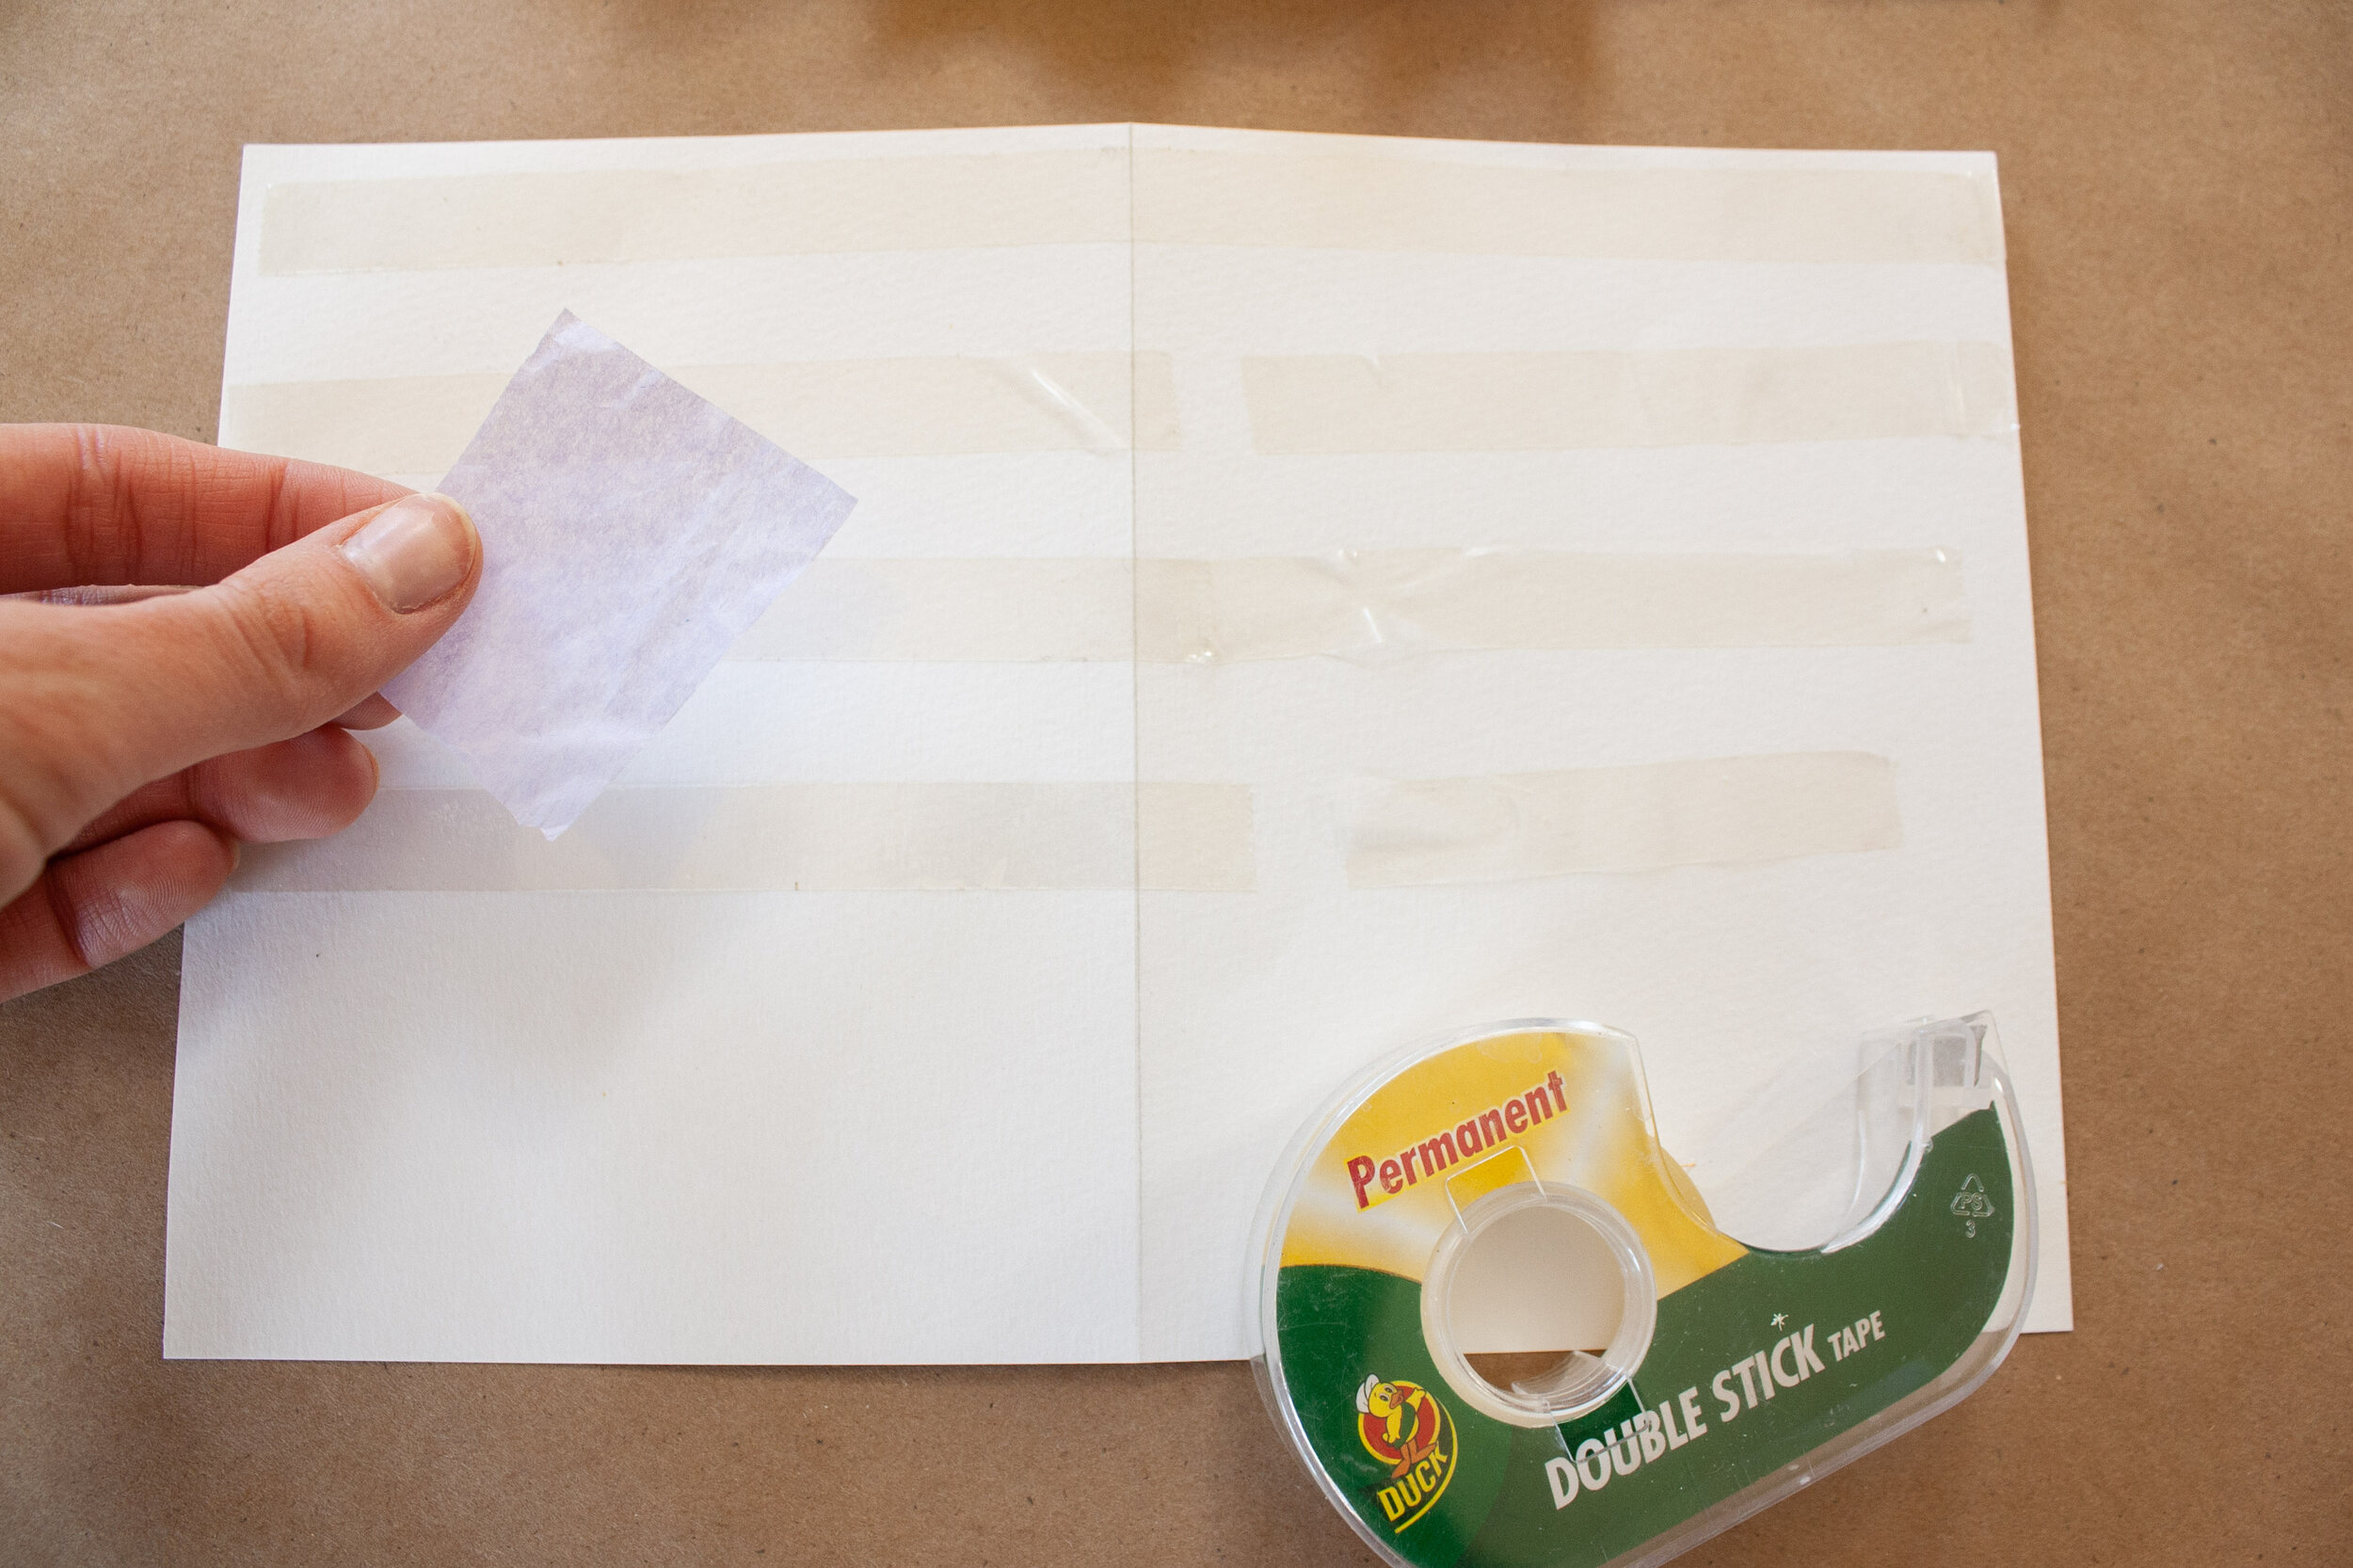
Step 2: Add lines of double sided tape close together all across your card. Can be in any direction, just get a good amount of the surface covered up. If you choose to use glue, spread a very thin layer of glue on one half the card to start, move onto step 3, and repeat the process for the second half afterward.
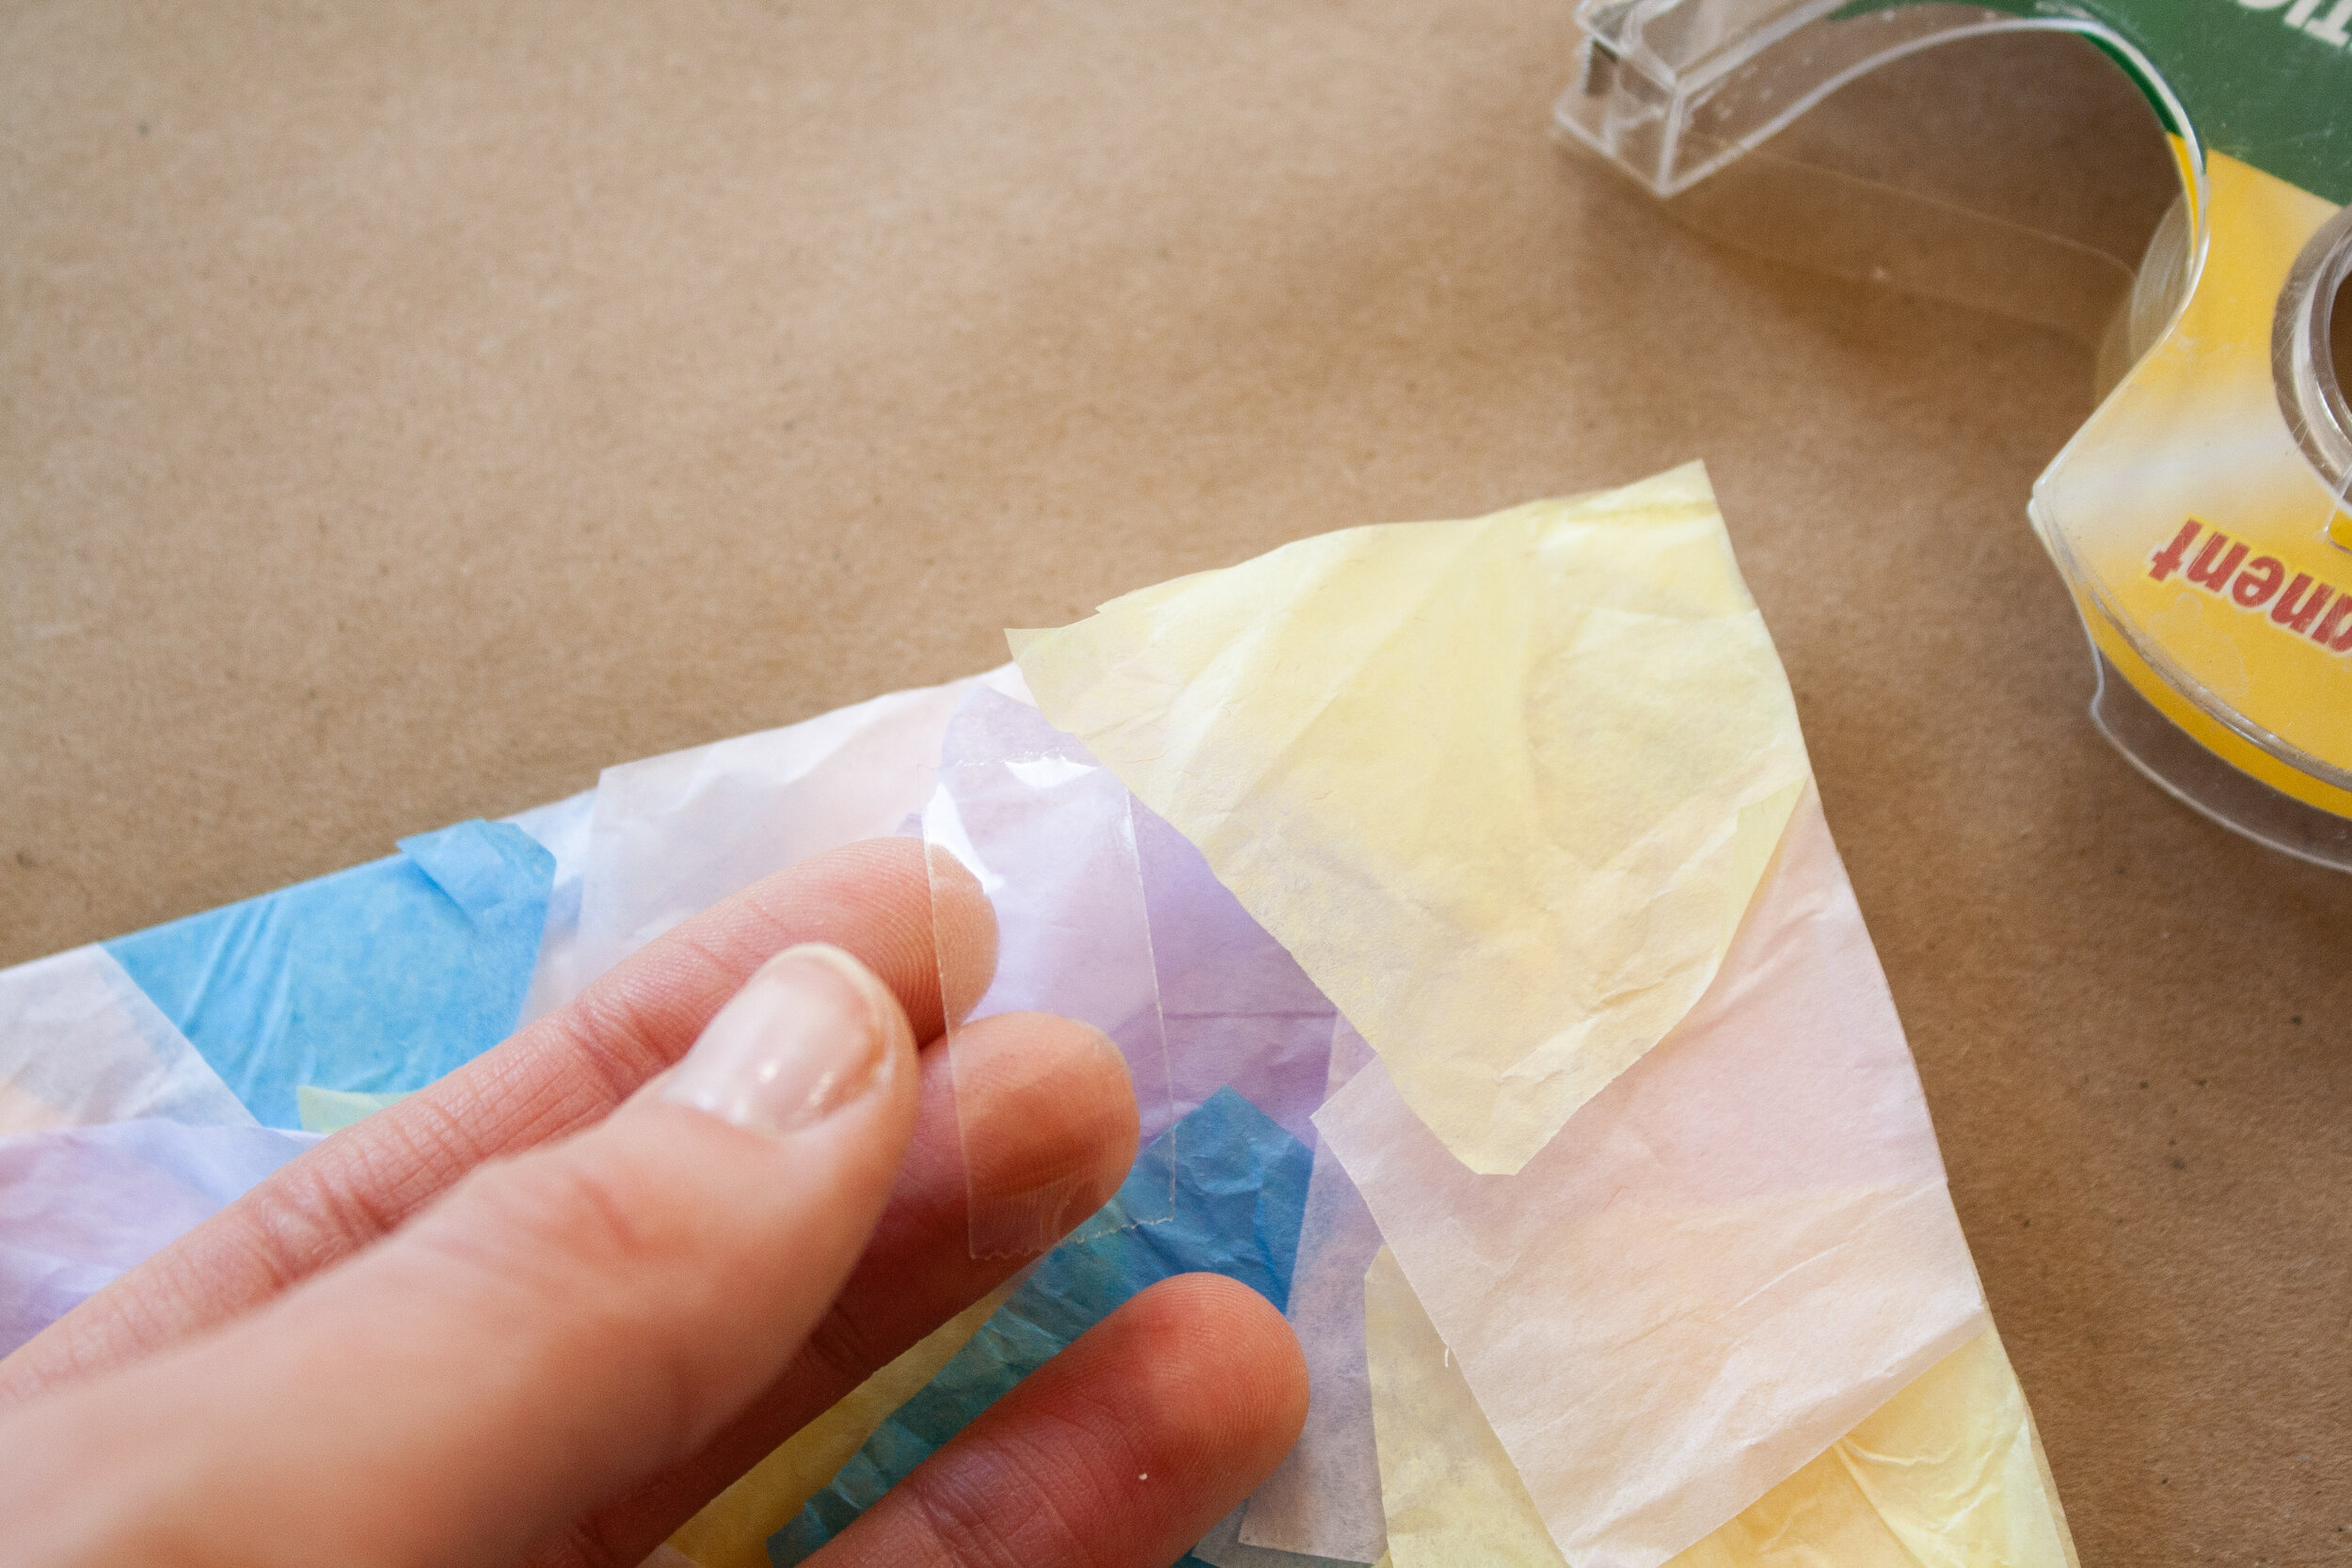
Step 3: Stick layers of tissue paper in all directions to cover the tape- use every inch of tape you can see! If the color looks too light, add extra layers of tape and tissue on top until the entire white surface is covered. Use extra small pieces of tape to tack down the pieces that seem to be flying off the card. If you used glue for this portion, wait a few hours for it to dry completely before moving on.
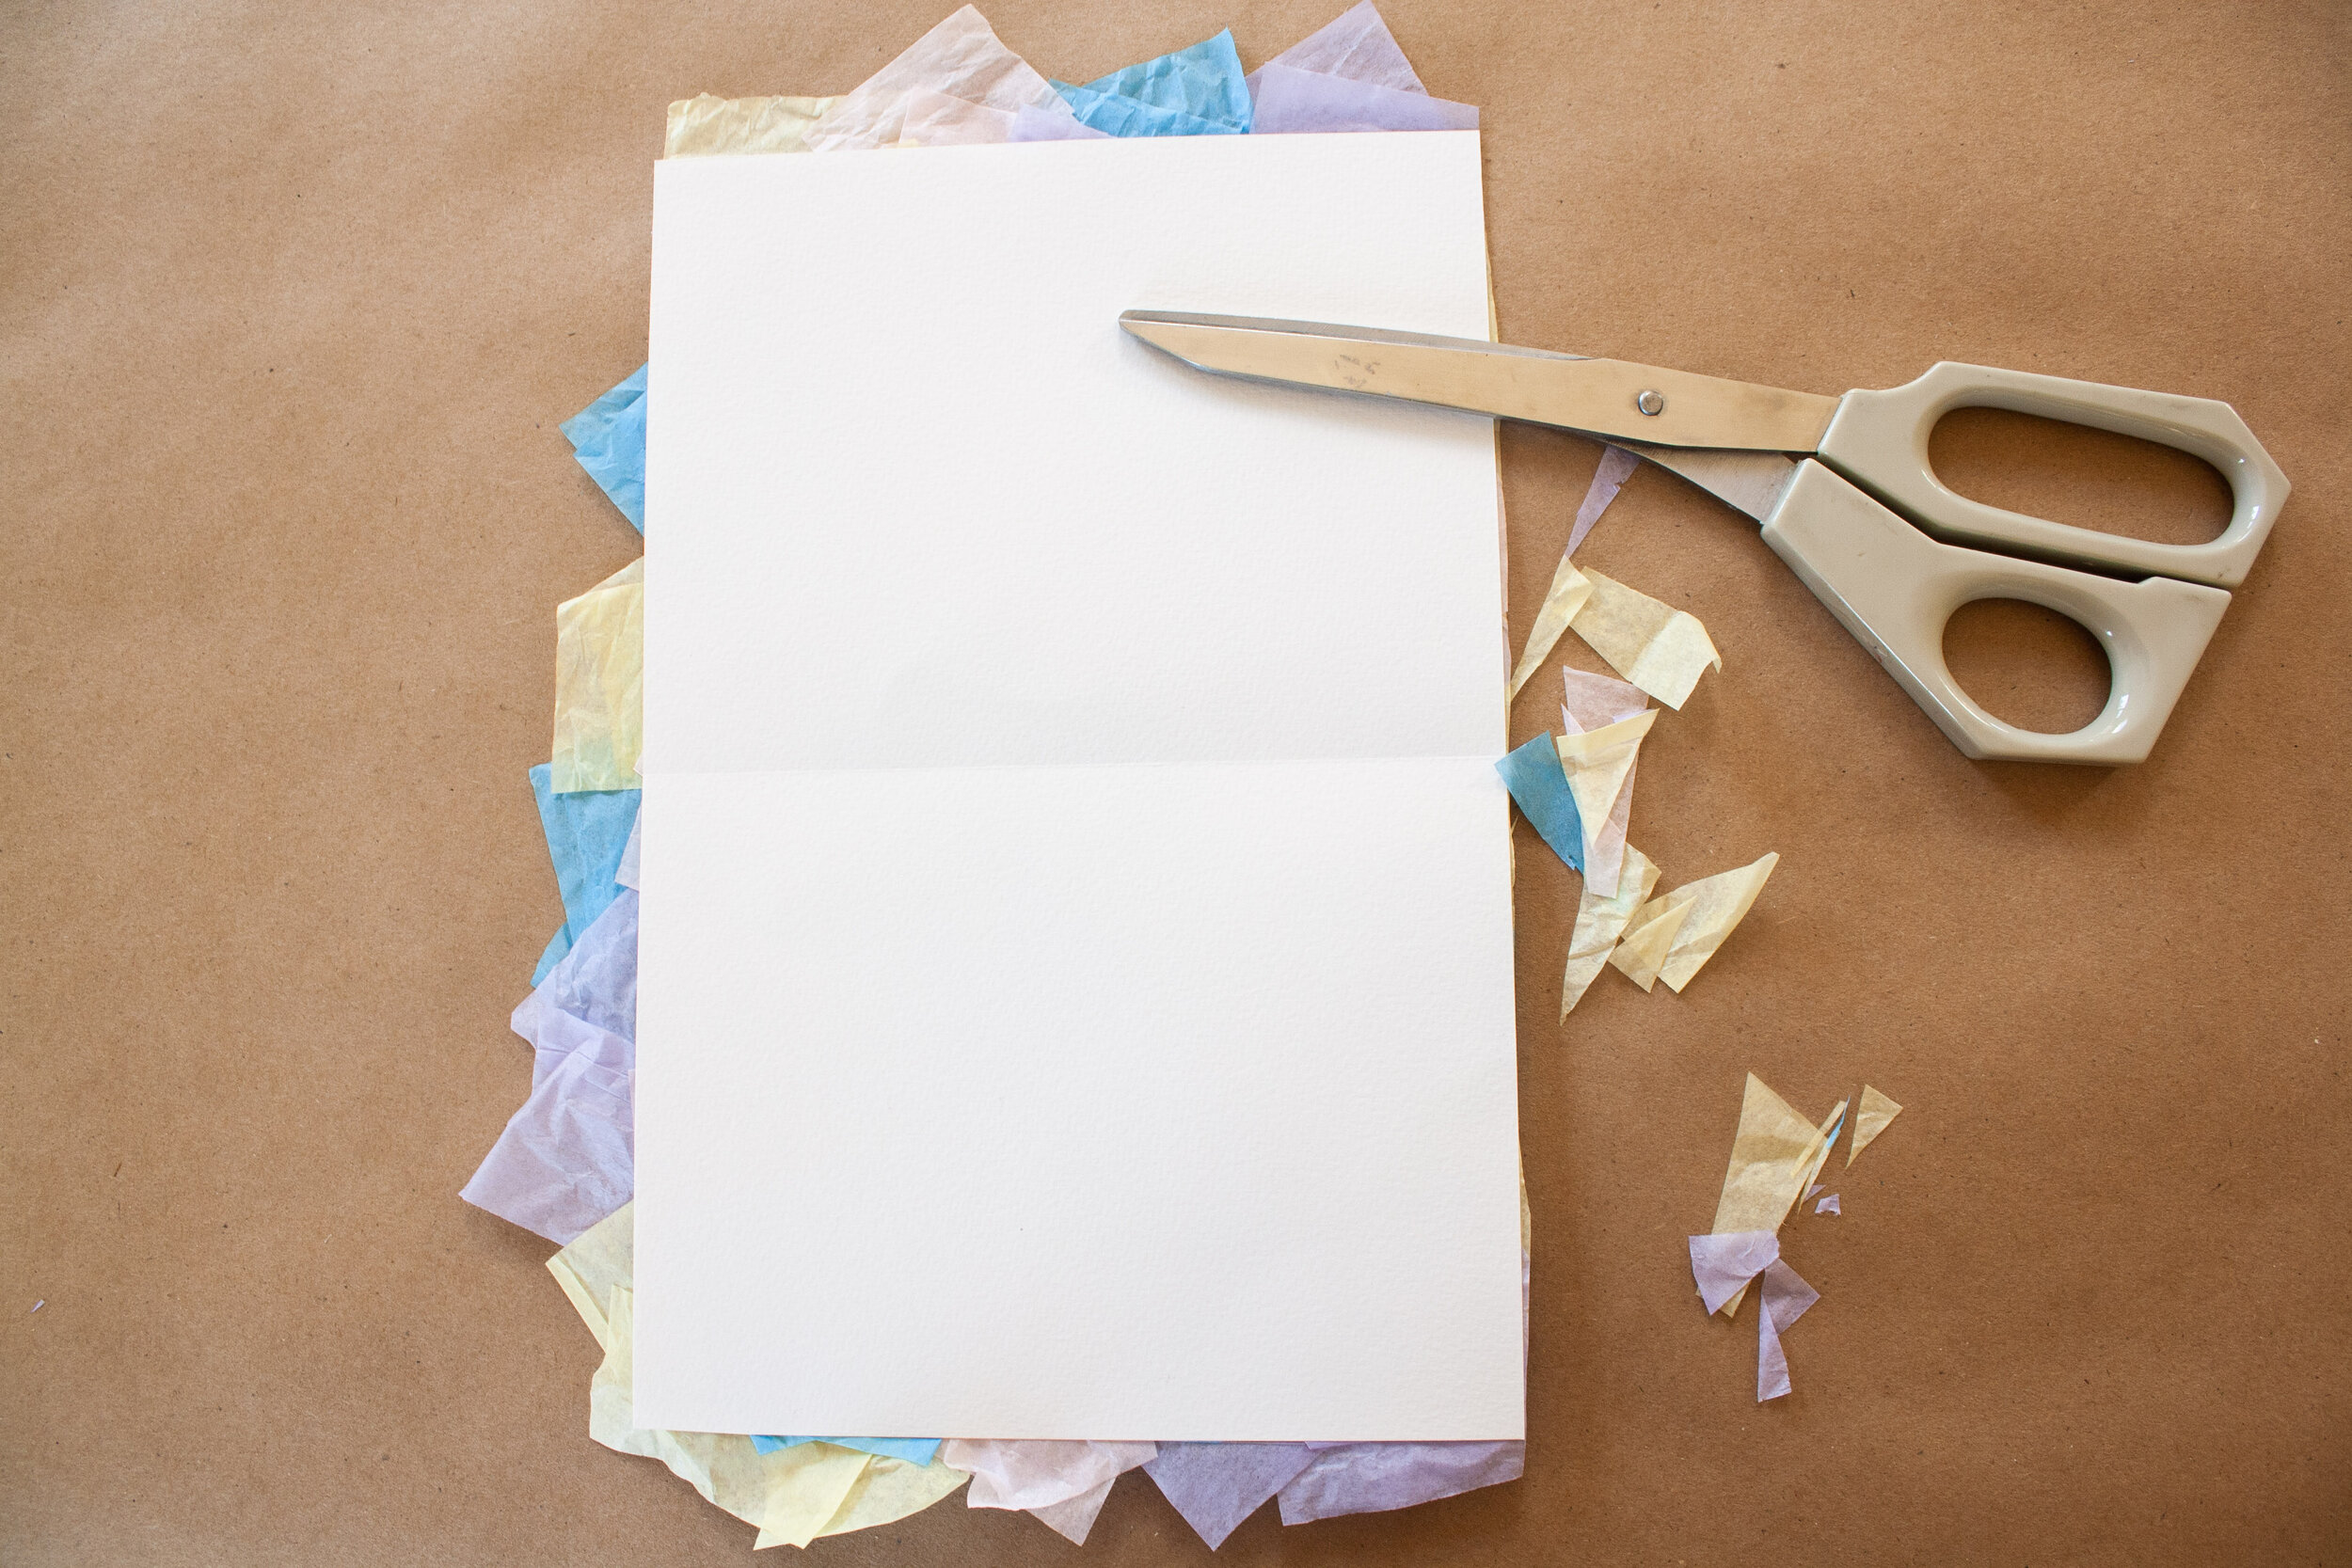
Step 4: Flip the card over and clip the edges off with your scissors so it’s clean and straight.
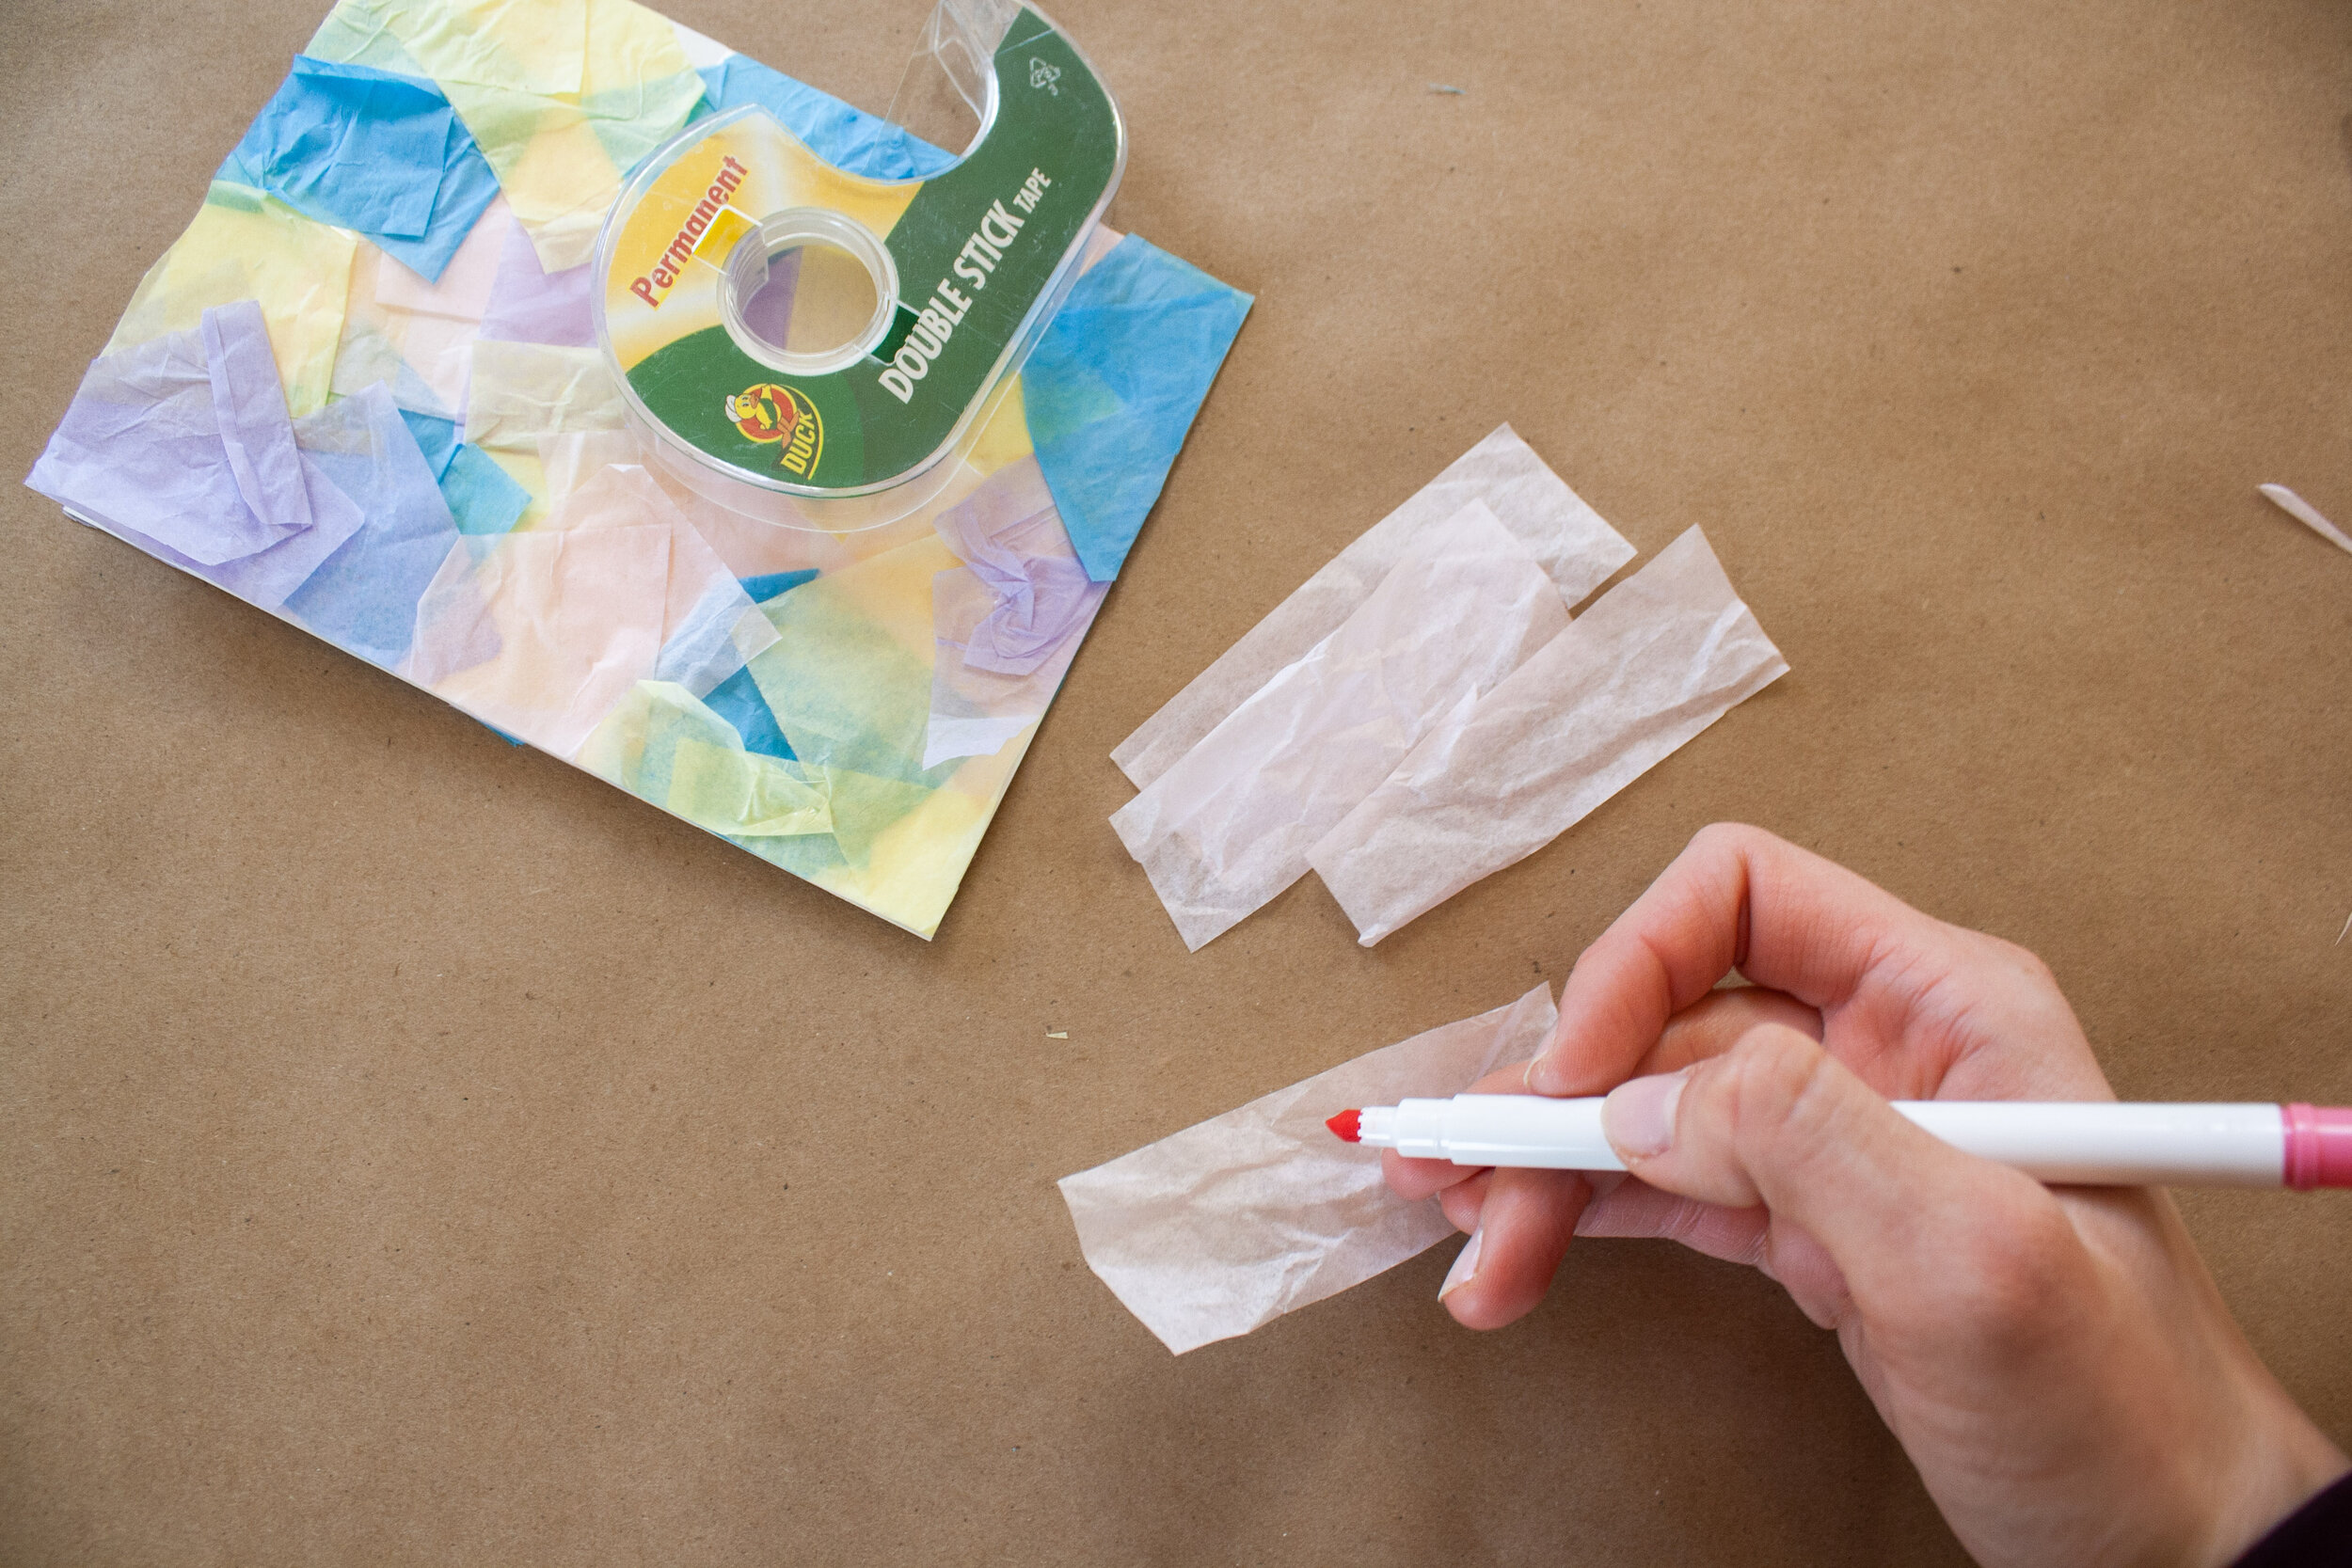
Step 5: Use 4-5 long pieces of tissue (choose one color) to layer in the center of the card using the tape.
Step 6: Use one final long piece to write a message (like Happy Easter) if you’d like! This is optional.

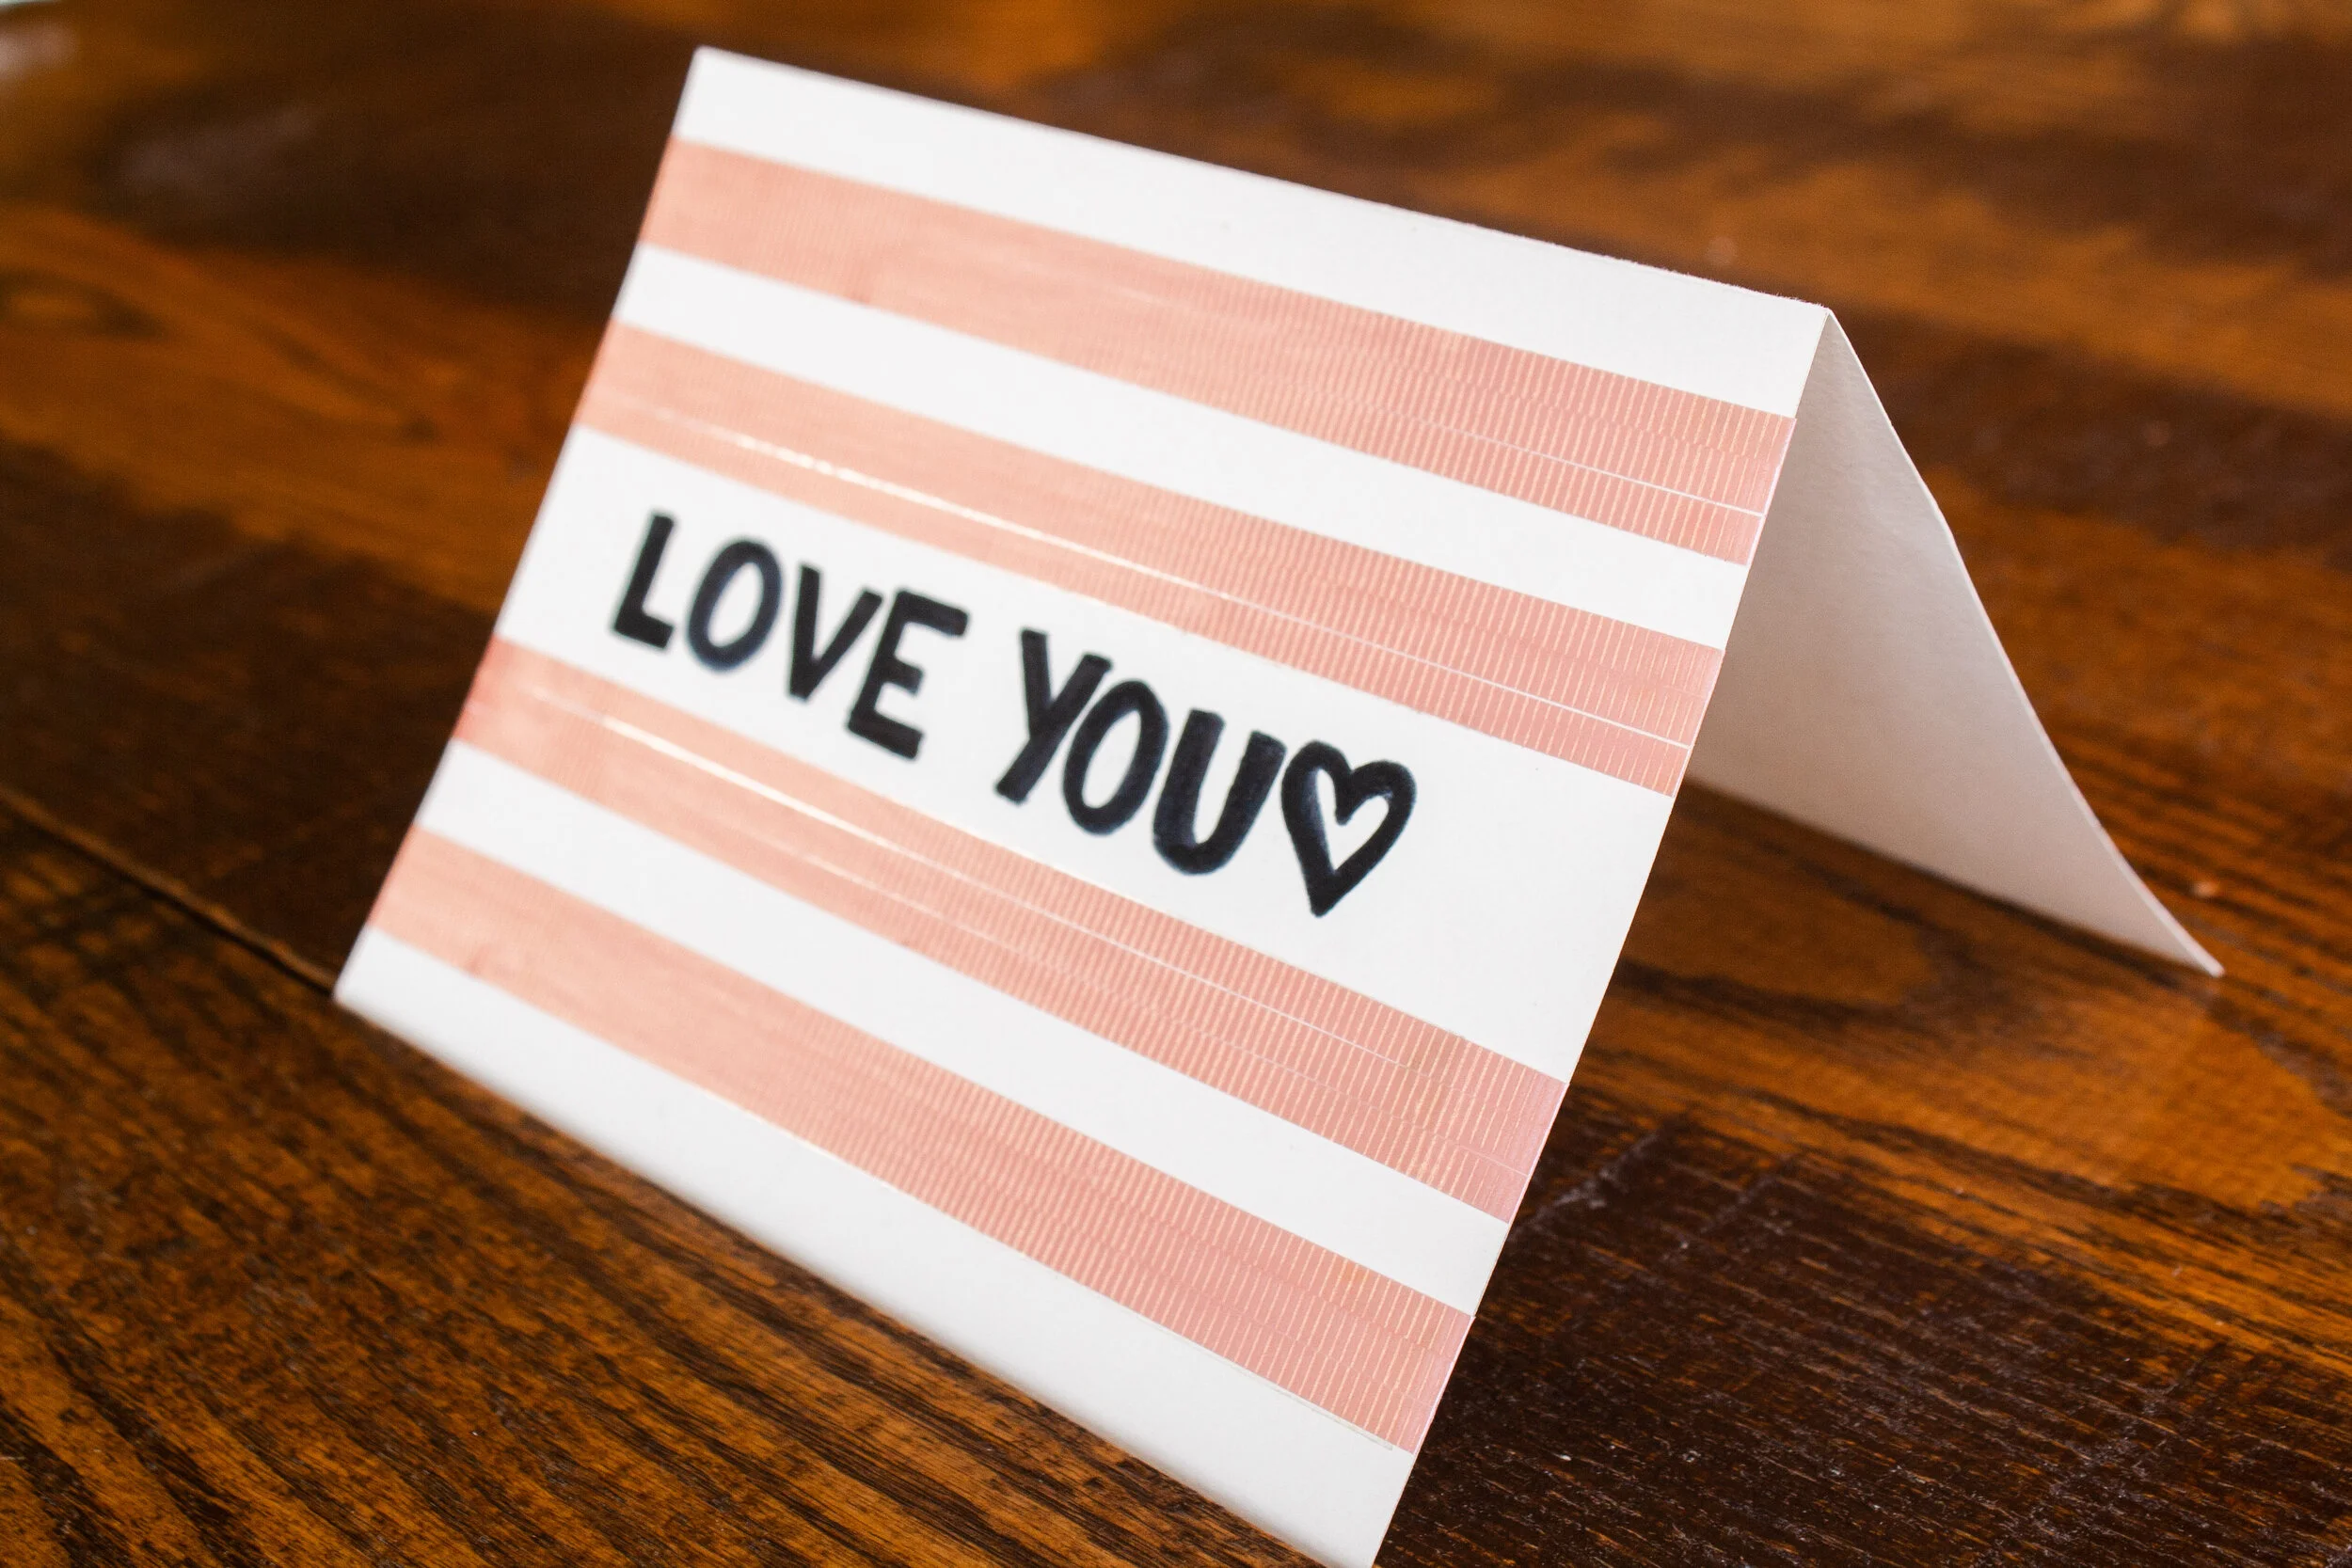
Love and Ribbons Card
For this card, you just need ribbon, scissors, double sided tape and a marker.
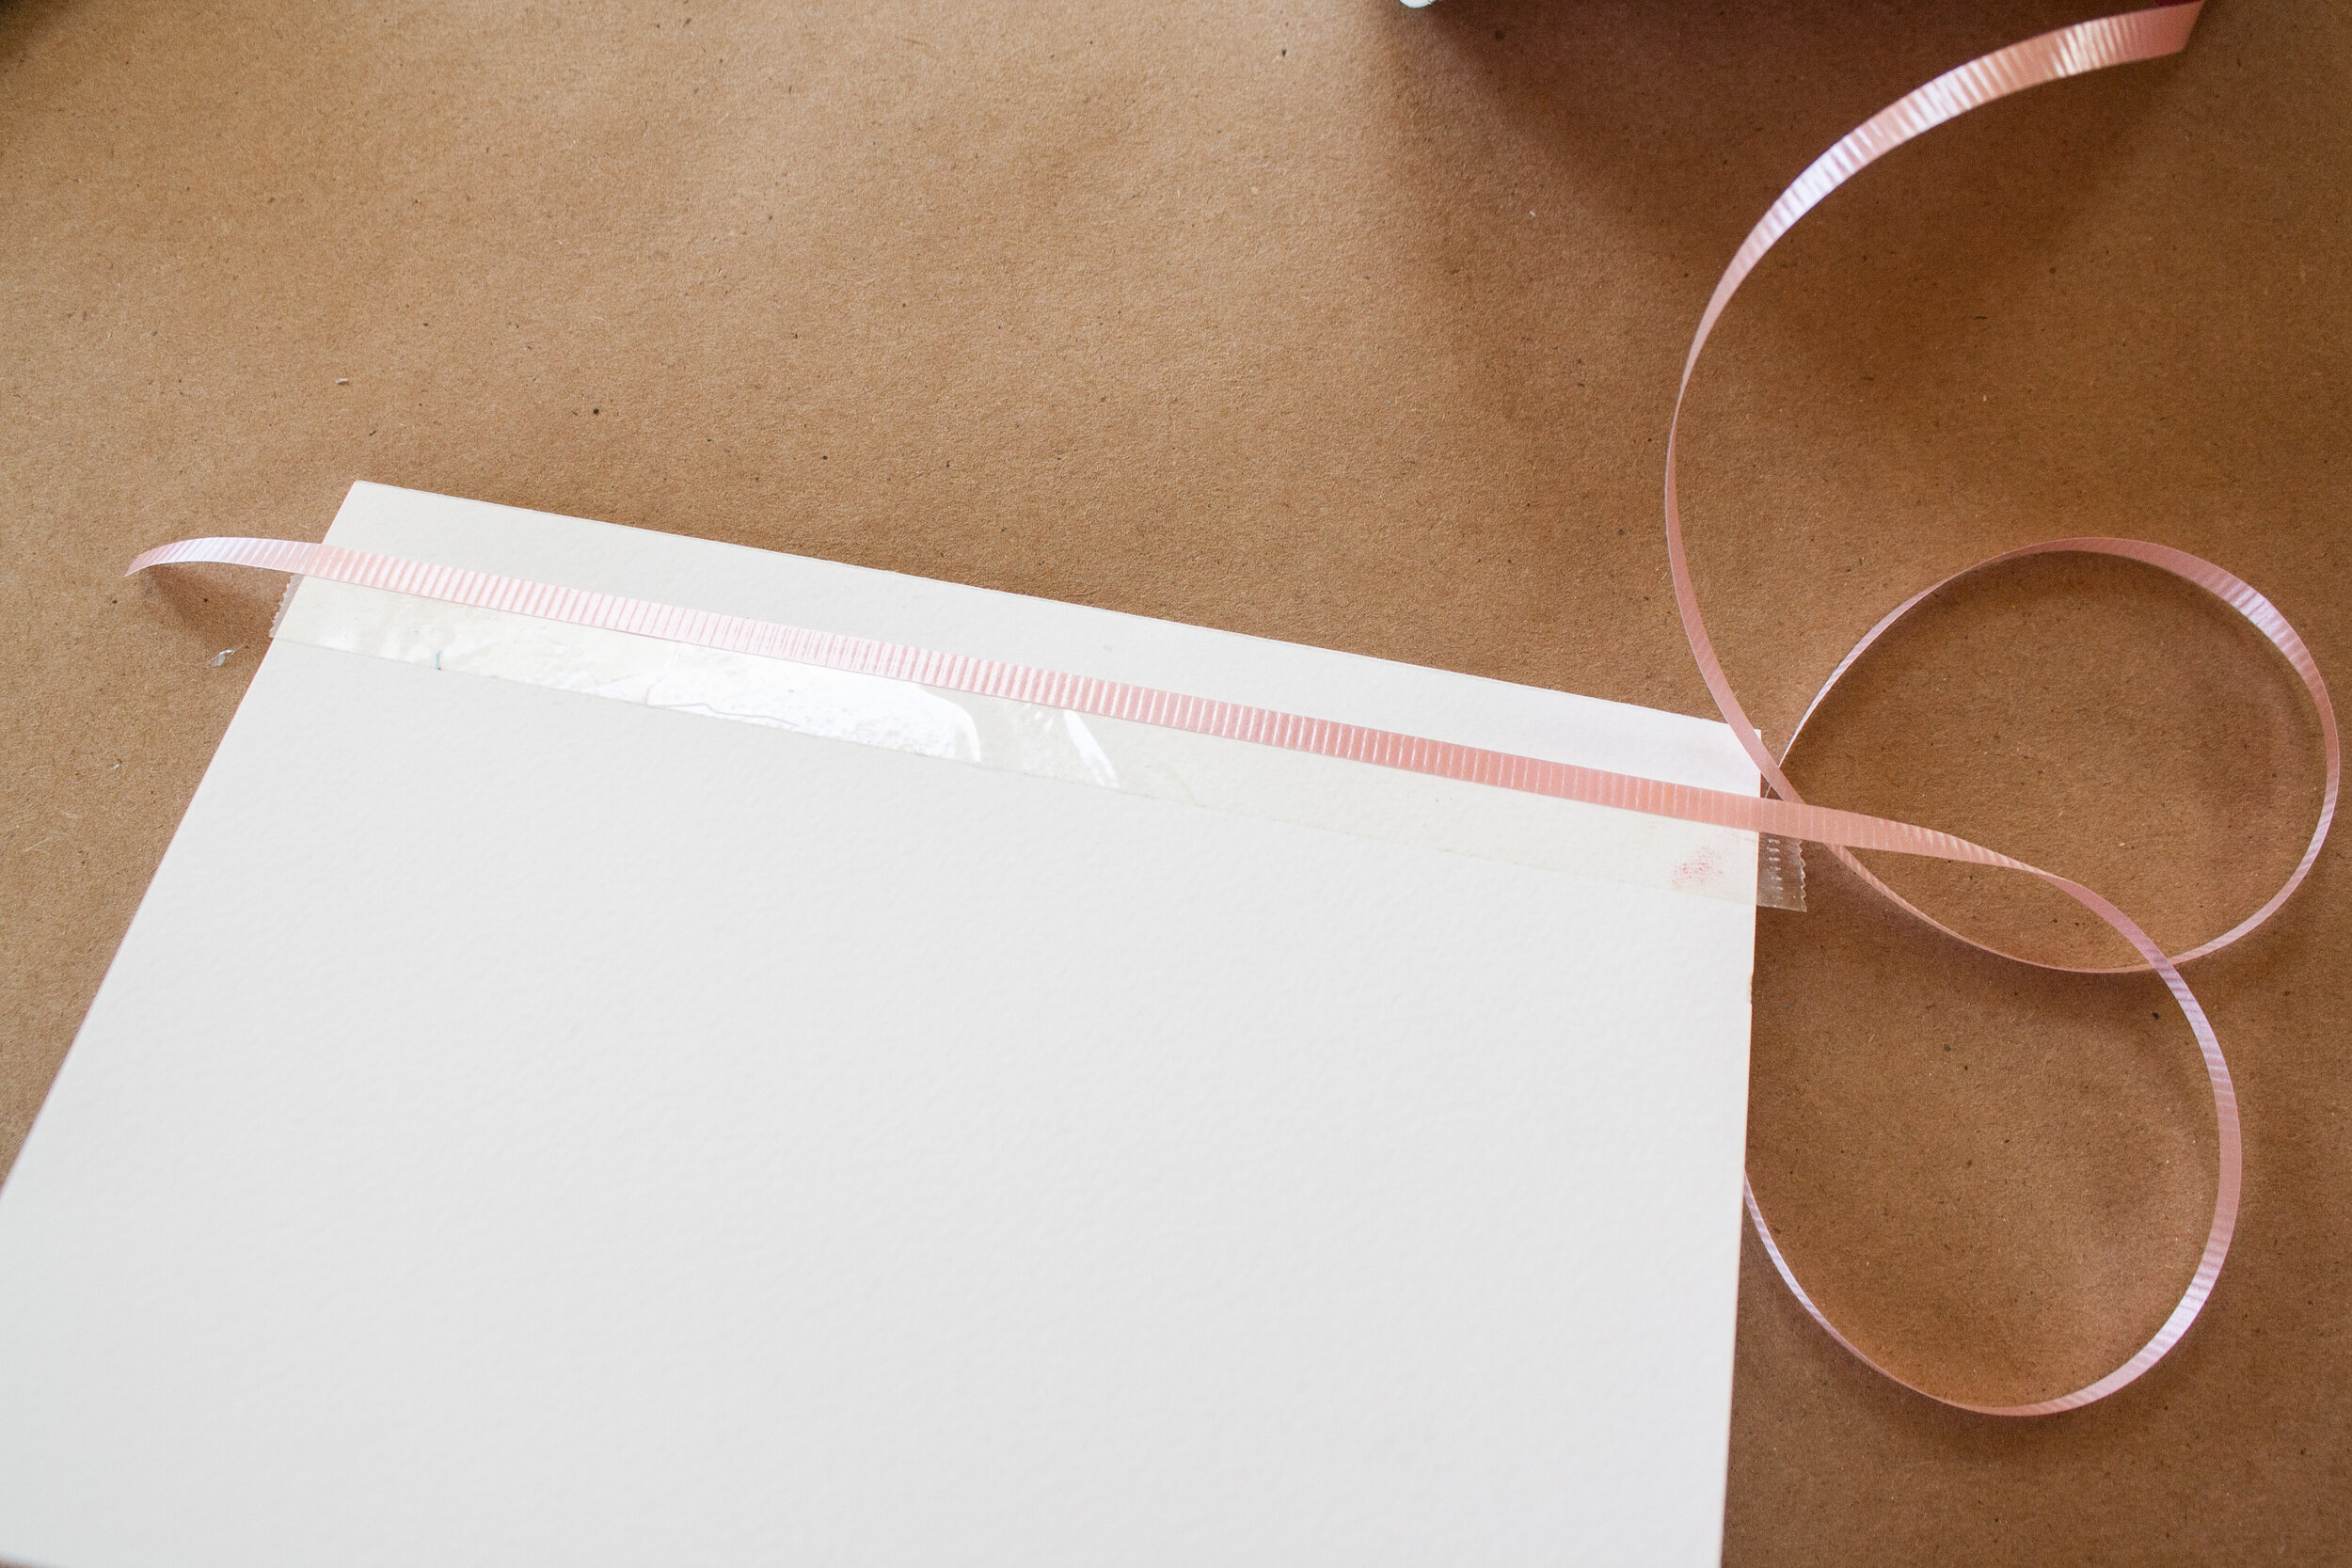
Step 1: Add one layer of double sided tape in a line across the front of the card- I made my simple and horizontal, but you are welcome to have fun with the design by doing diagonals, criss cross, etc.
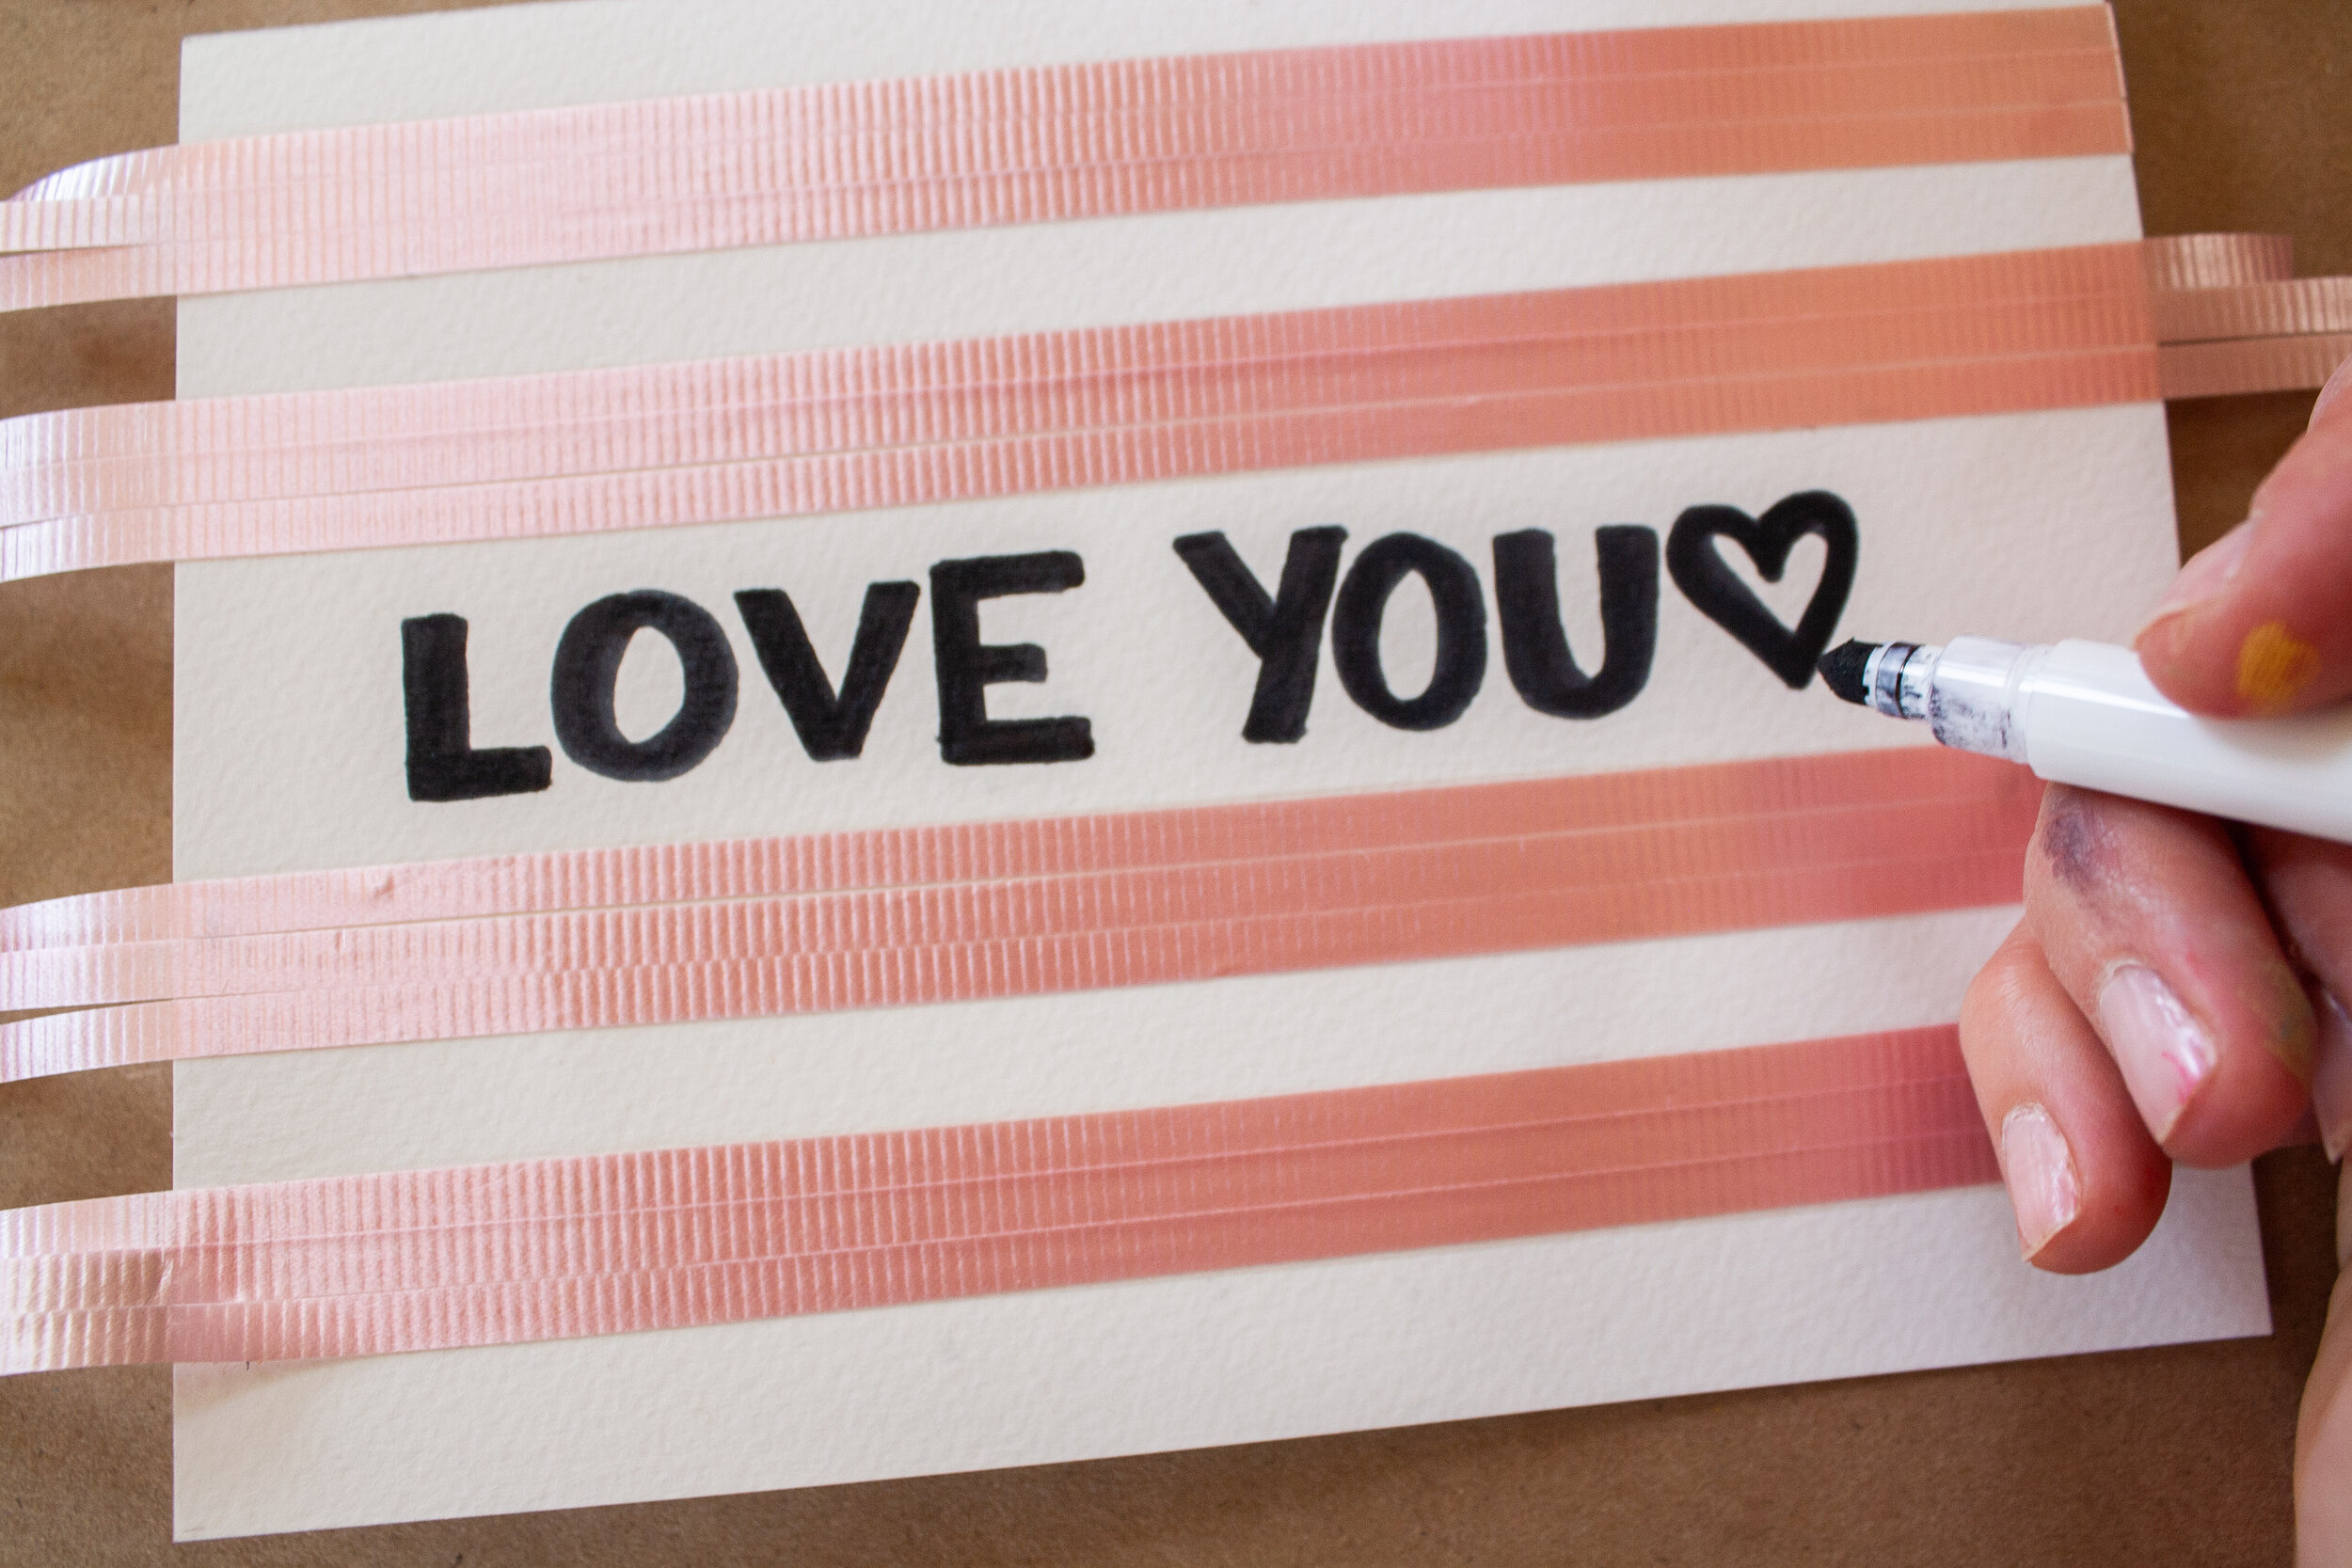
Step 2: Carefully lay your ribbon across the tape. I was able to use 3 rows of ribbon to completely cover the tape. You want to make sure you don’t leave any of the tape exposed, as it could stick to the inside of the envelope. Repeat steps 1 & 2 to create a pattern, leaving some space to write a cute note if you wish.
Step 3: Write a sweet message :)
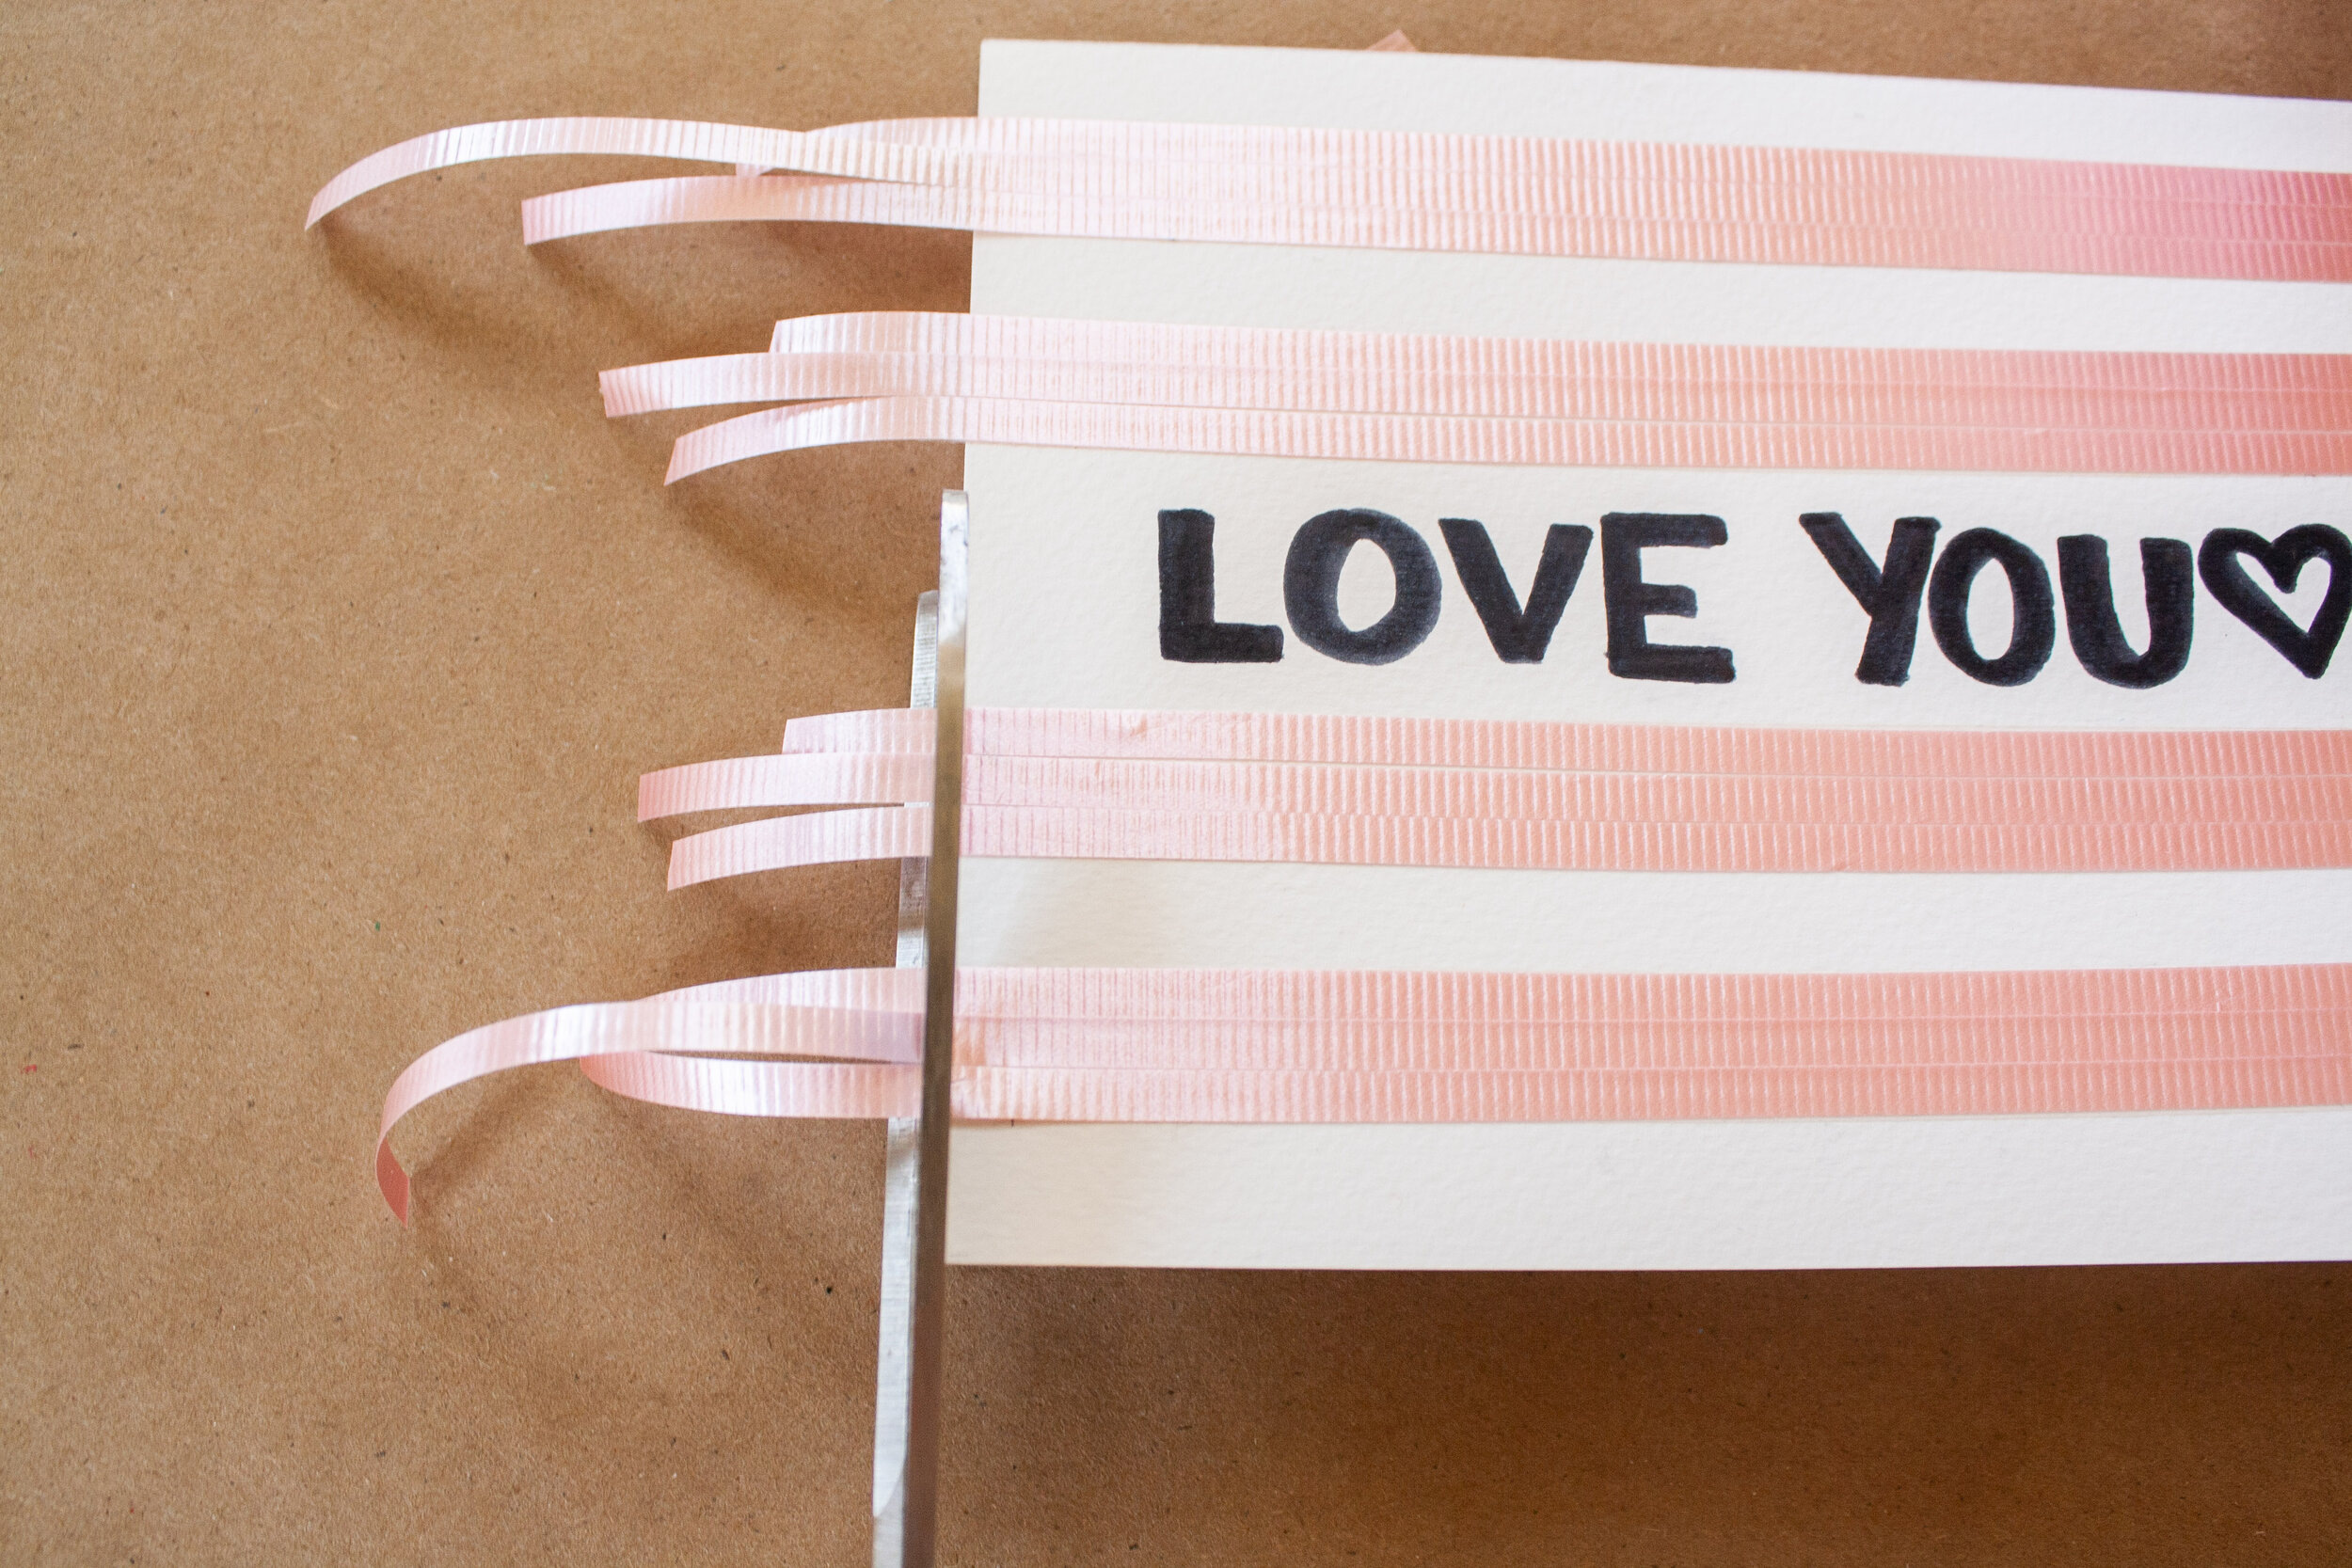
Step 4: Trim the edges to be in line with your card.

Rainbow Striped Card
Simple, yet sunny. This clean design is sure to hold a happy message and only requires acrylic paint, brushes, and painters tape!
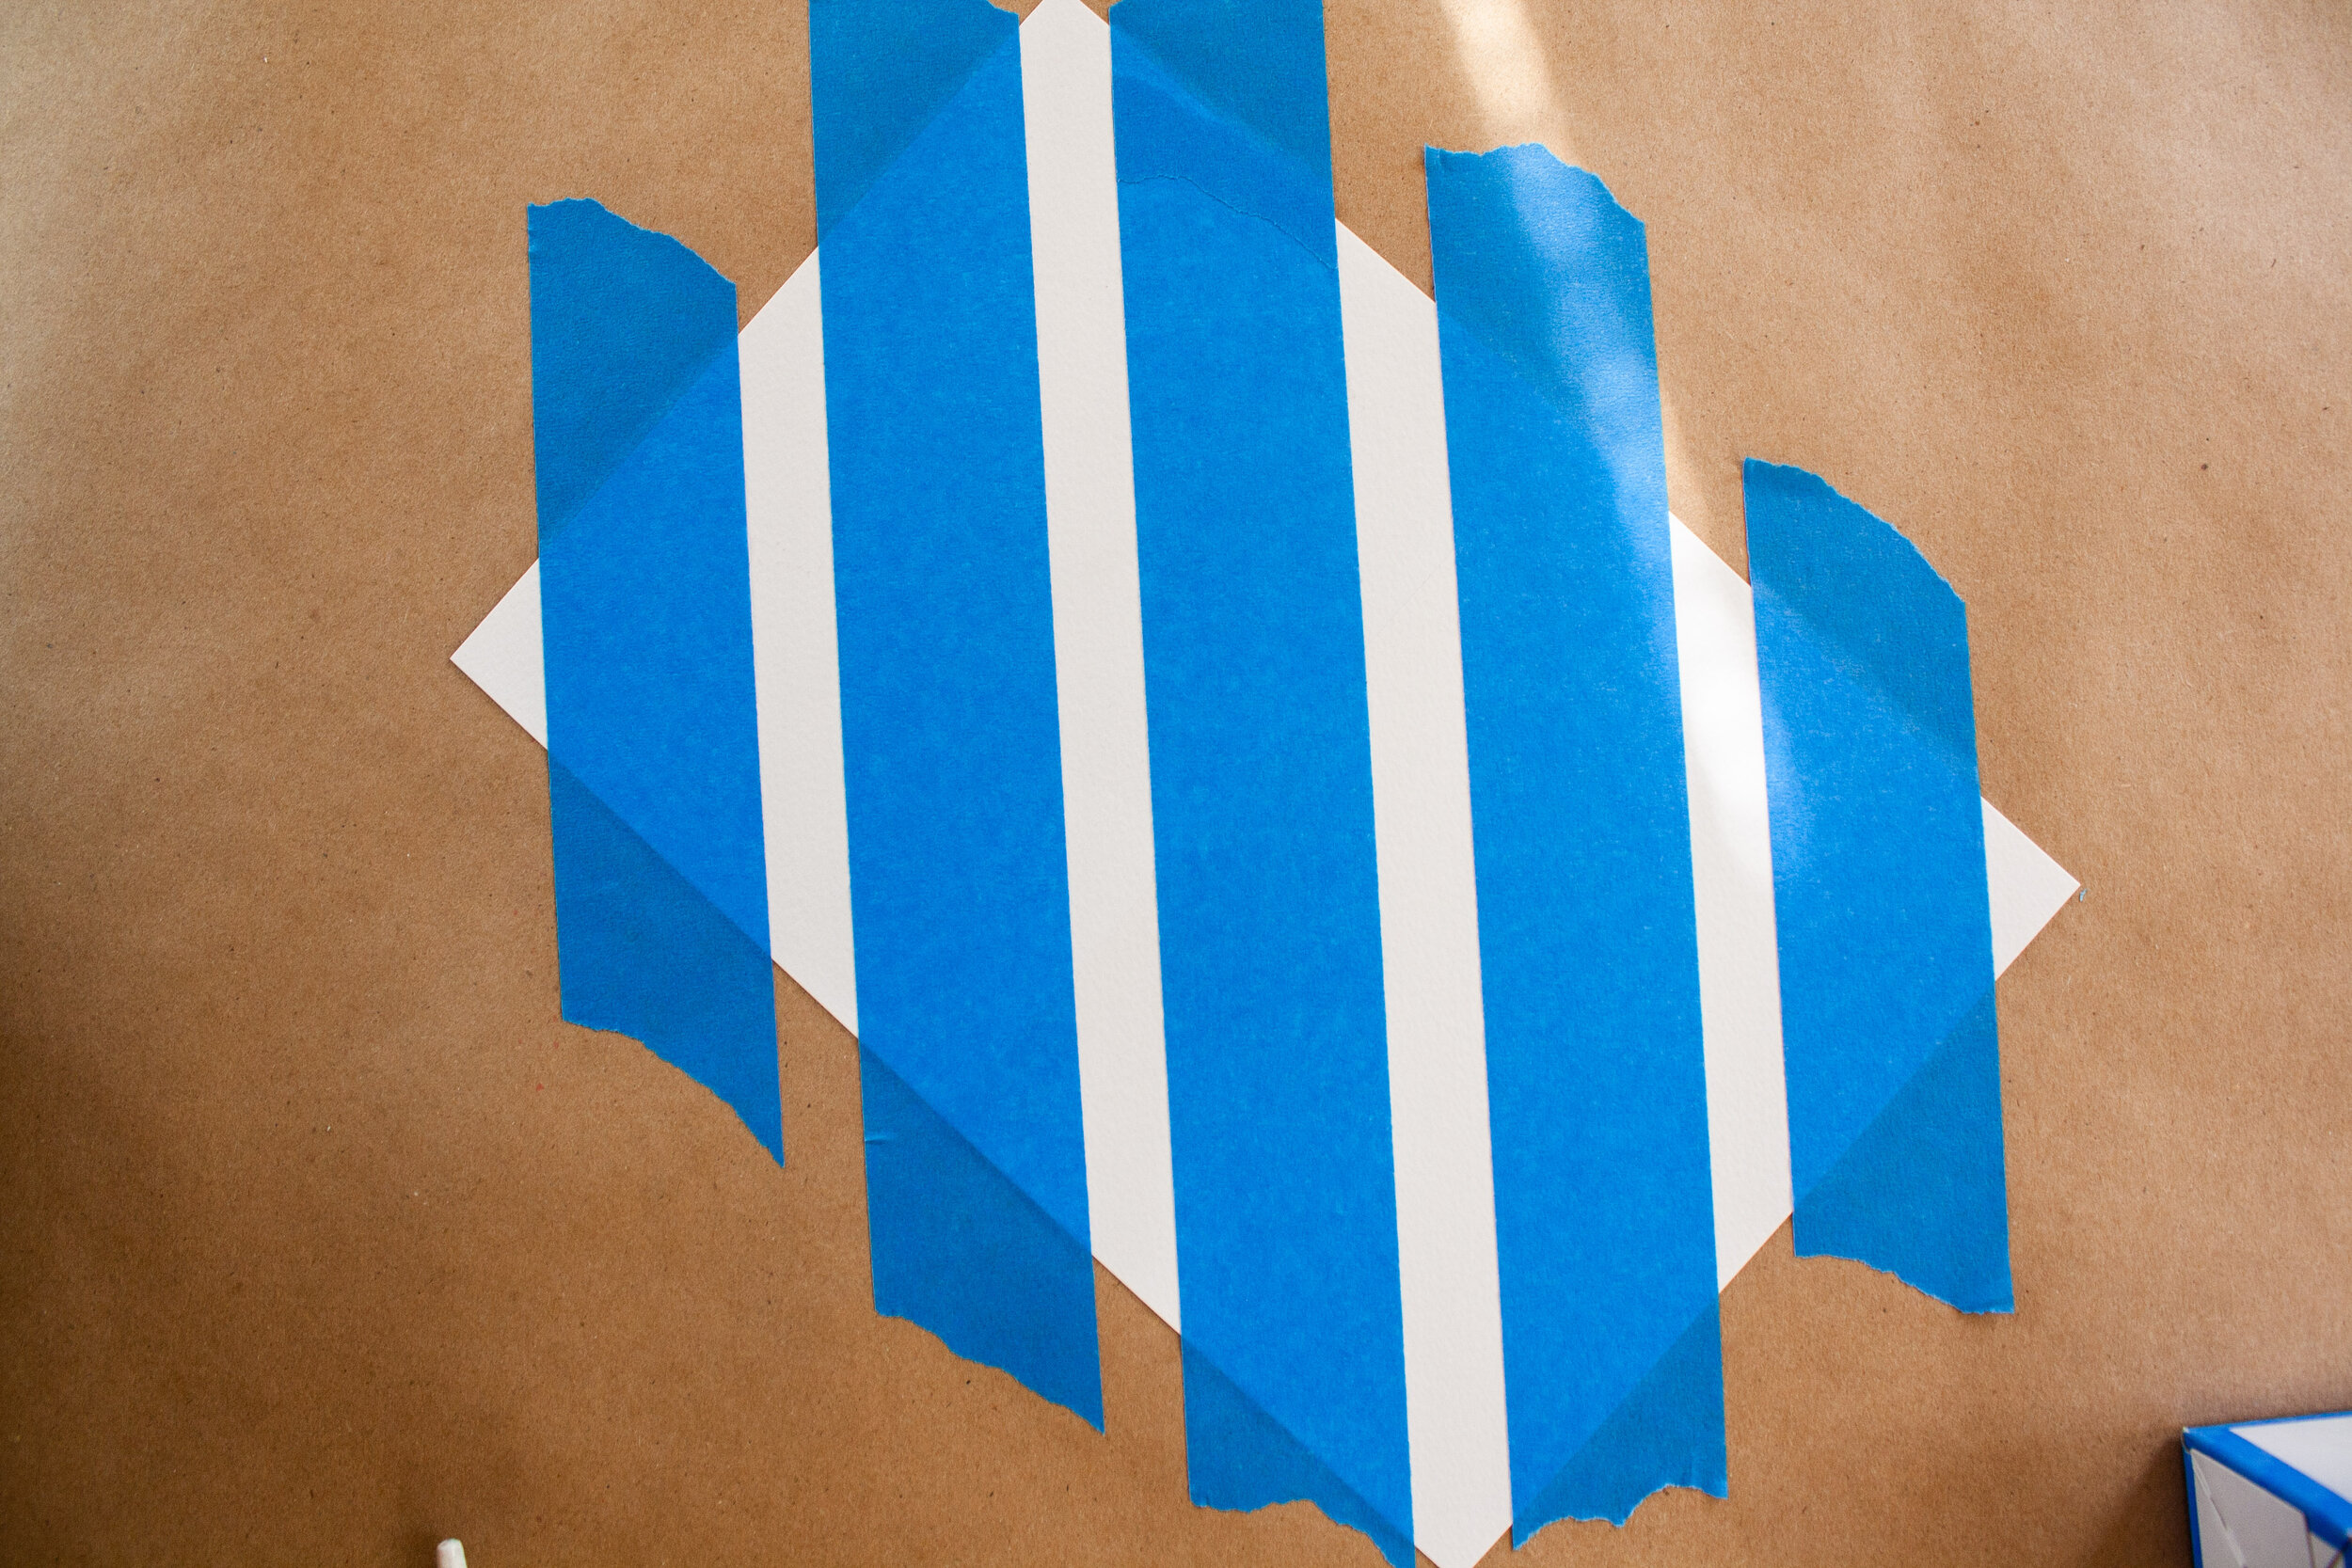
Step 1: Prep your page using painters tape. Press down firmly so no paint escapes the edges. I created a simple diagonal striped pattern, but you are welcome to create any pattern you wish.
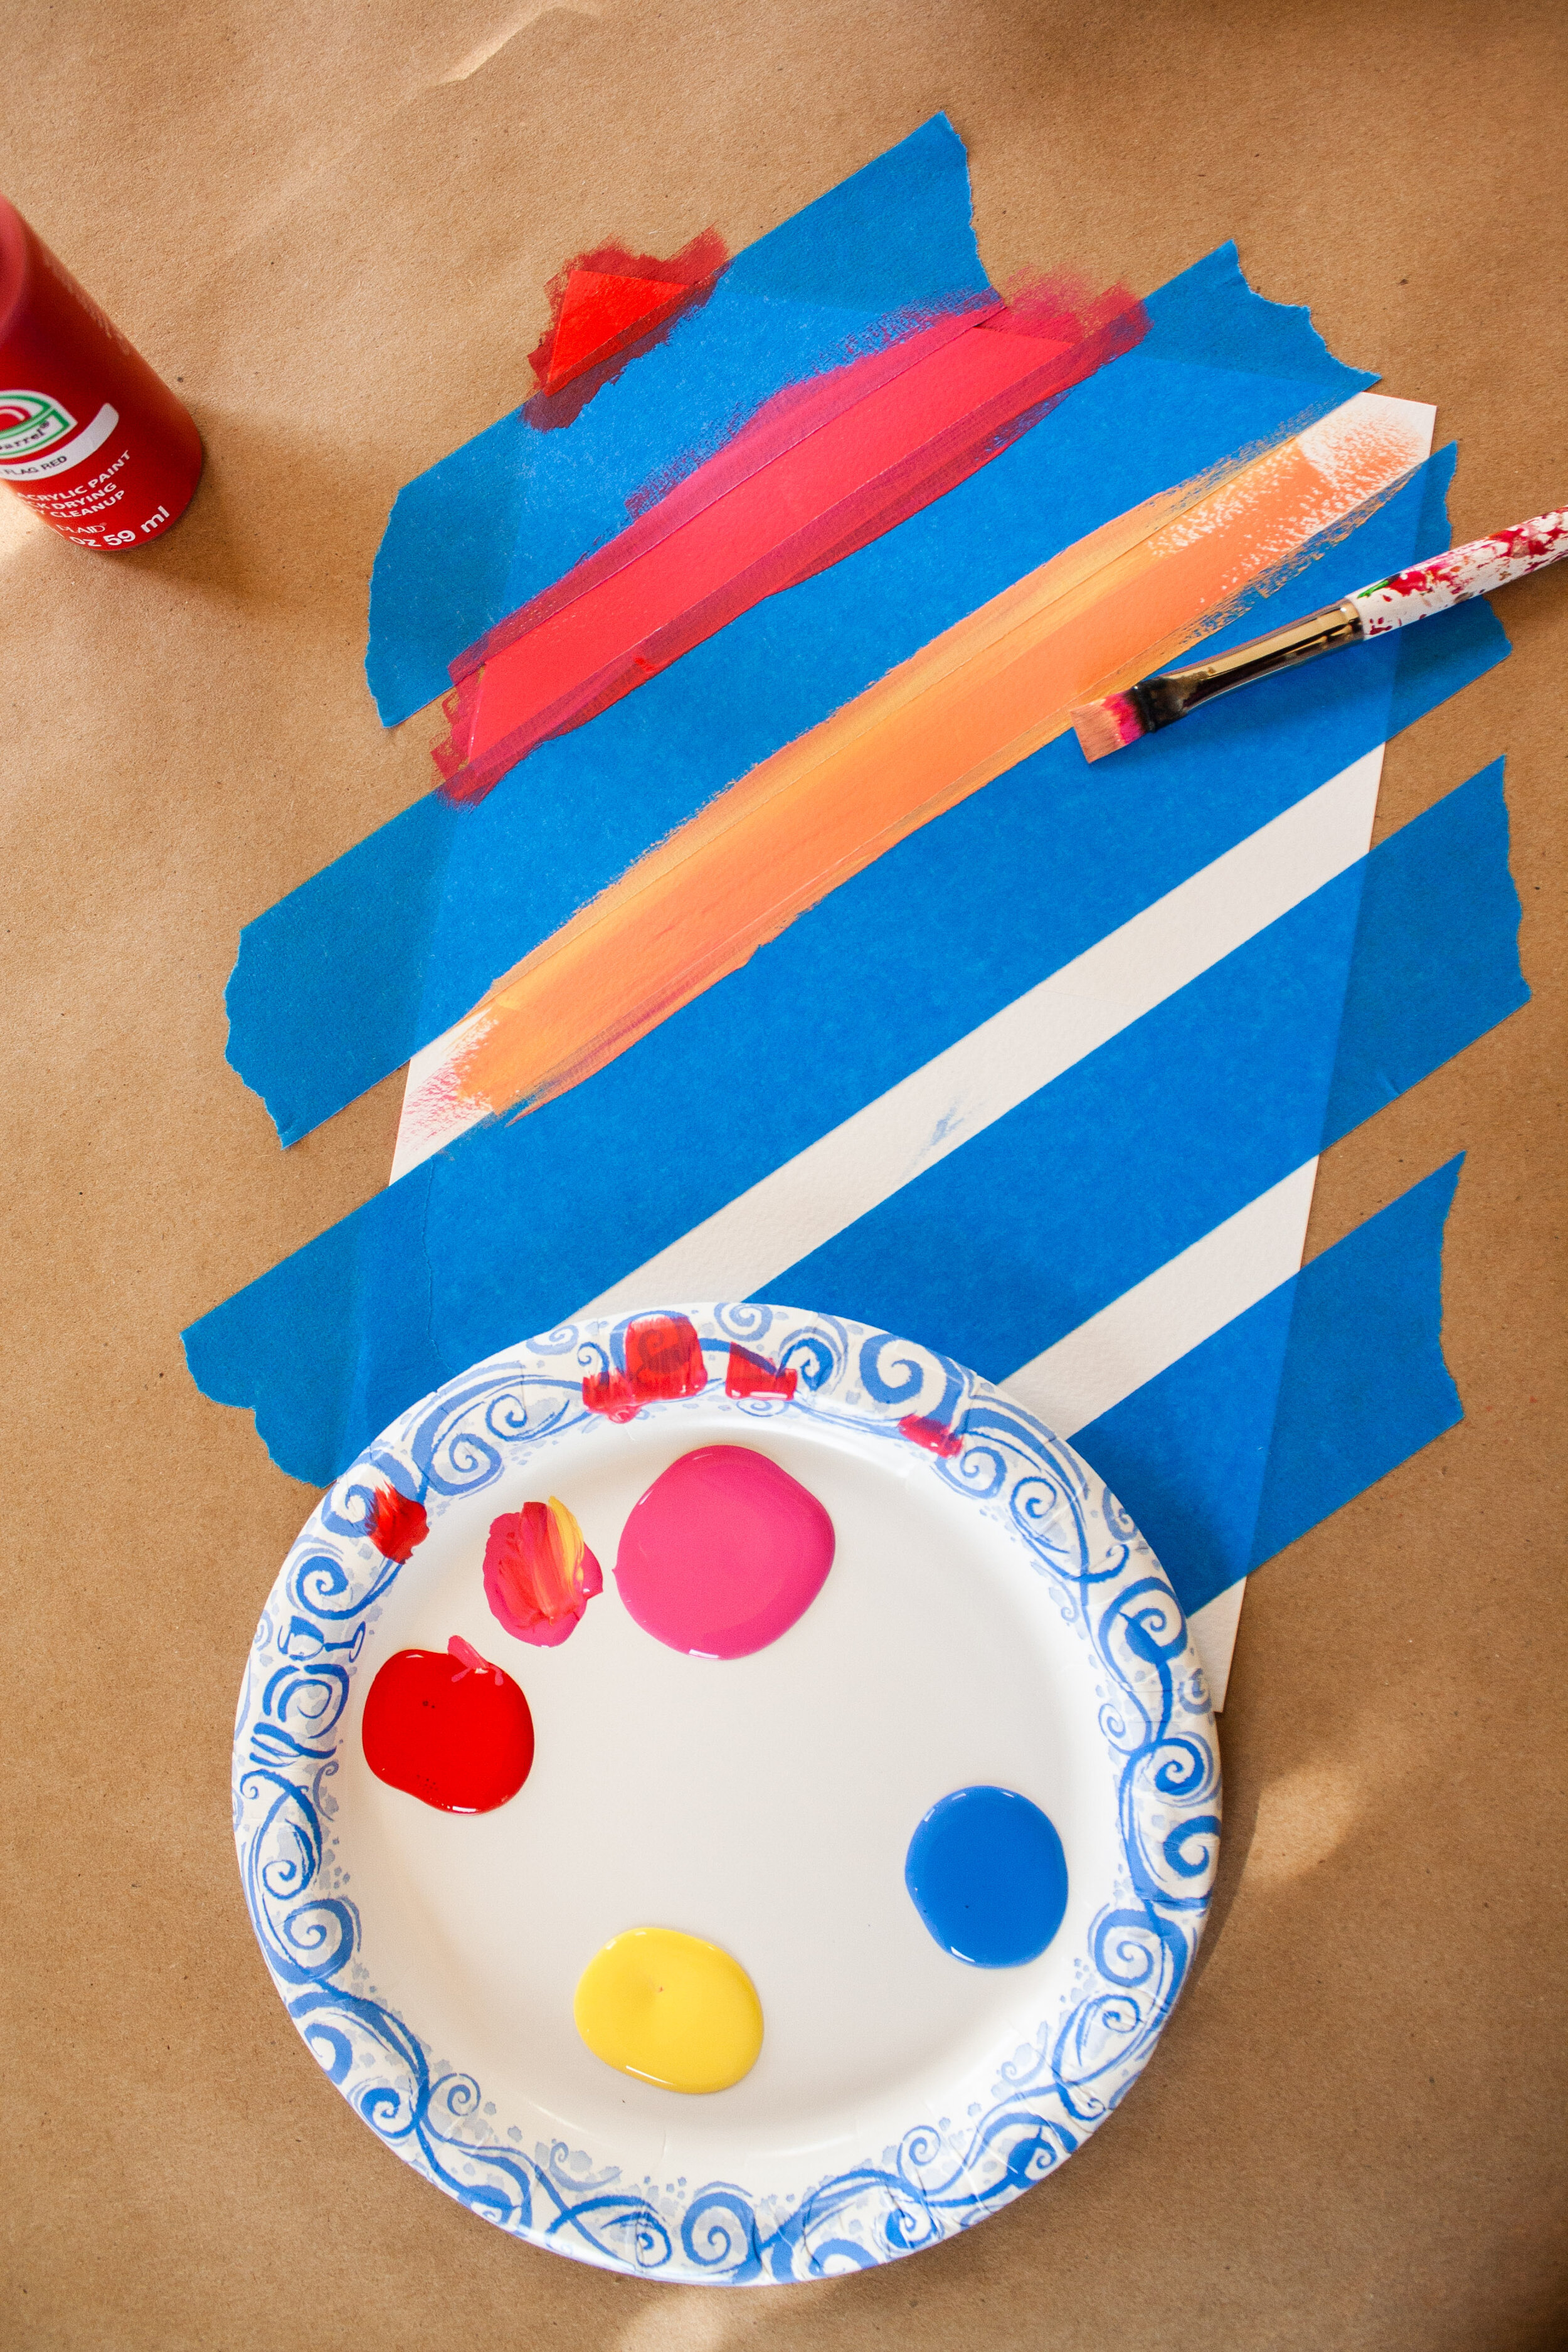
Step 2: I painted my stripes in rainbow order! Have fun mixing your paint colors and creating any color scheme you wish.
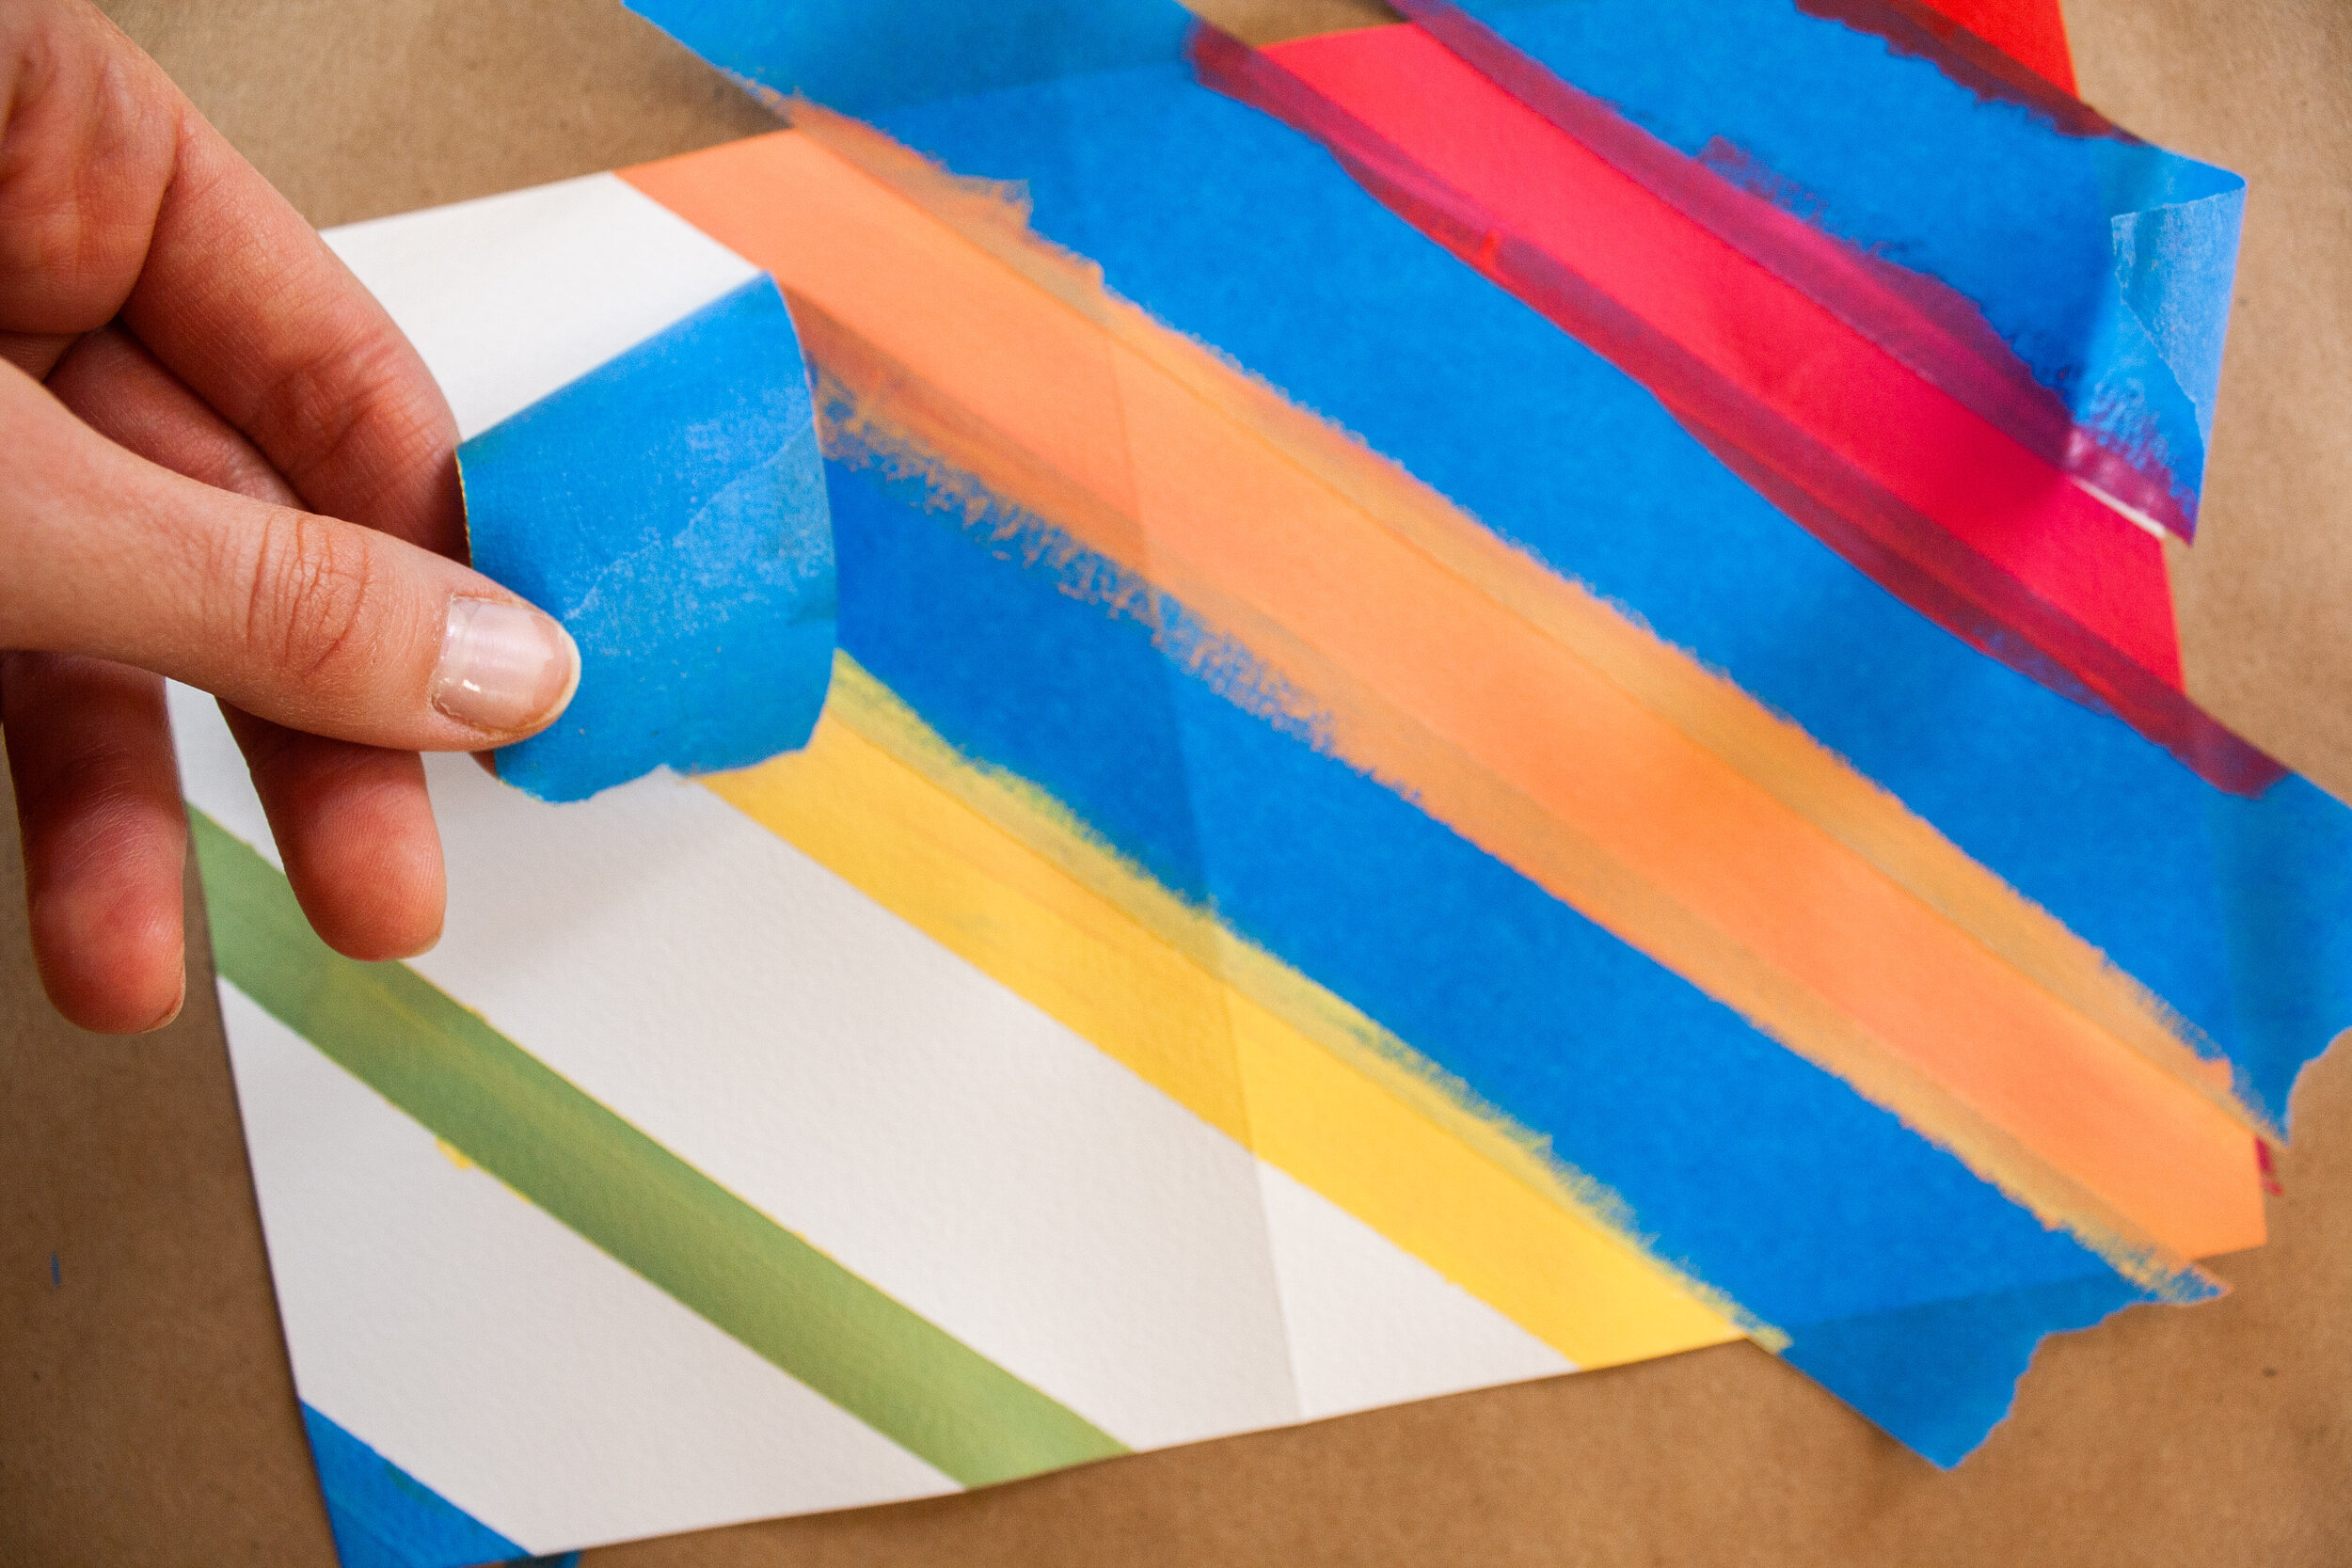
Step 3: Wait for the paint to full dry and slowly peel away the tape.
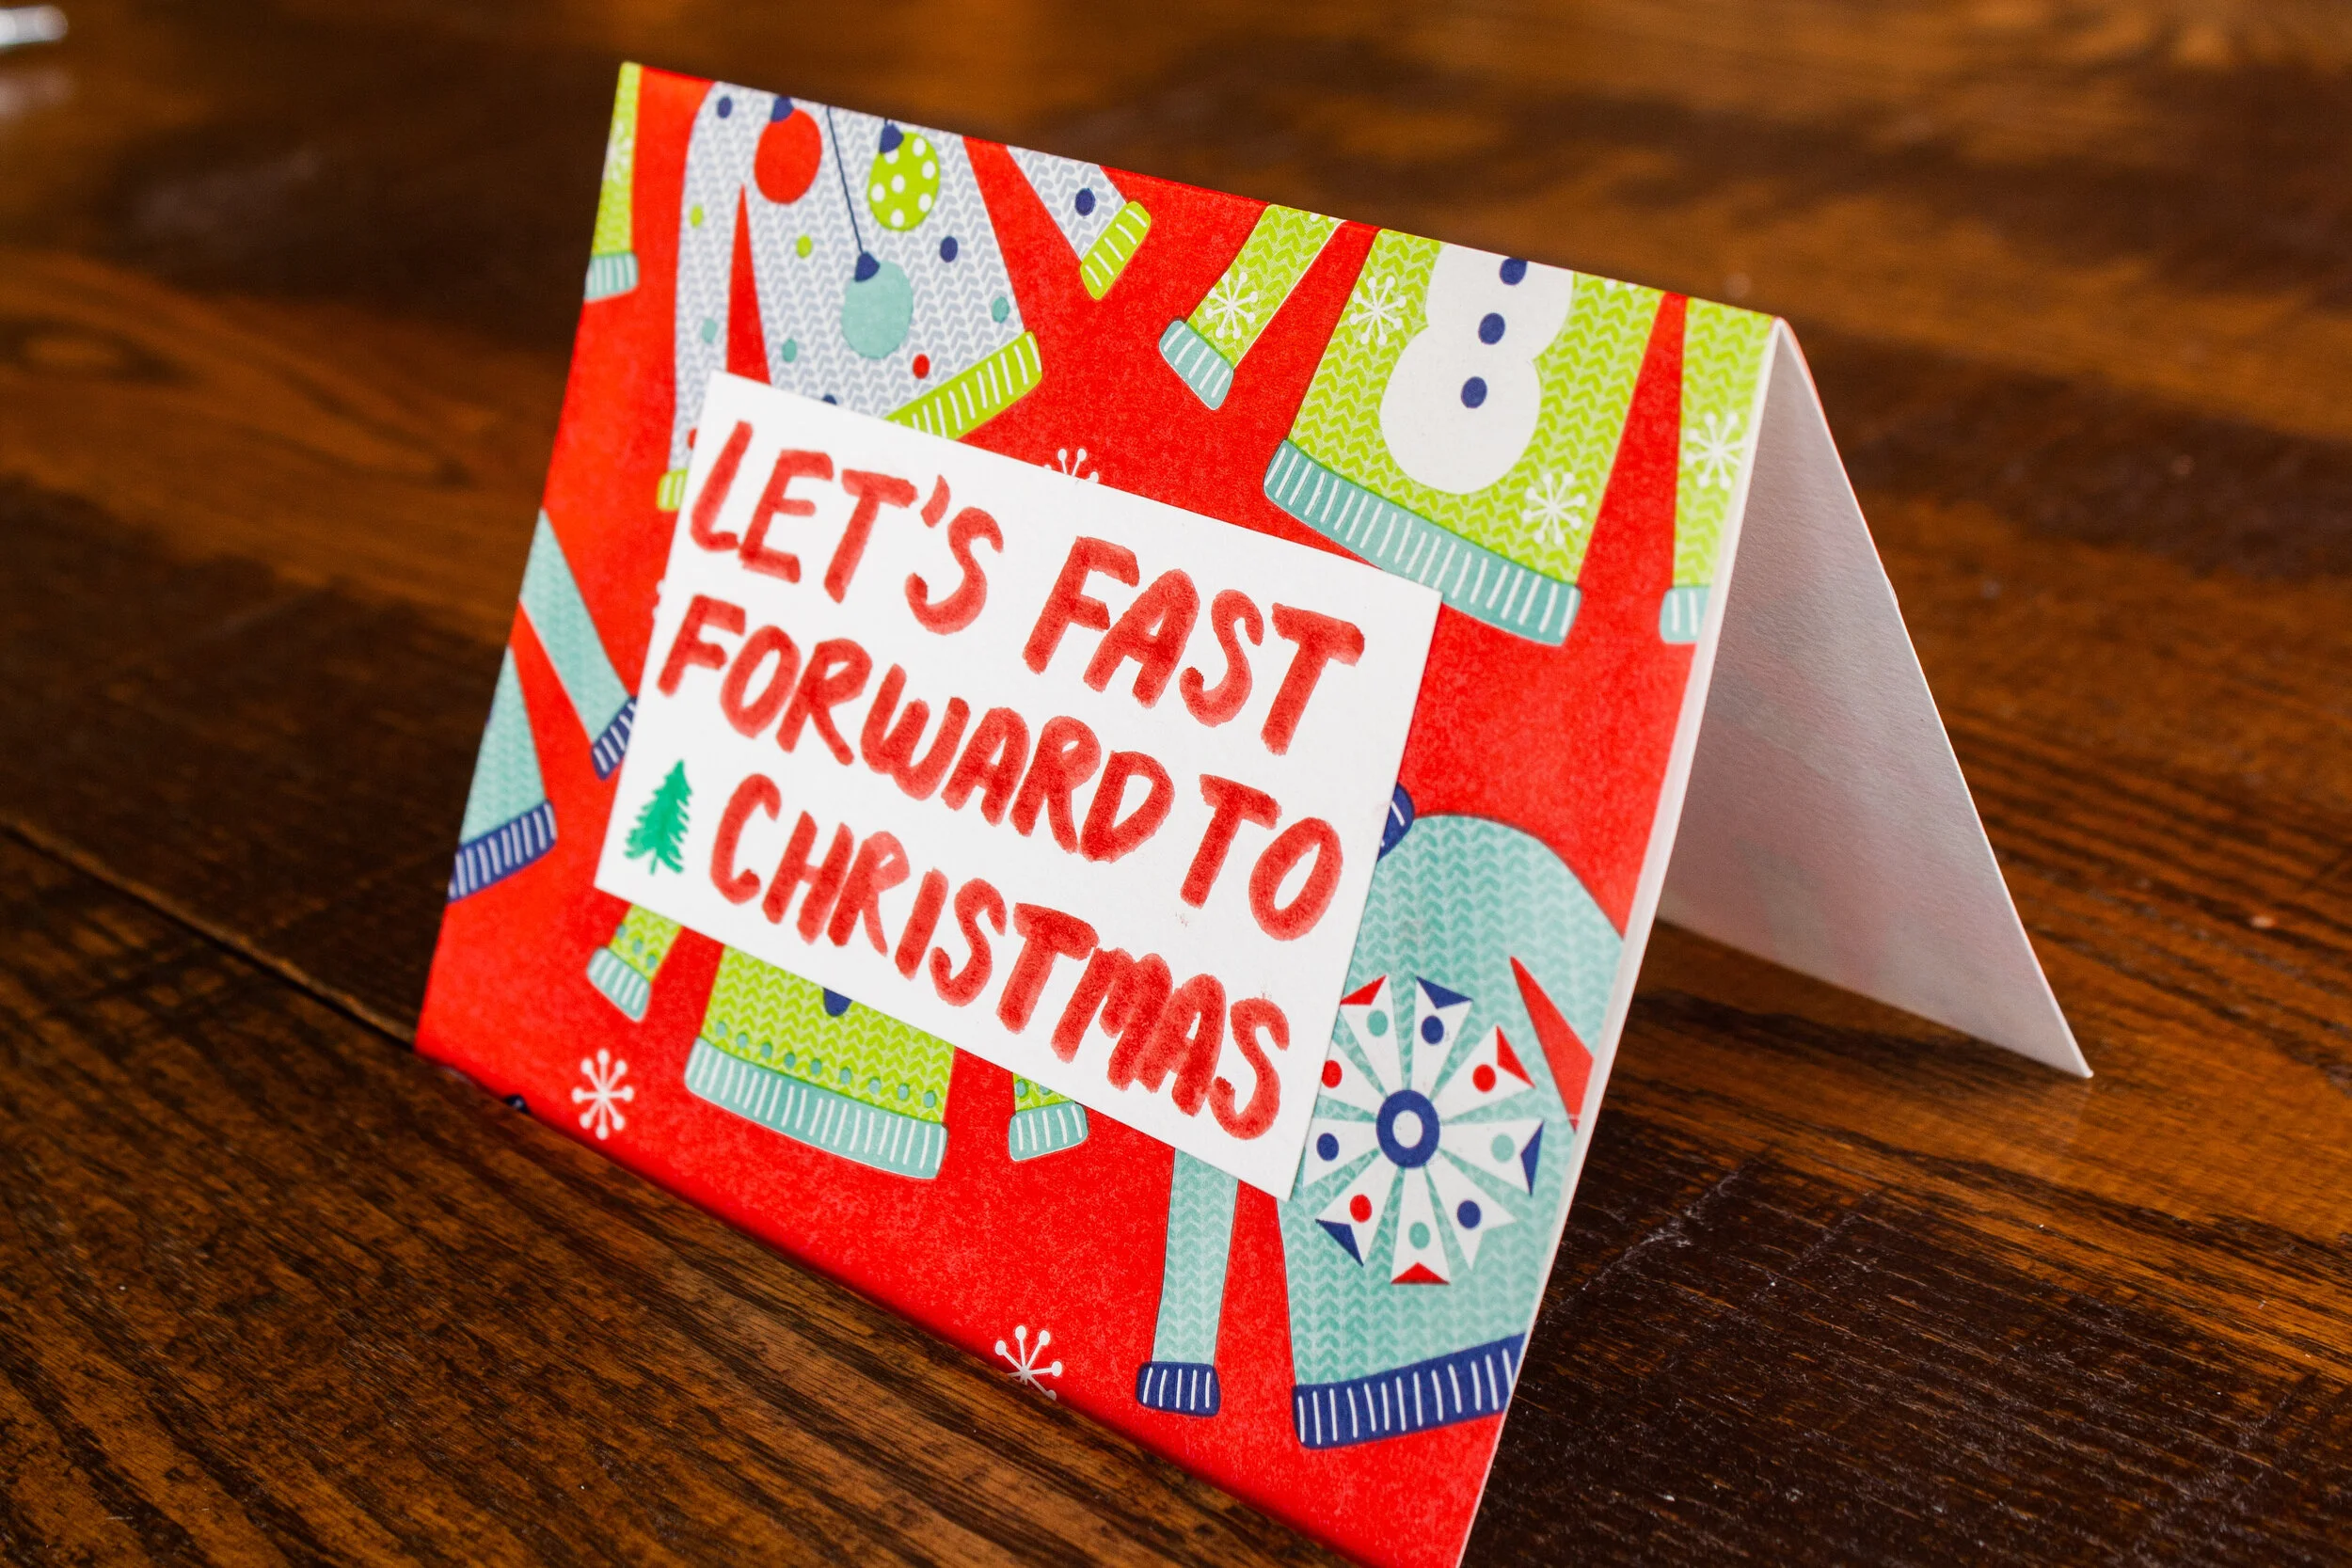
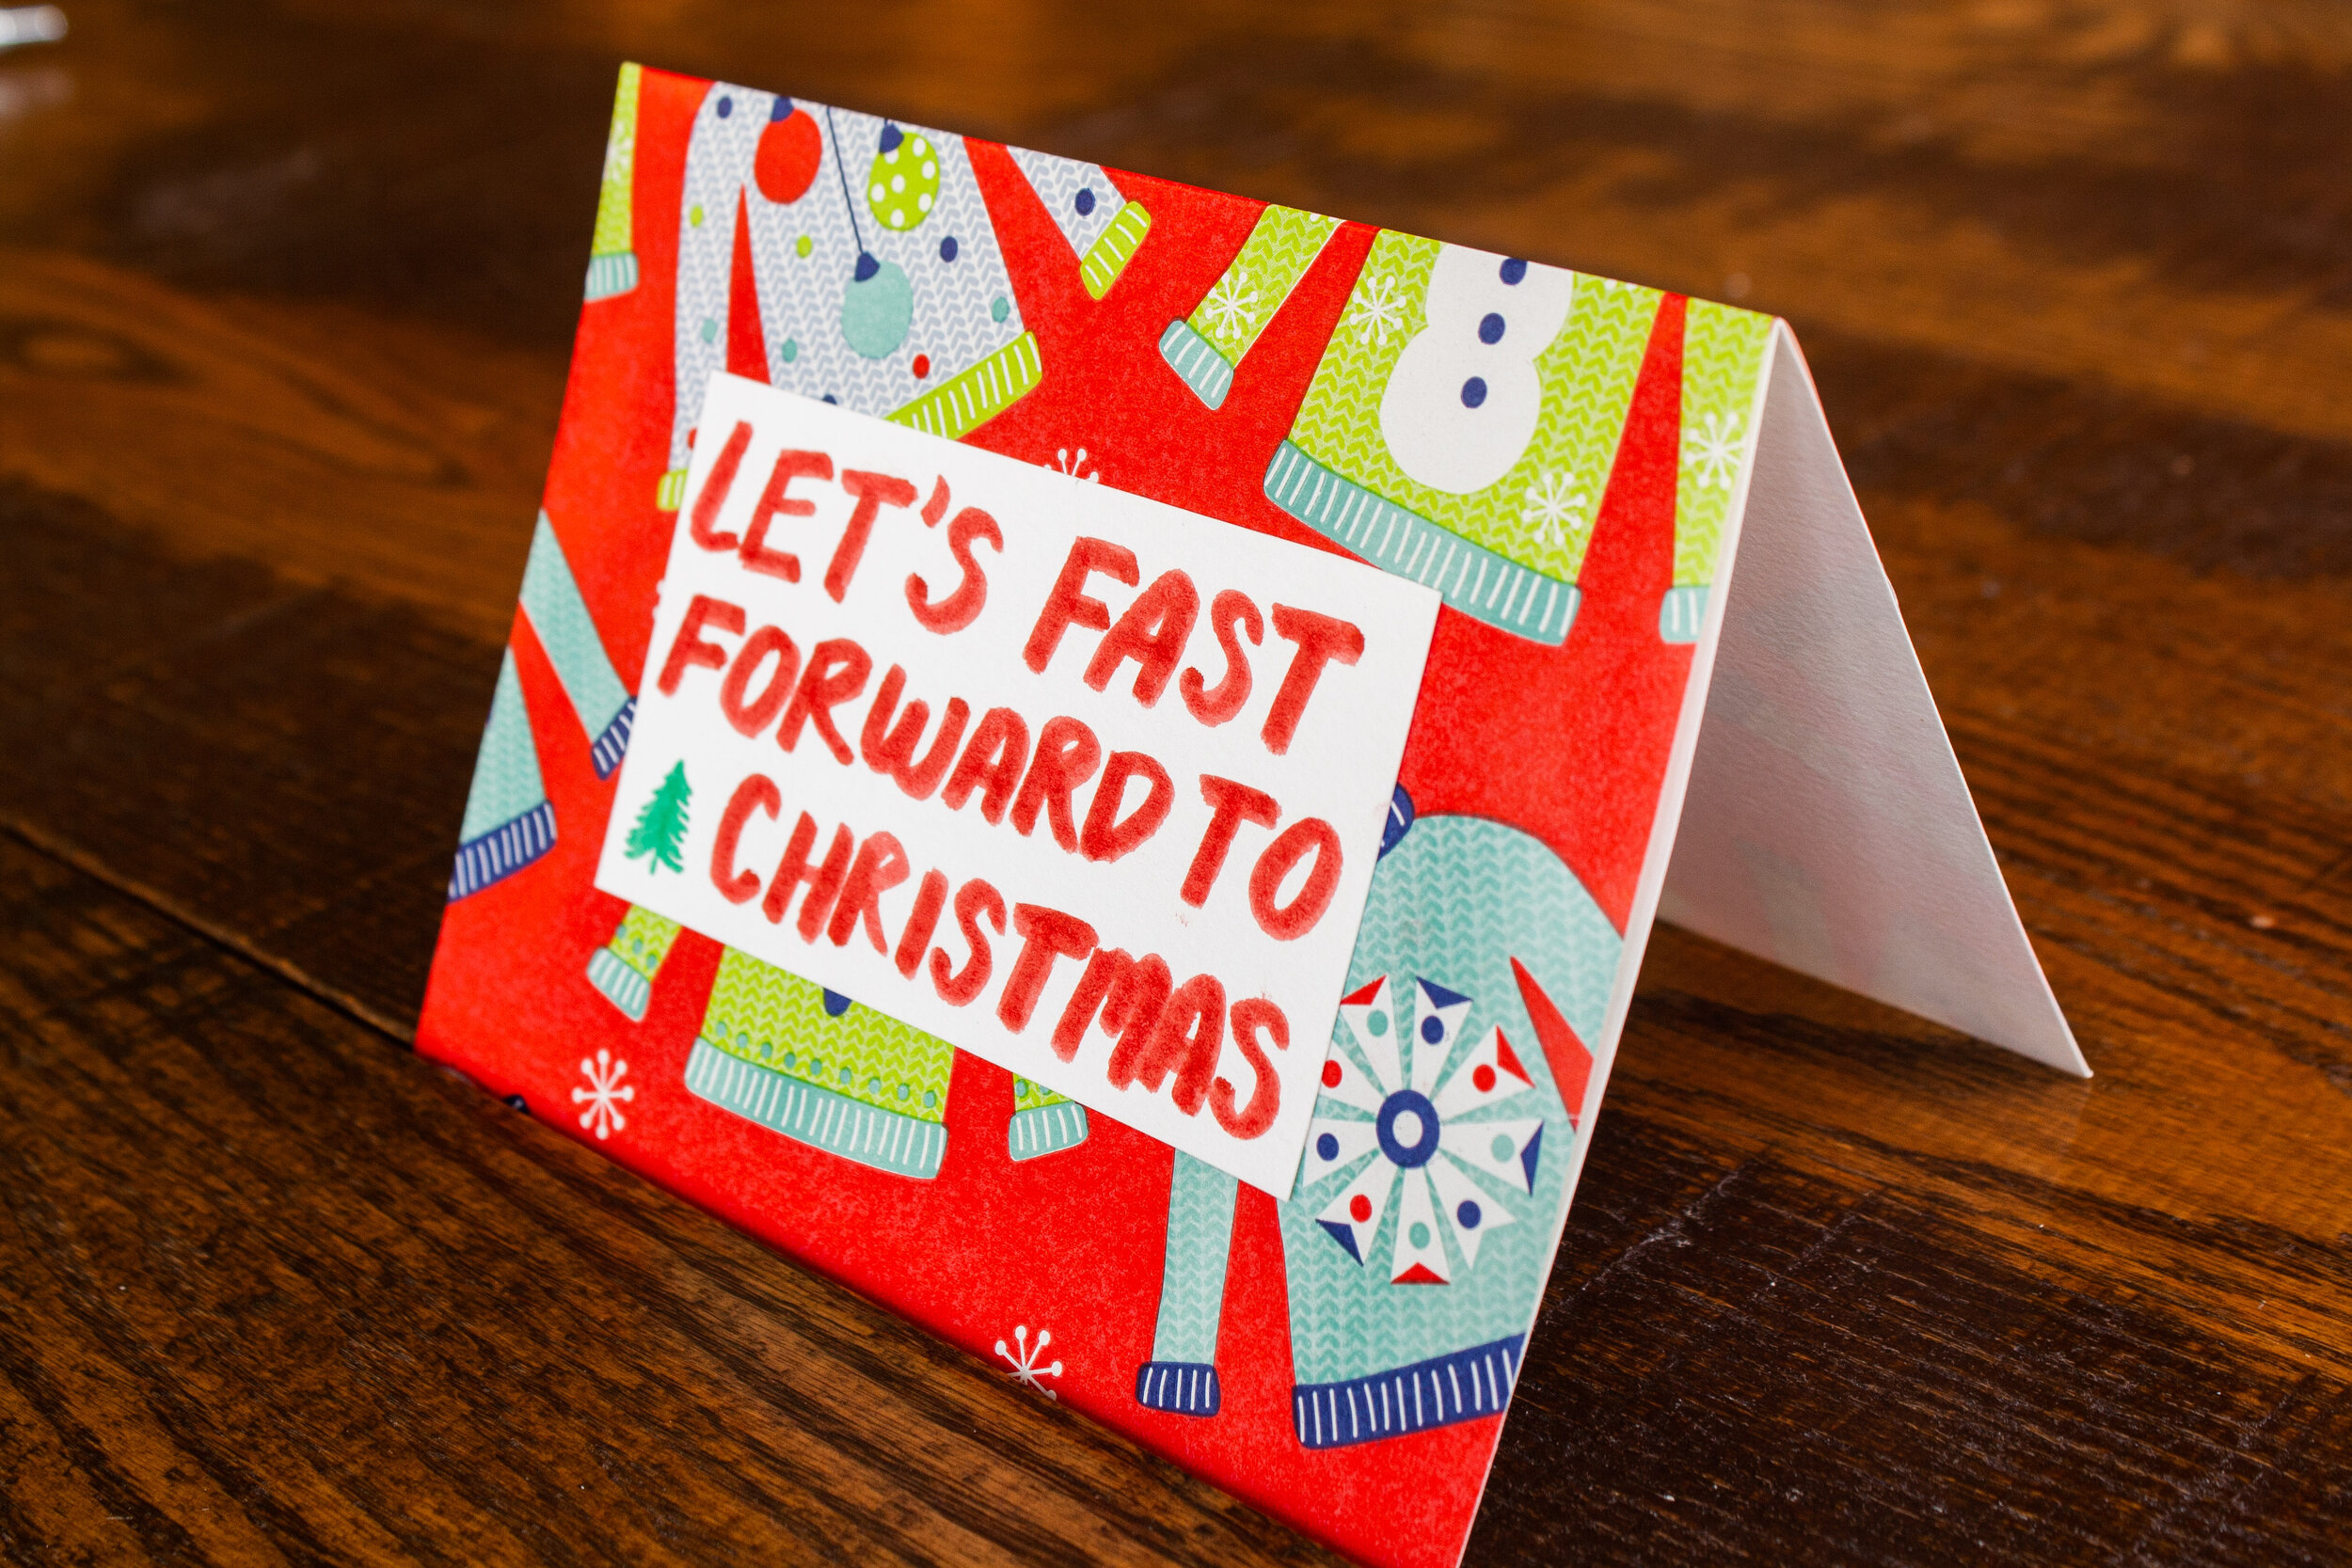
Let’s Fast Forward to Christmas
You’re all thinking it, and this card says it! We’re all ready for this nightmare to be over, and Christmas is a time we all think of so fondly. So… can we just time travel outta here? Thx! All you need for this one is leftover Christmas wrapping paper, double sided tape, white paper, and marker.
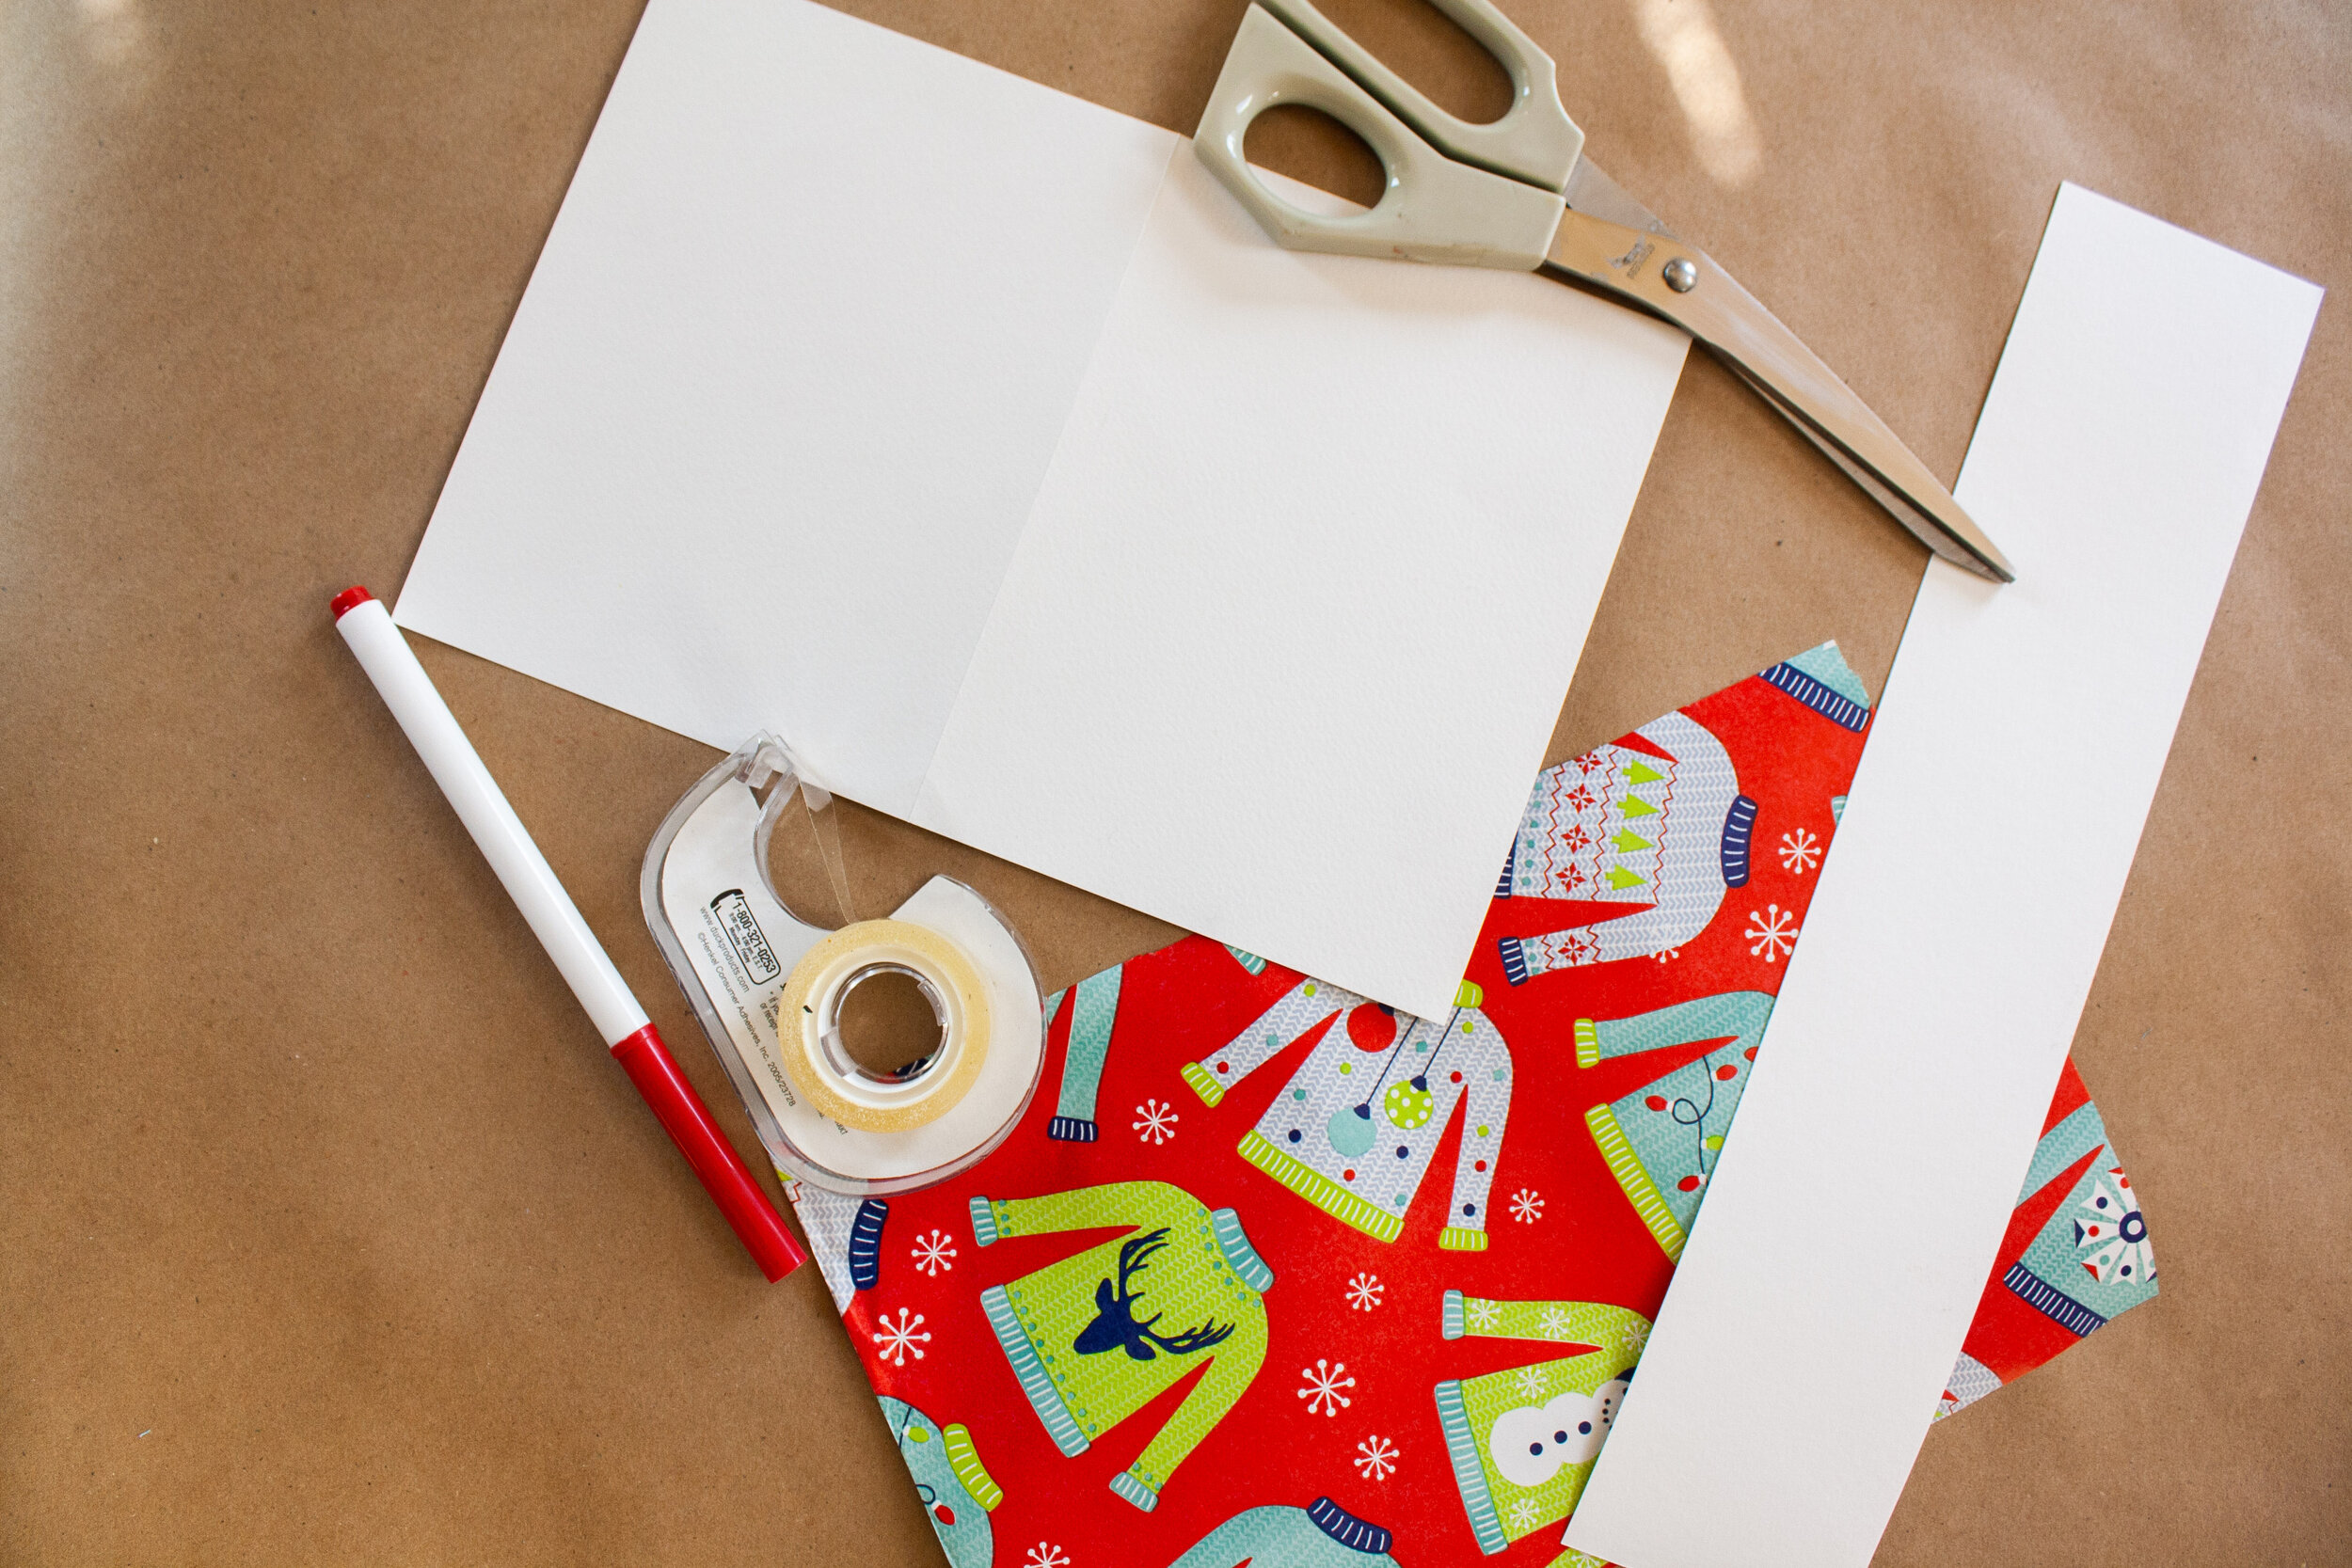

Step 1: Cut down your wrapping paper to the size of the card.
Step 2: Add double sided tape around the edges of the card, pressing the wrapping paper on firmly so it lays flat.
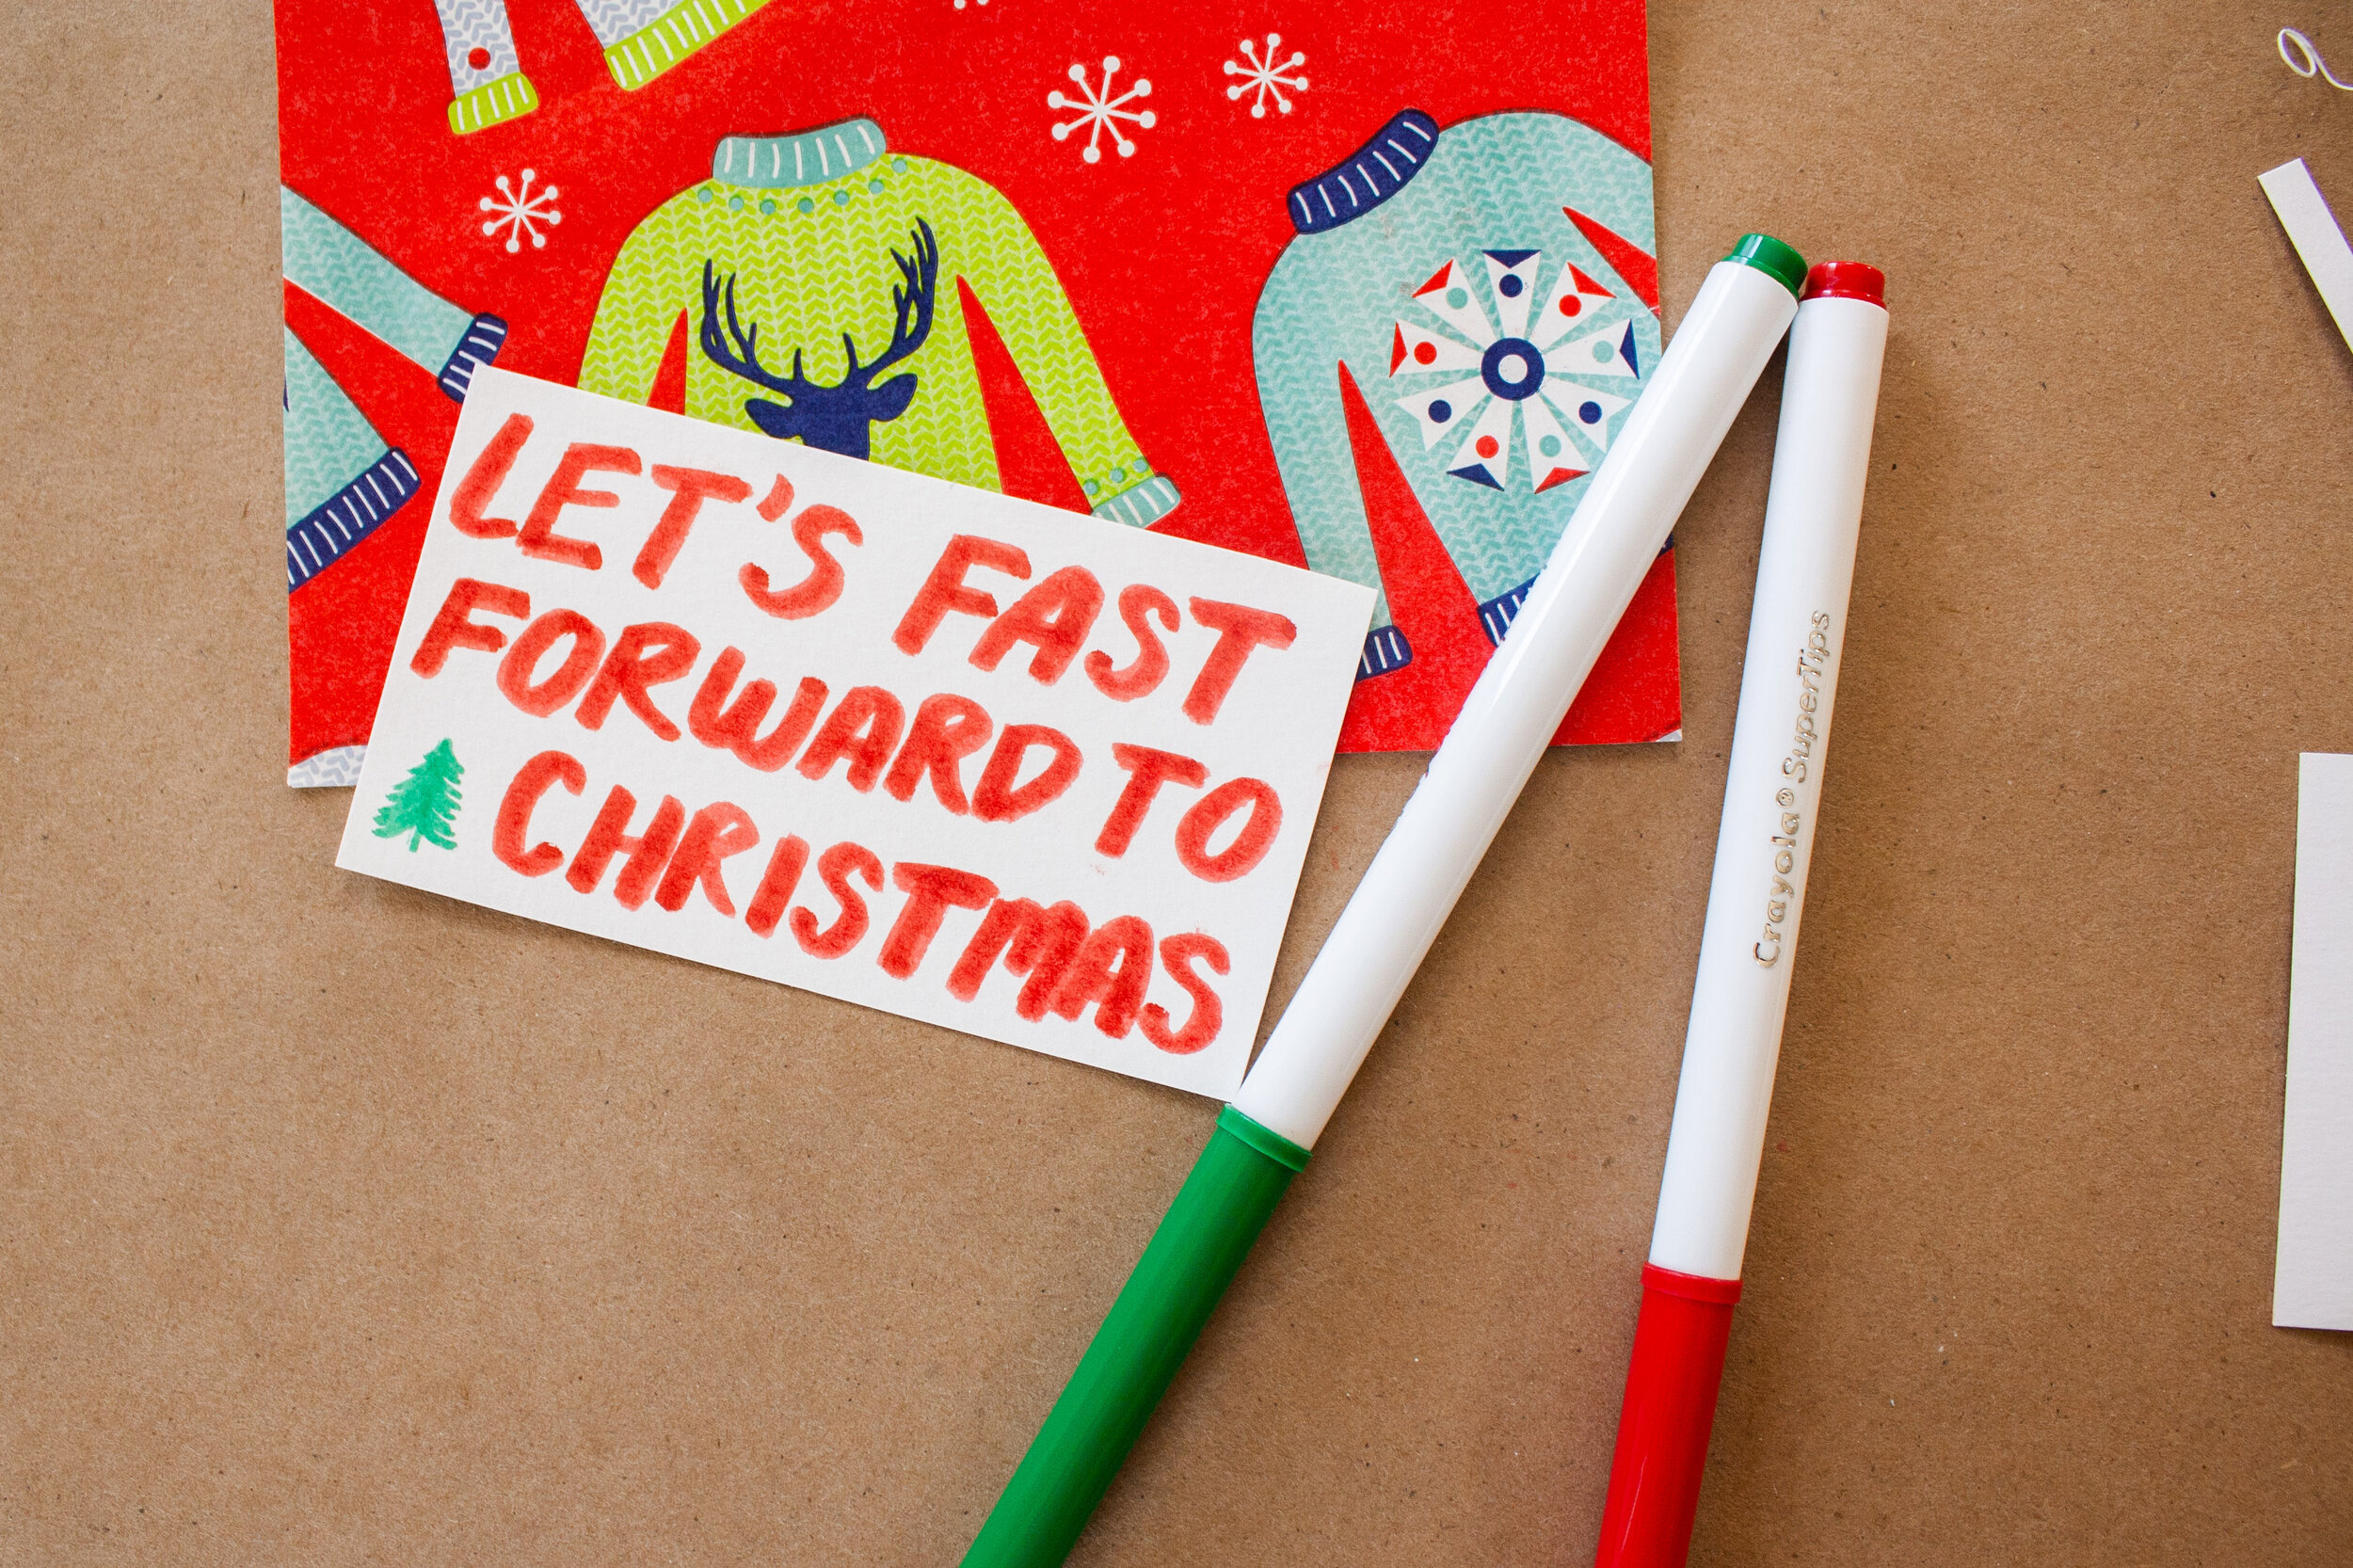
Step 3: Write out your message on the plain paper and then tape to the front! I recommend doing a test run with pencil and then covering it with marker to make sure you like the size and the design. I wrote “let’s fast forward to christmas” but you can write any message you’d like!

Good Days Ahead Card
This one is important, guys. We need to remind each other that this is temporary. It won’t be like this forever even though it feels that way. I think the our health heroes and the kids at home who don’t understand what’s going on especially need this right now. This little message is here to remind everyone that good days are coming for us! All you need for this is COLORED PENCILS. So simple and allow for your own version of creativity.
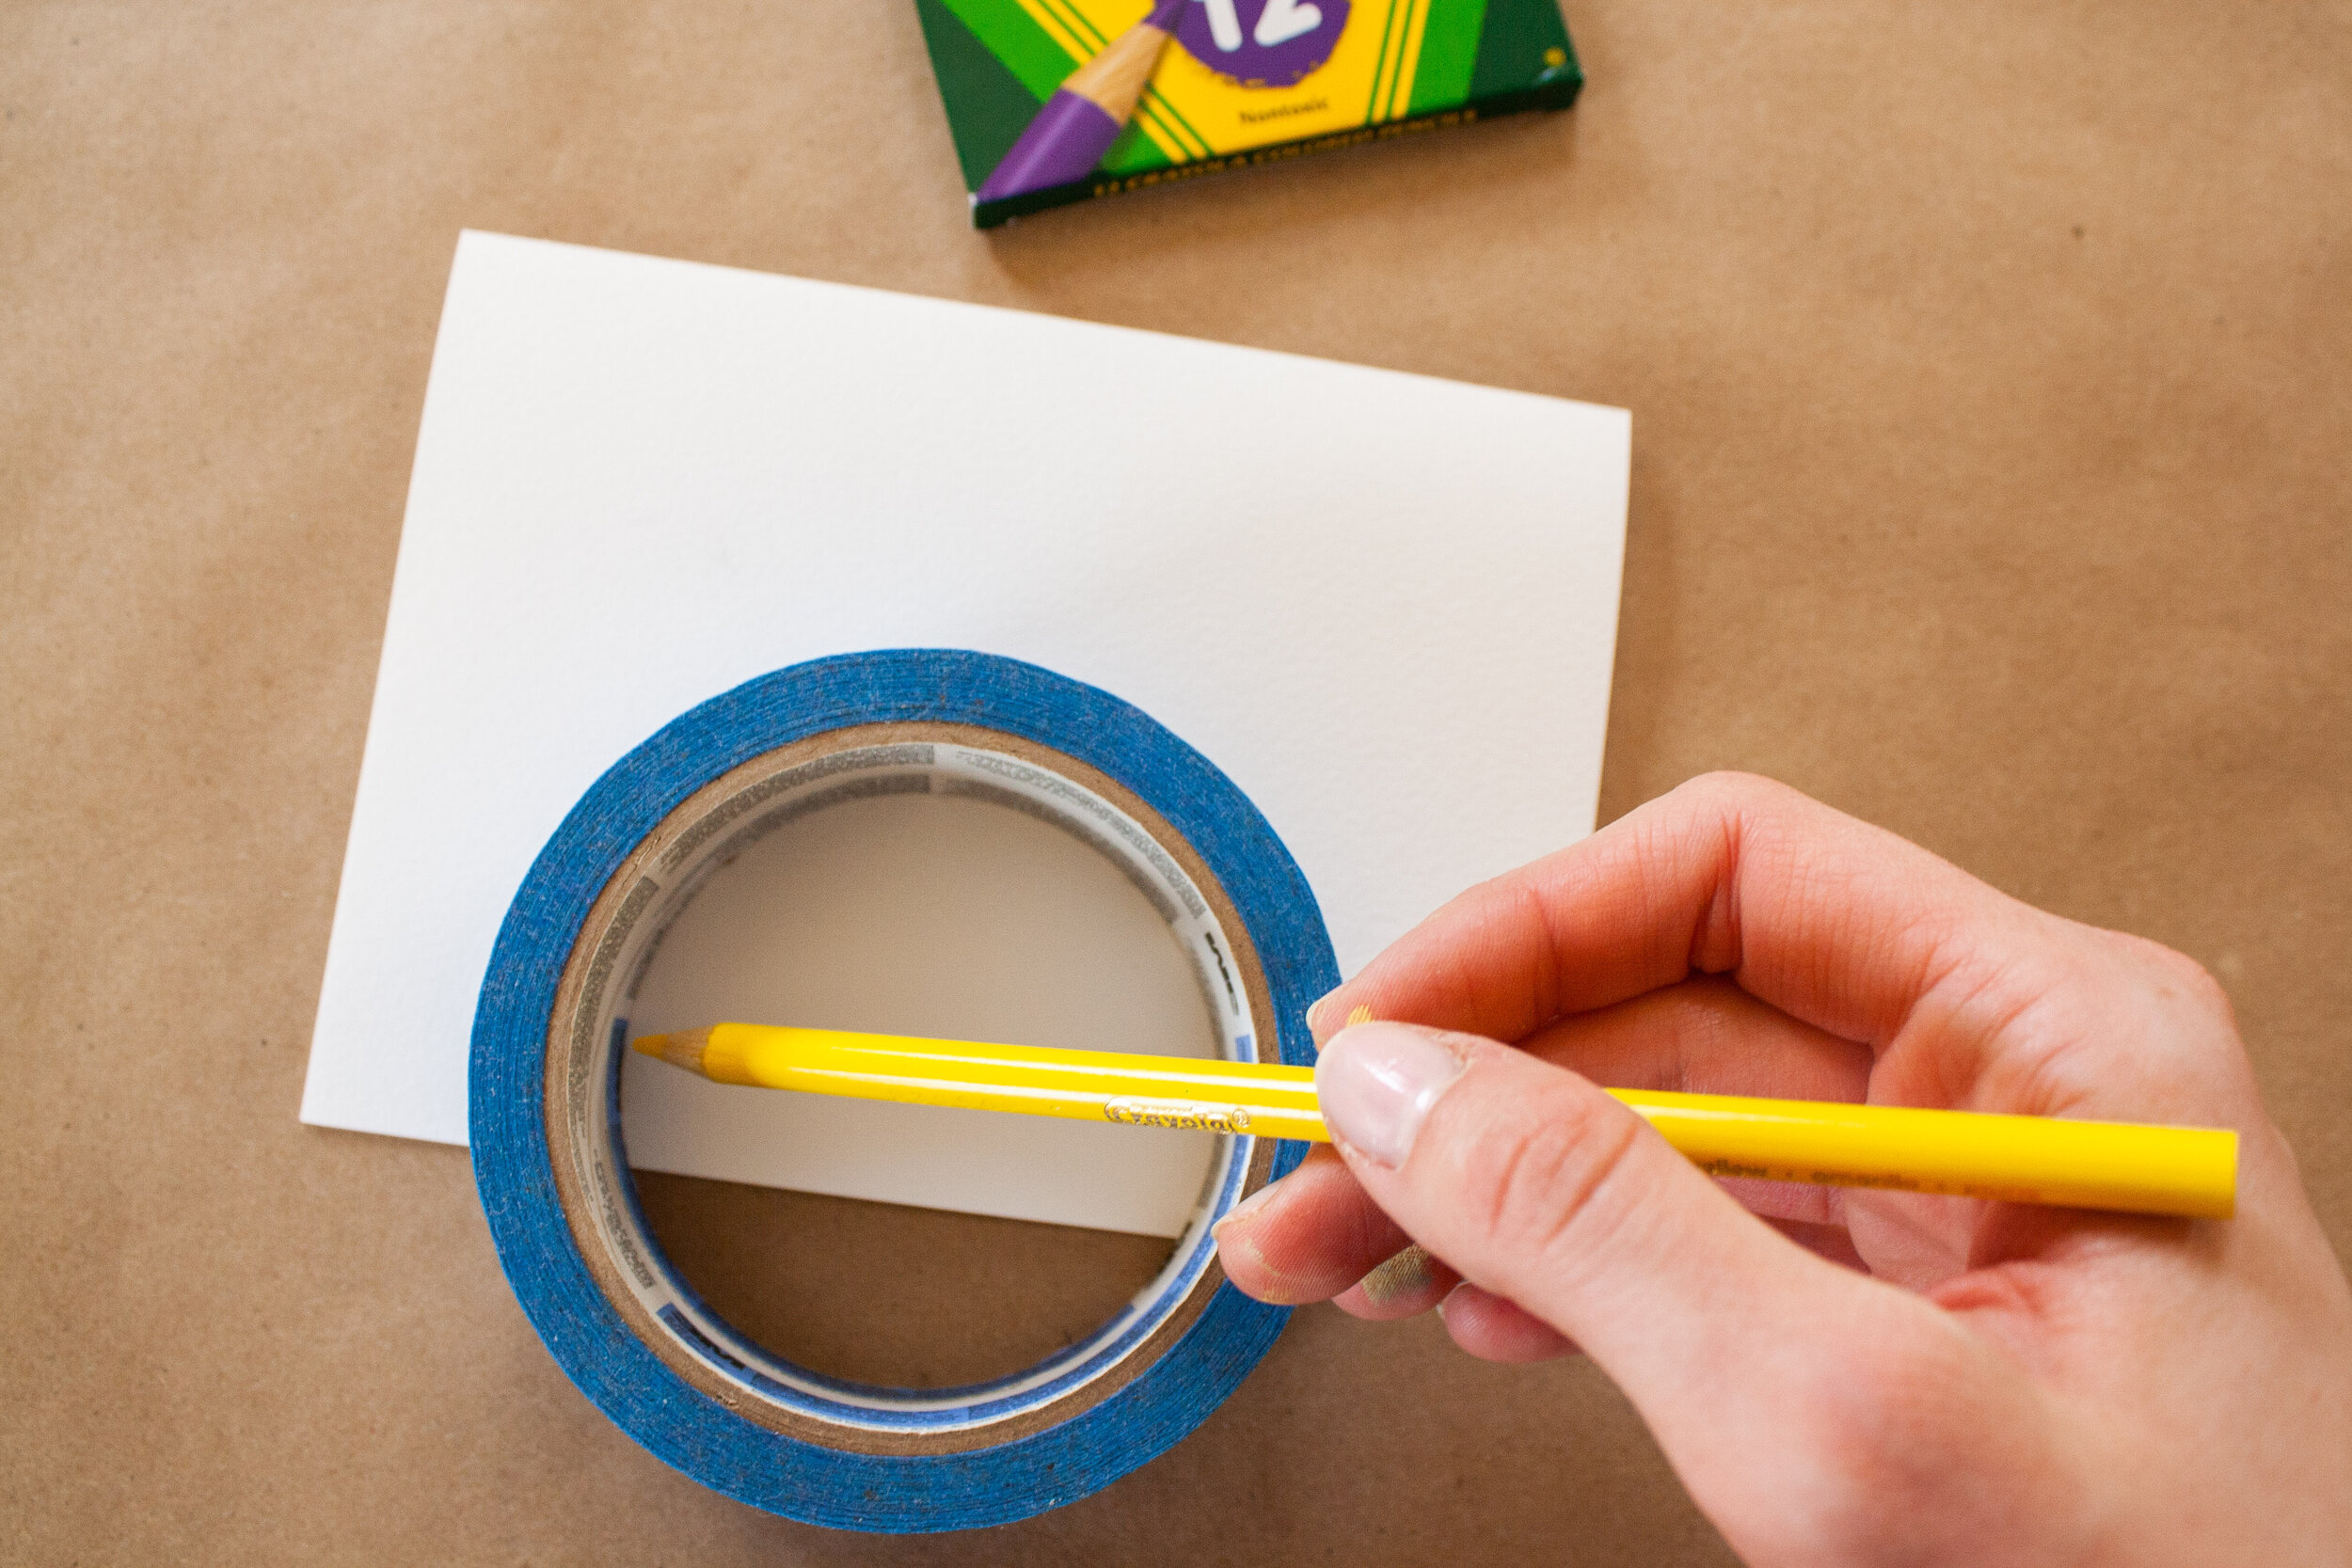
Step 1: Use a round object (I used my roll of painter’s tape from before!) to create your sun shape. This card is just meant to be for FUN. Draw anything you’d like that brings you joy, but I find that the sun is universally a symbol of happiness.
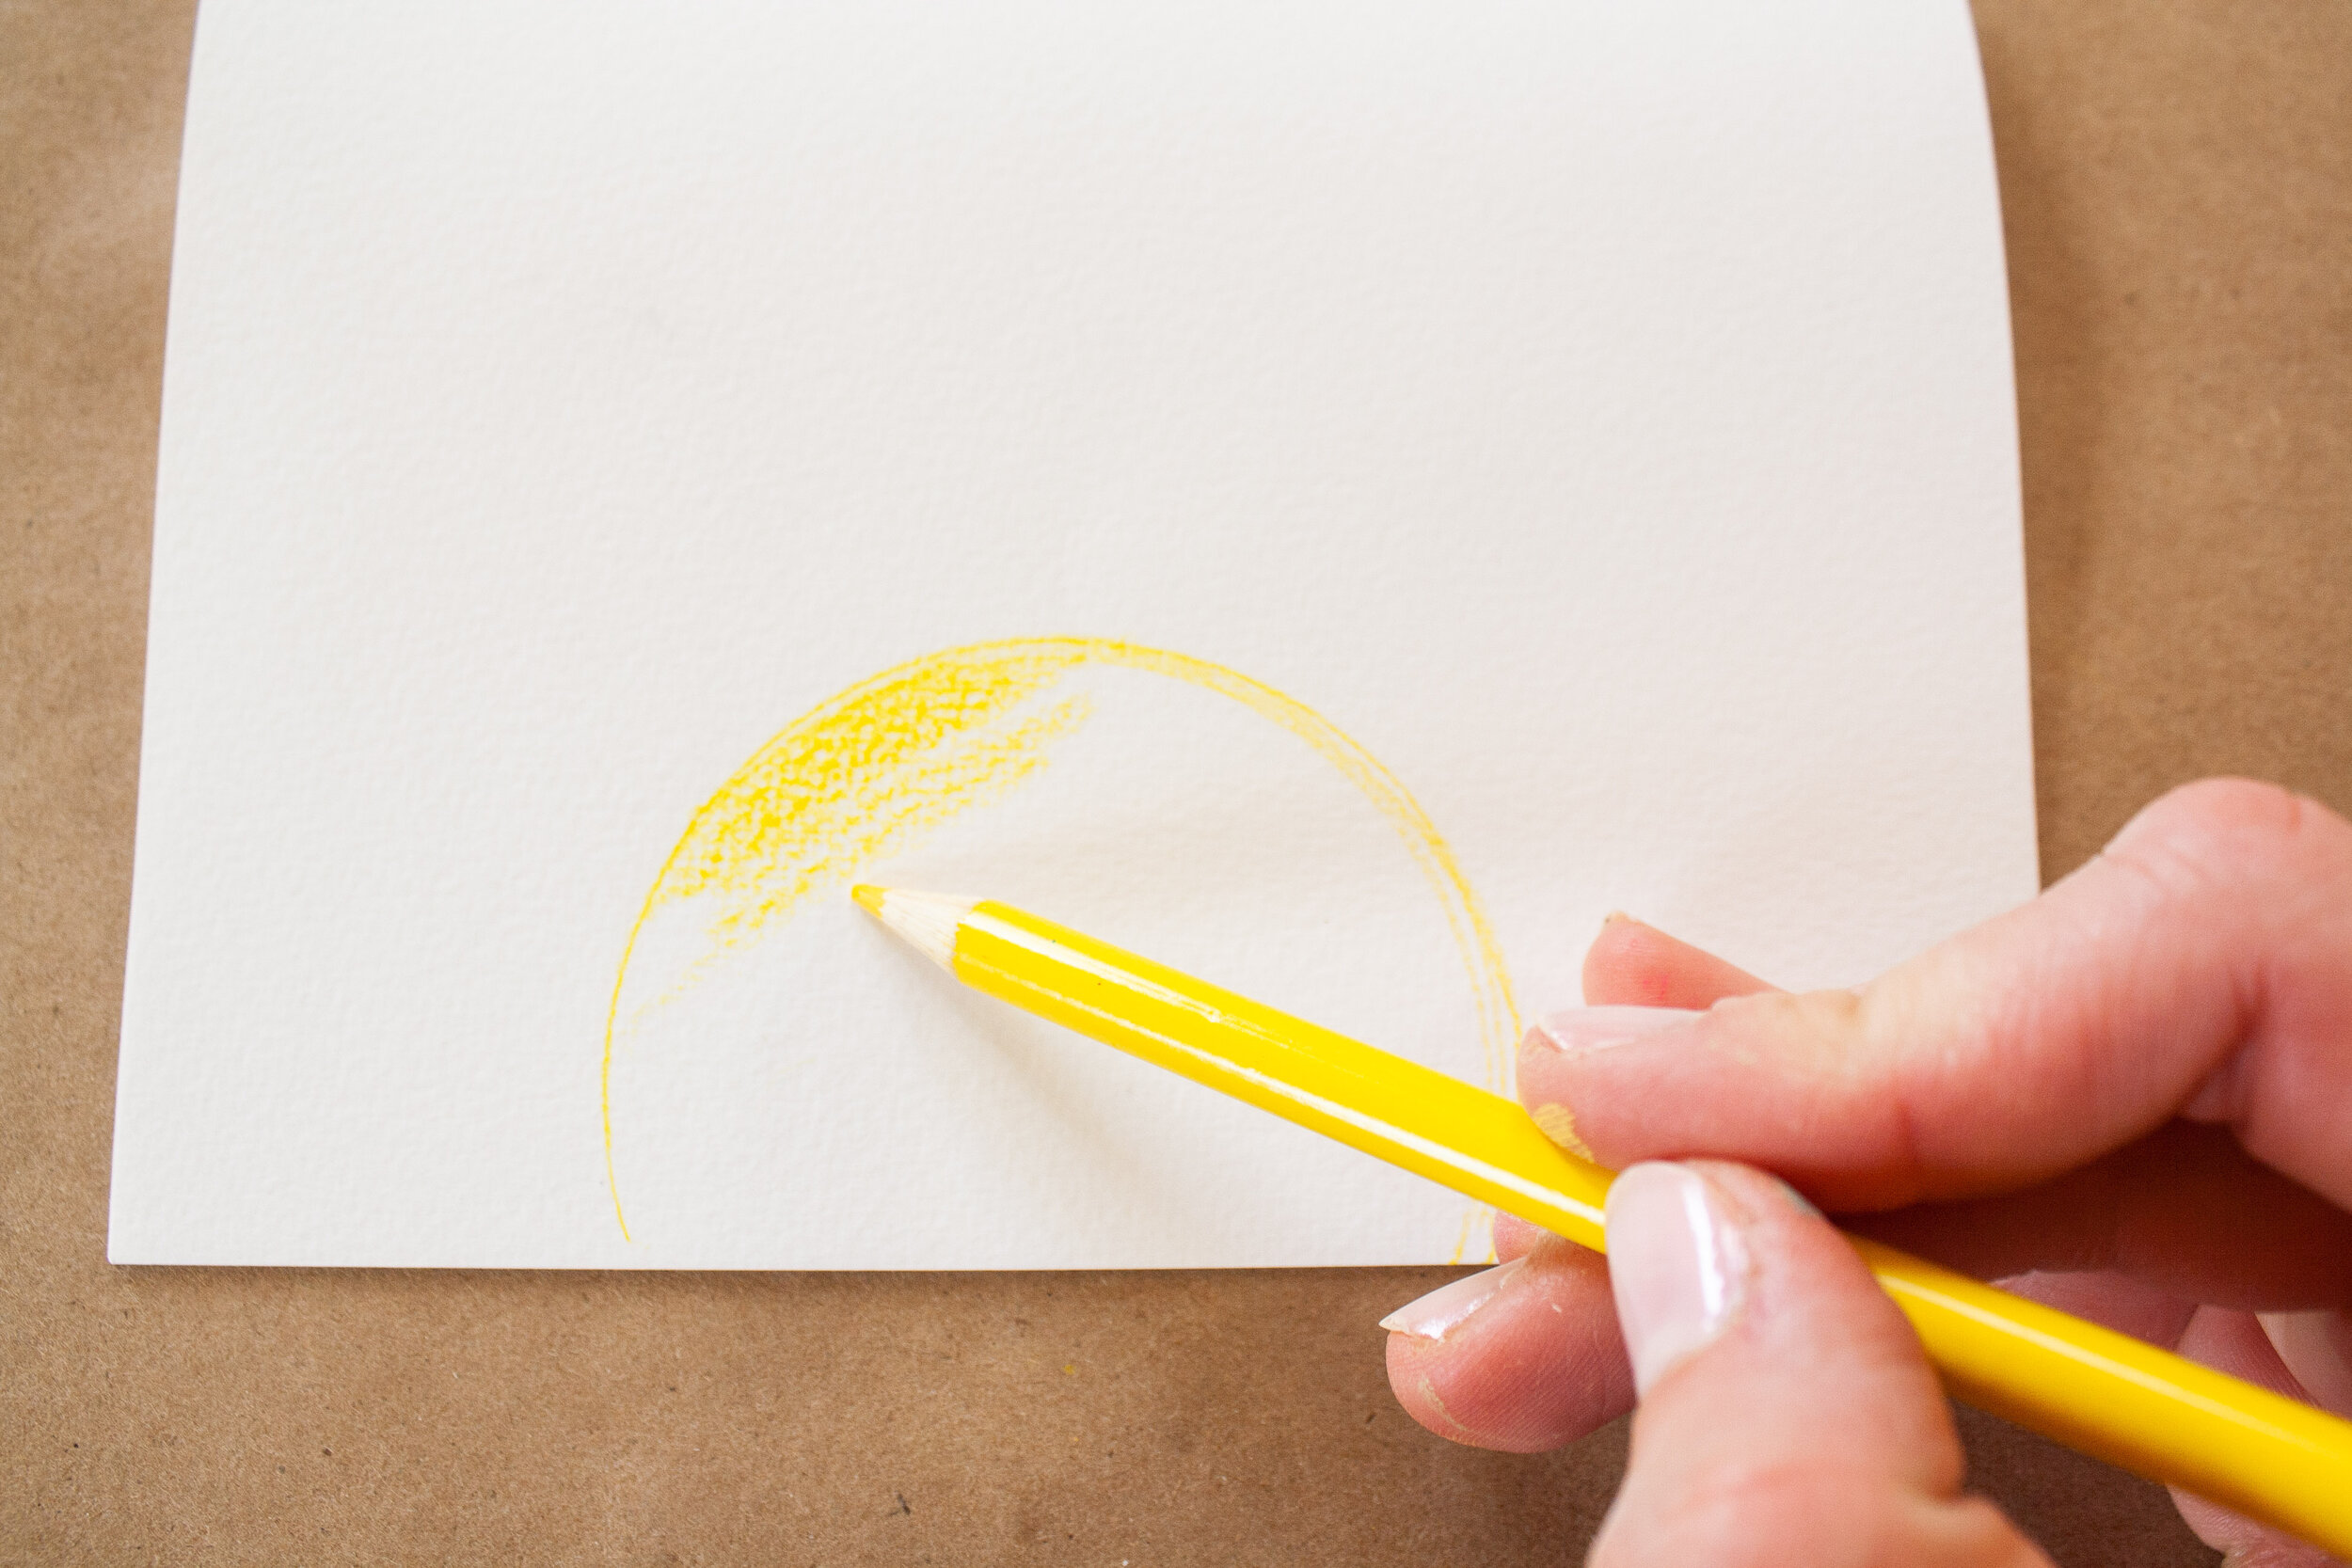
Step 2: Color in, add rays of sunshine!
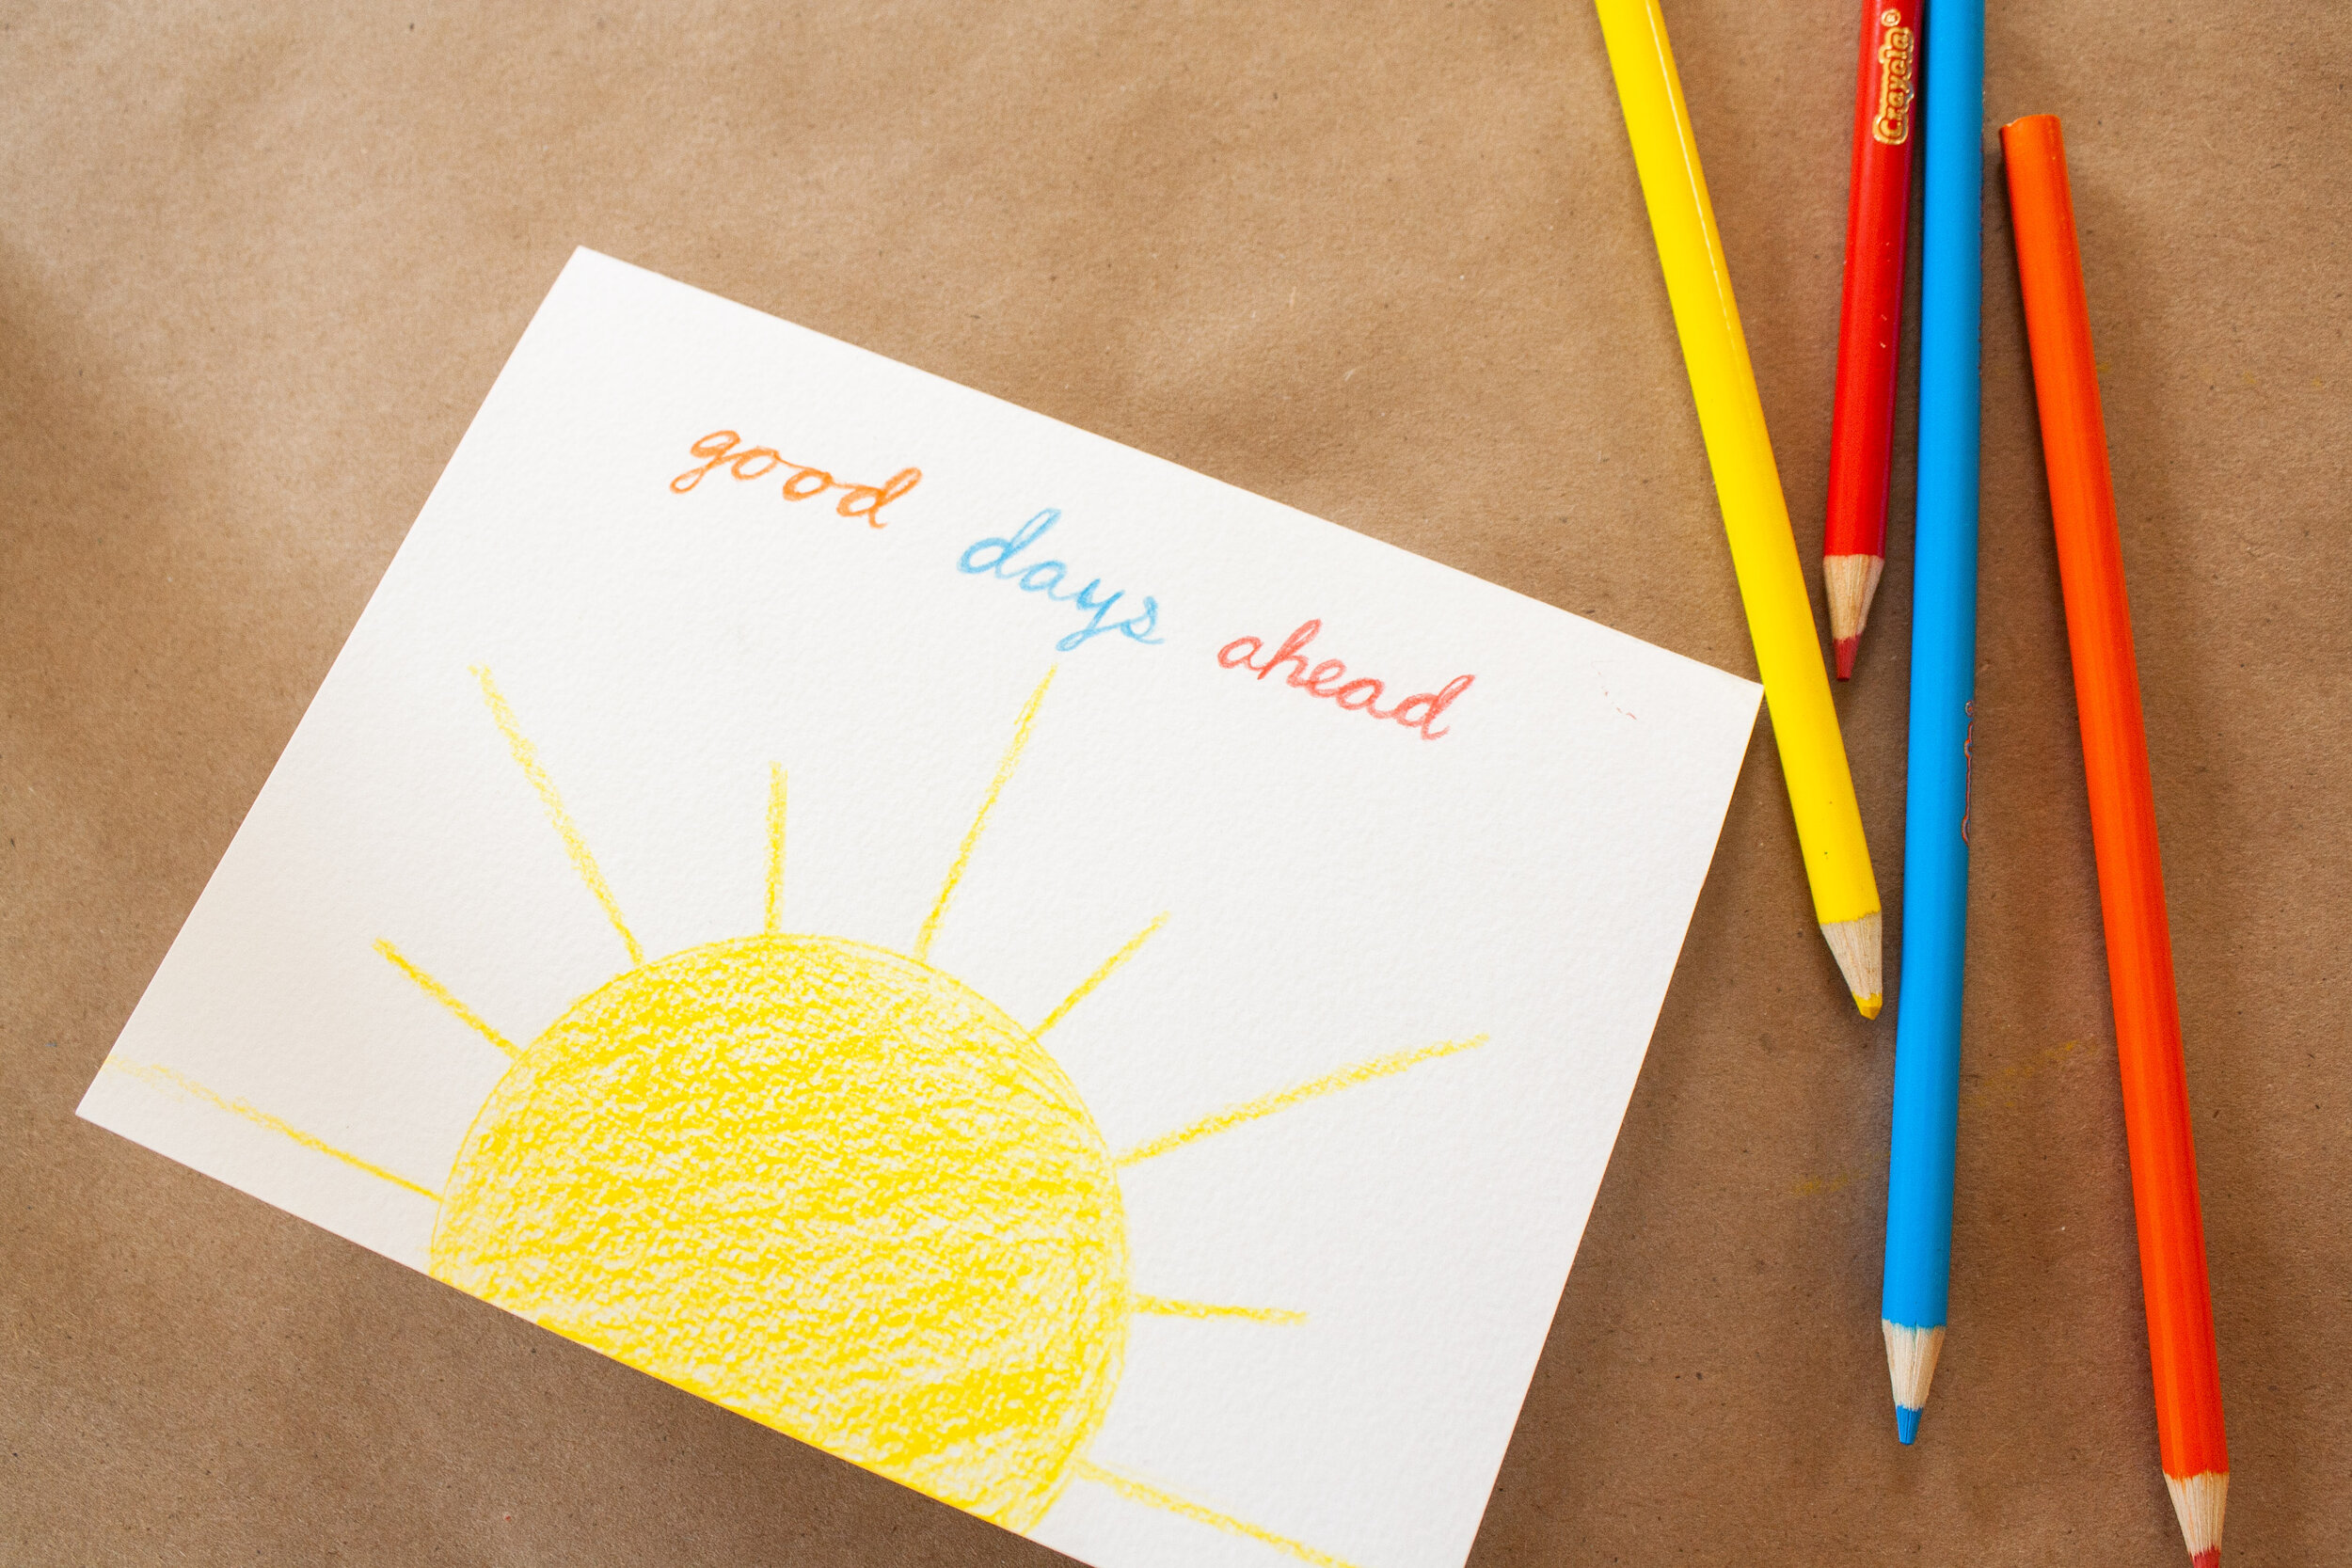
Step 3: Write out your message in fun colors. If you don’t love “good days ahead,” here are some of my favorite positive sayings you could use:
there are so many beautiful reasons to be happy
happiness is a habit- cultivate it
you are nothing short of lovely
happiness is contagious
you are my sunshine
the sun shines not on us, but in us
I hope you all enjoy making some cards together and sending them off to your loved ones. We’ll get through this time together by passing happiness, kindness, and support to one another. We’ll also get through this by being creative. So how about a 2-for-1 deal. CREATE, GIFT, SMILE, PASS IT ON. Much love, and stay safe.
xo
Maggie