DIY Halloween Masquerade Masks
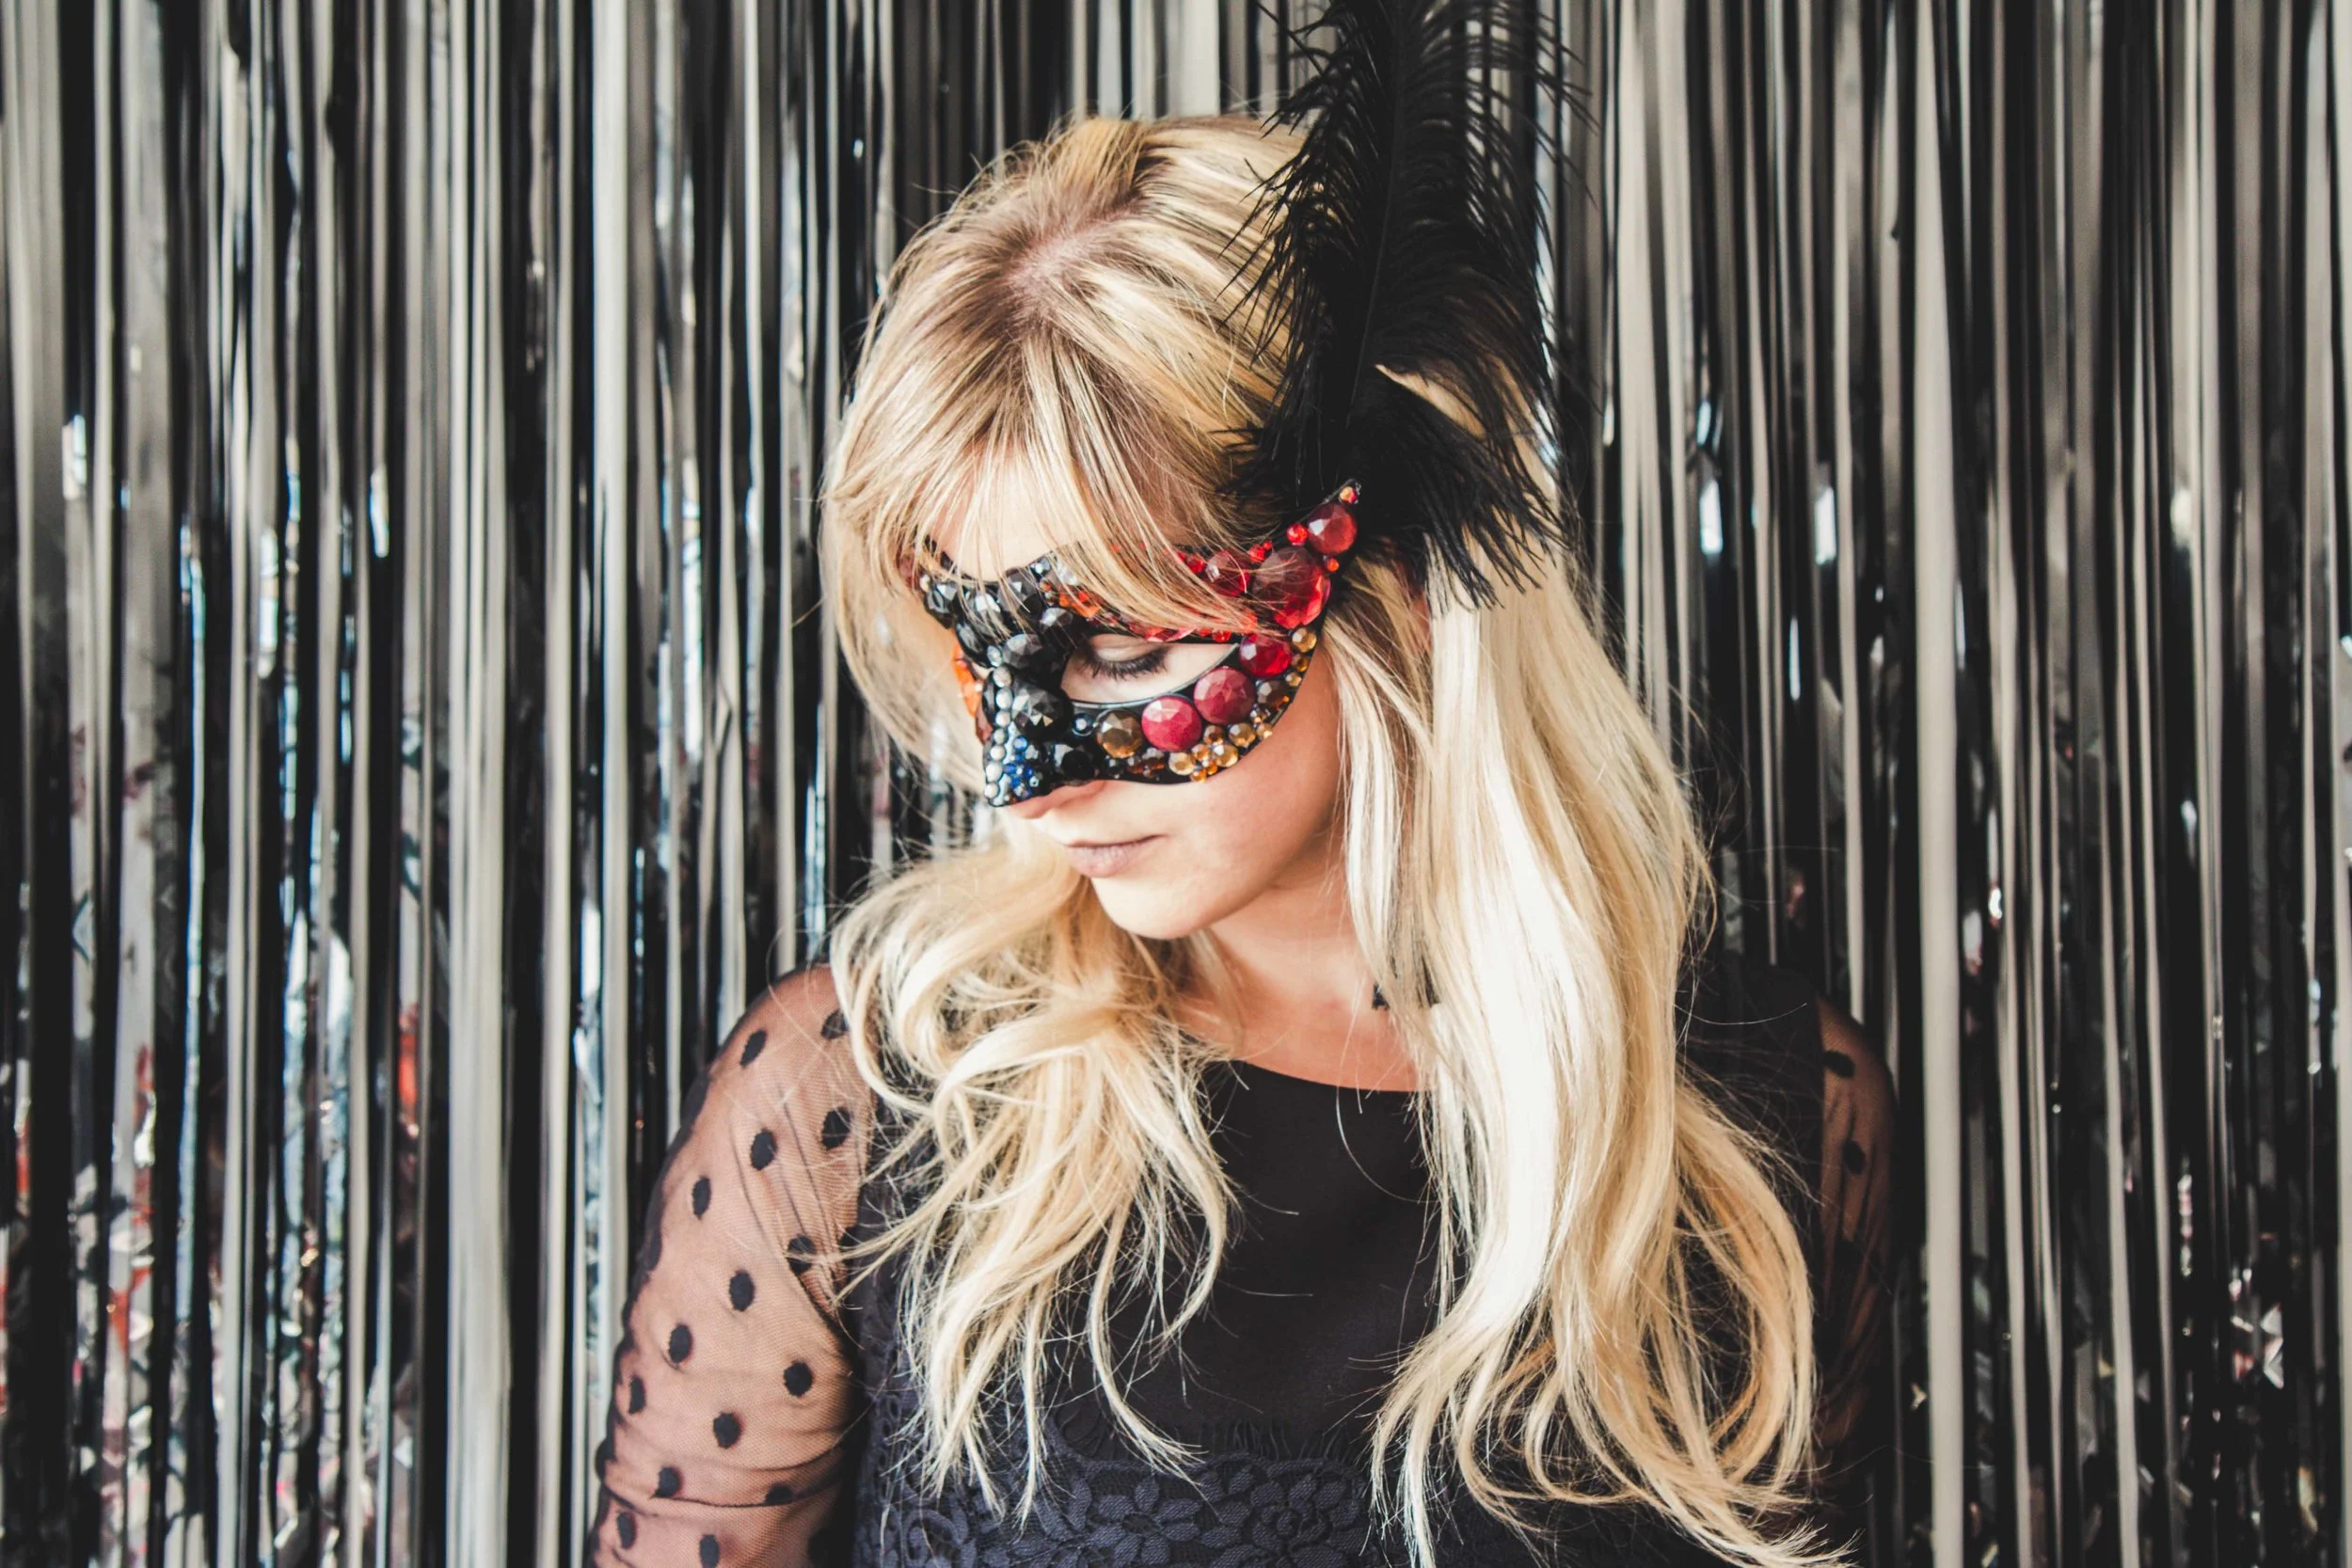
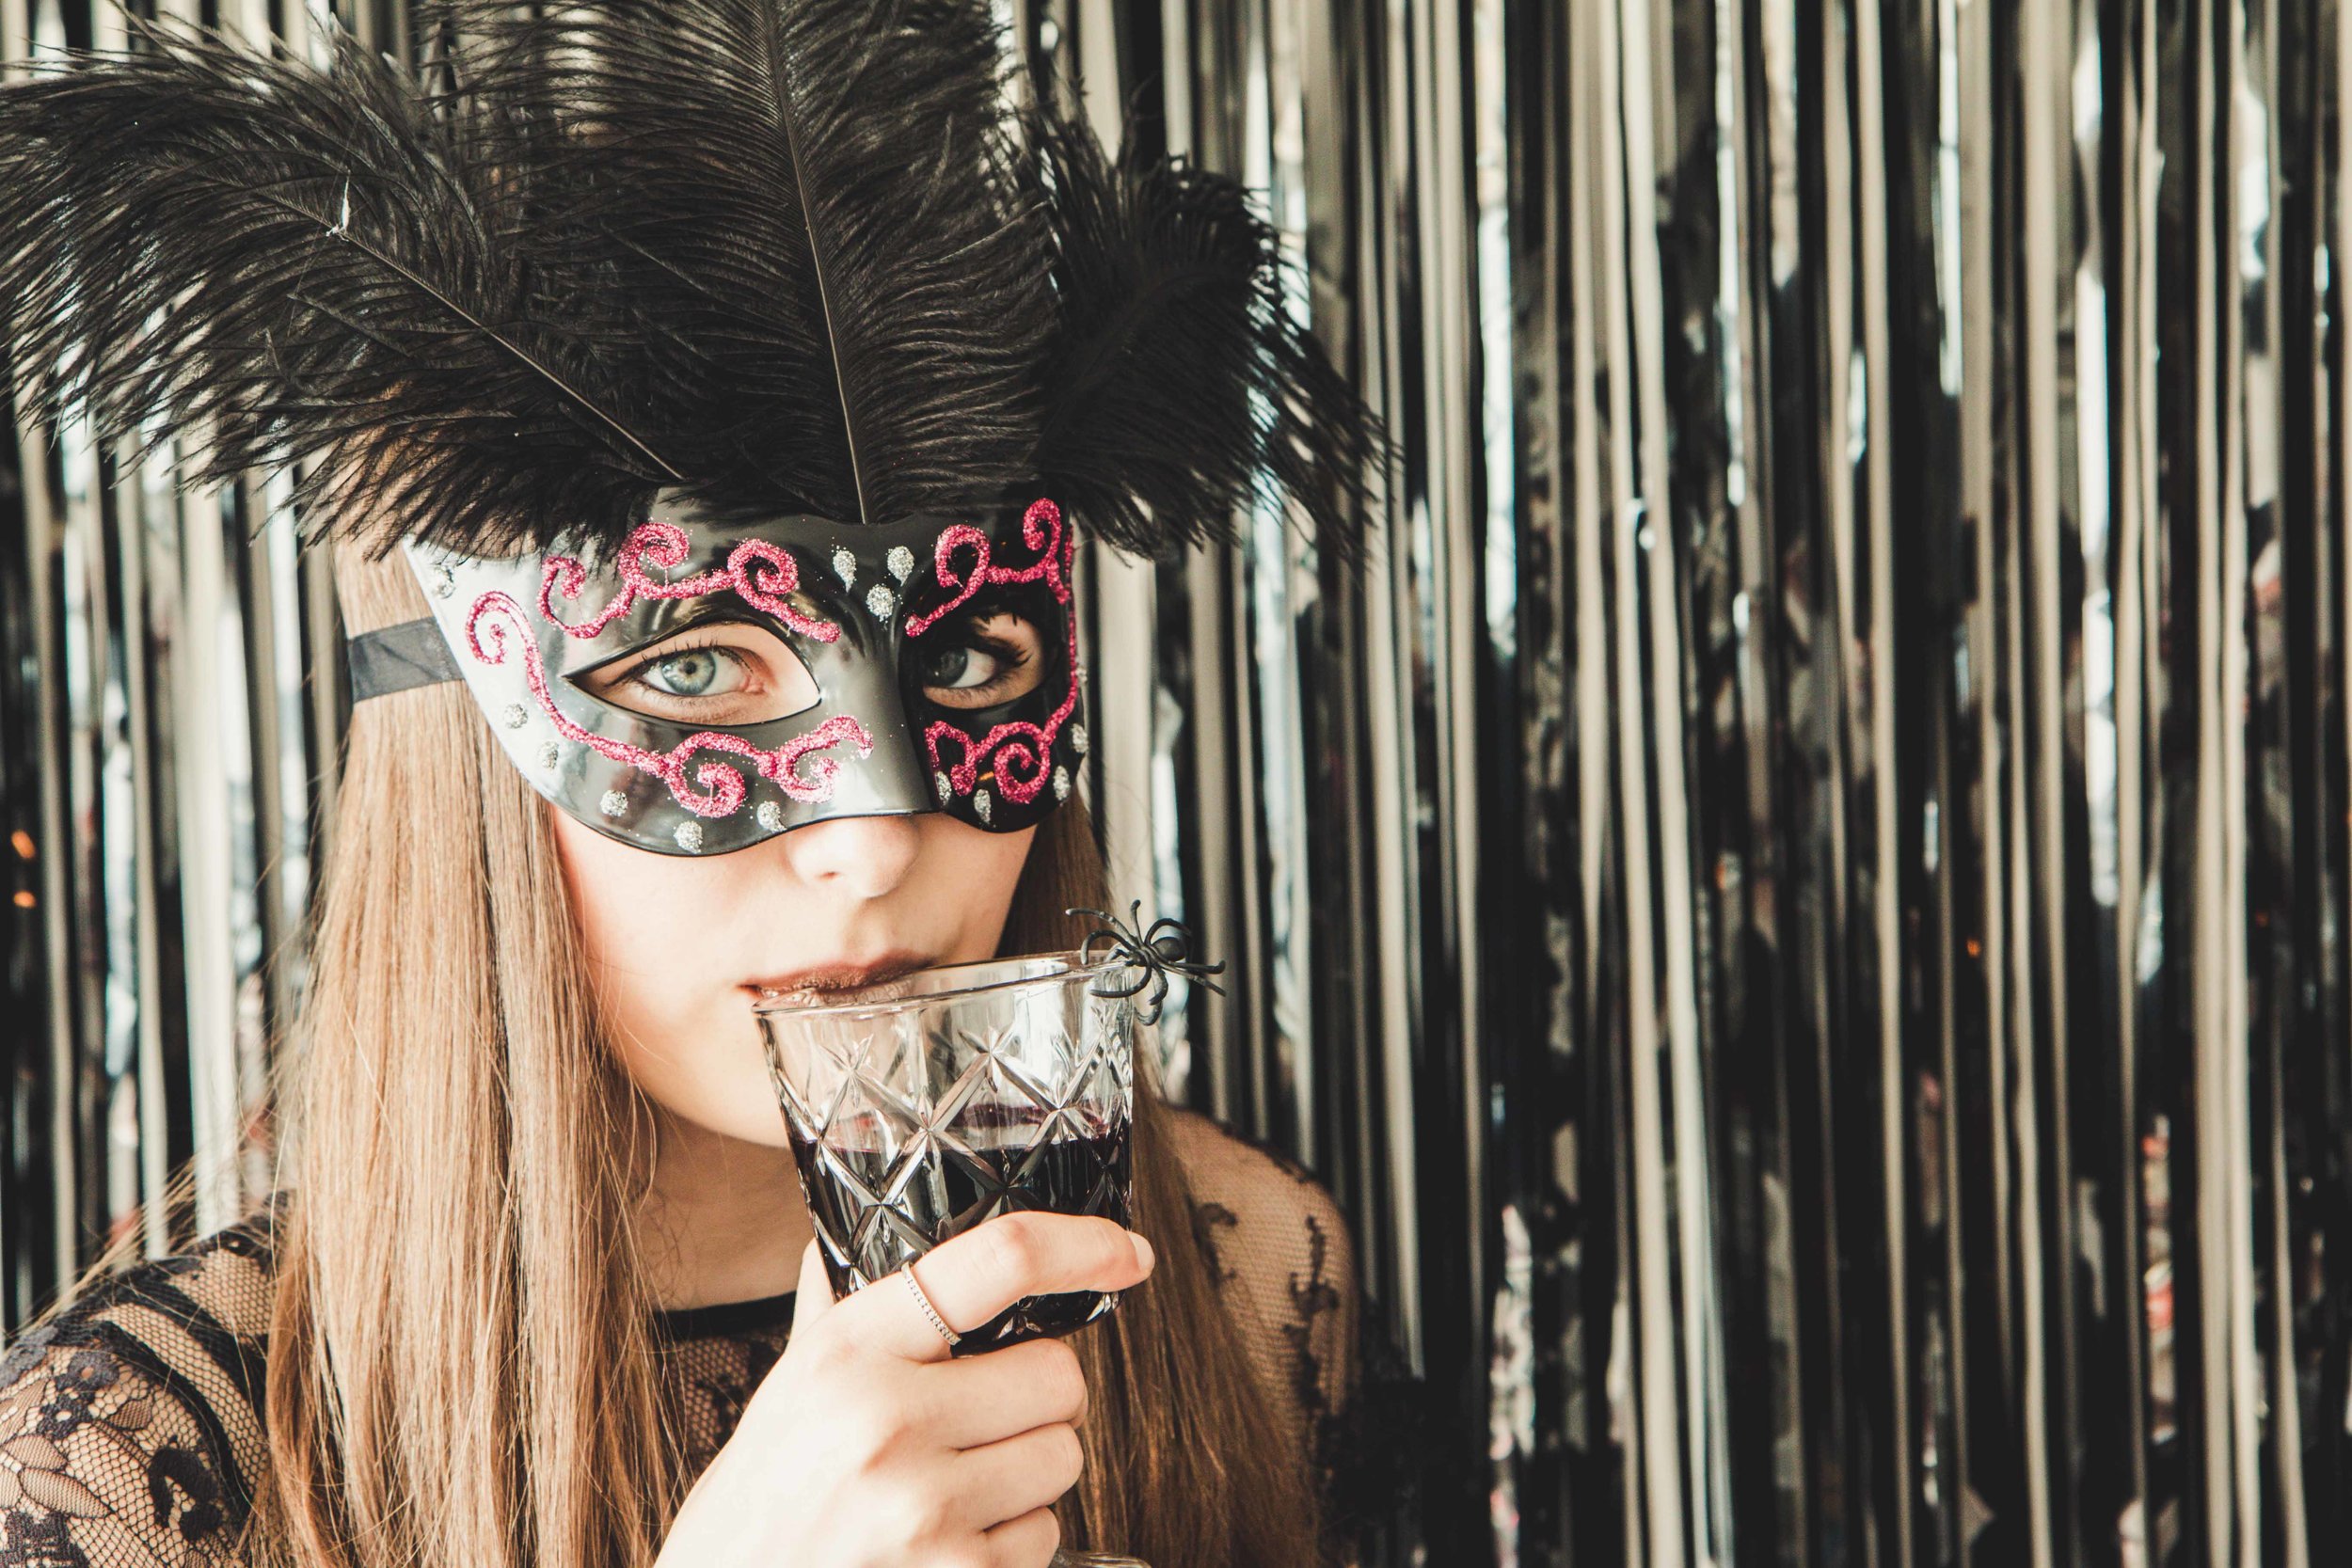
All through October, we talk about how excited we are for Halloween. We dream up amazing costumes, start making party plans, and think about all the sweets we can serve up to our friends. And then suddenly, it’s the week before Halloween and we haven’t gotten the costumes we want, the stores are sold out, and we’re pretty much feeling out of luck. Well we’re here to let you know it’s not too late to have a show-stopping costume. We made these amazing Masquerade Masks, paired them with lacy black outfits, and we were good to go! Not only can you bring on the spook by masking your identity, you can look BOO-tiful while you do it.

The supplies and steps for this project are so simple- because honestly, it’s all about being creative! We pulled out tons of crafts supplies, and kinda just started playing around until our masks felt finished. We recommend buying:
black ribbon or trim
regular glue
hot glue

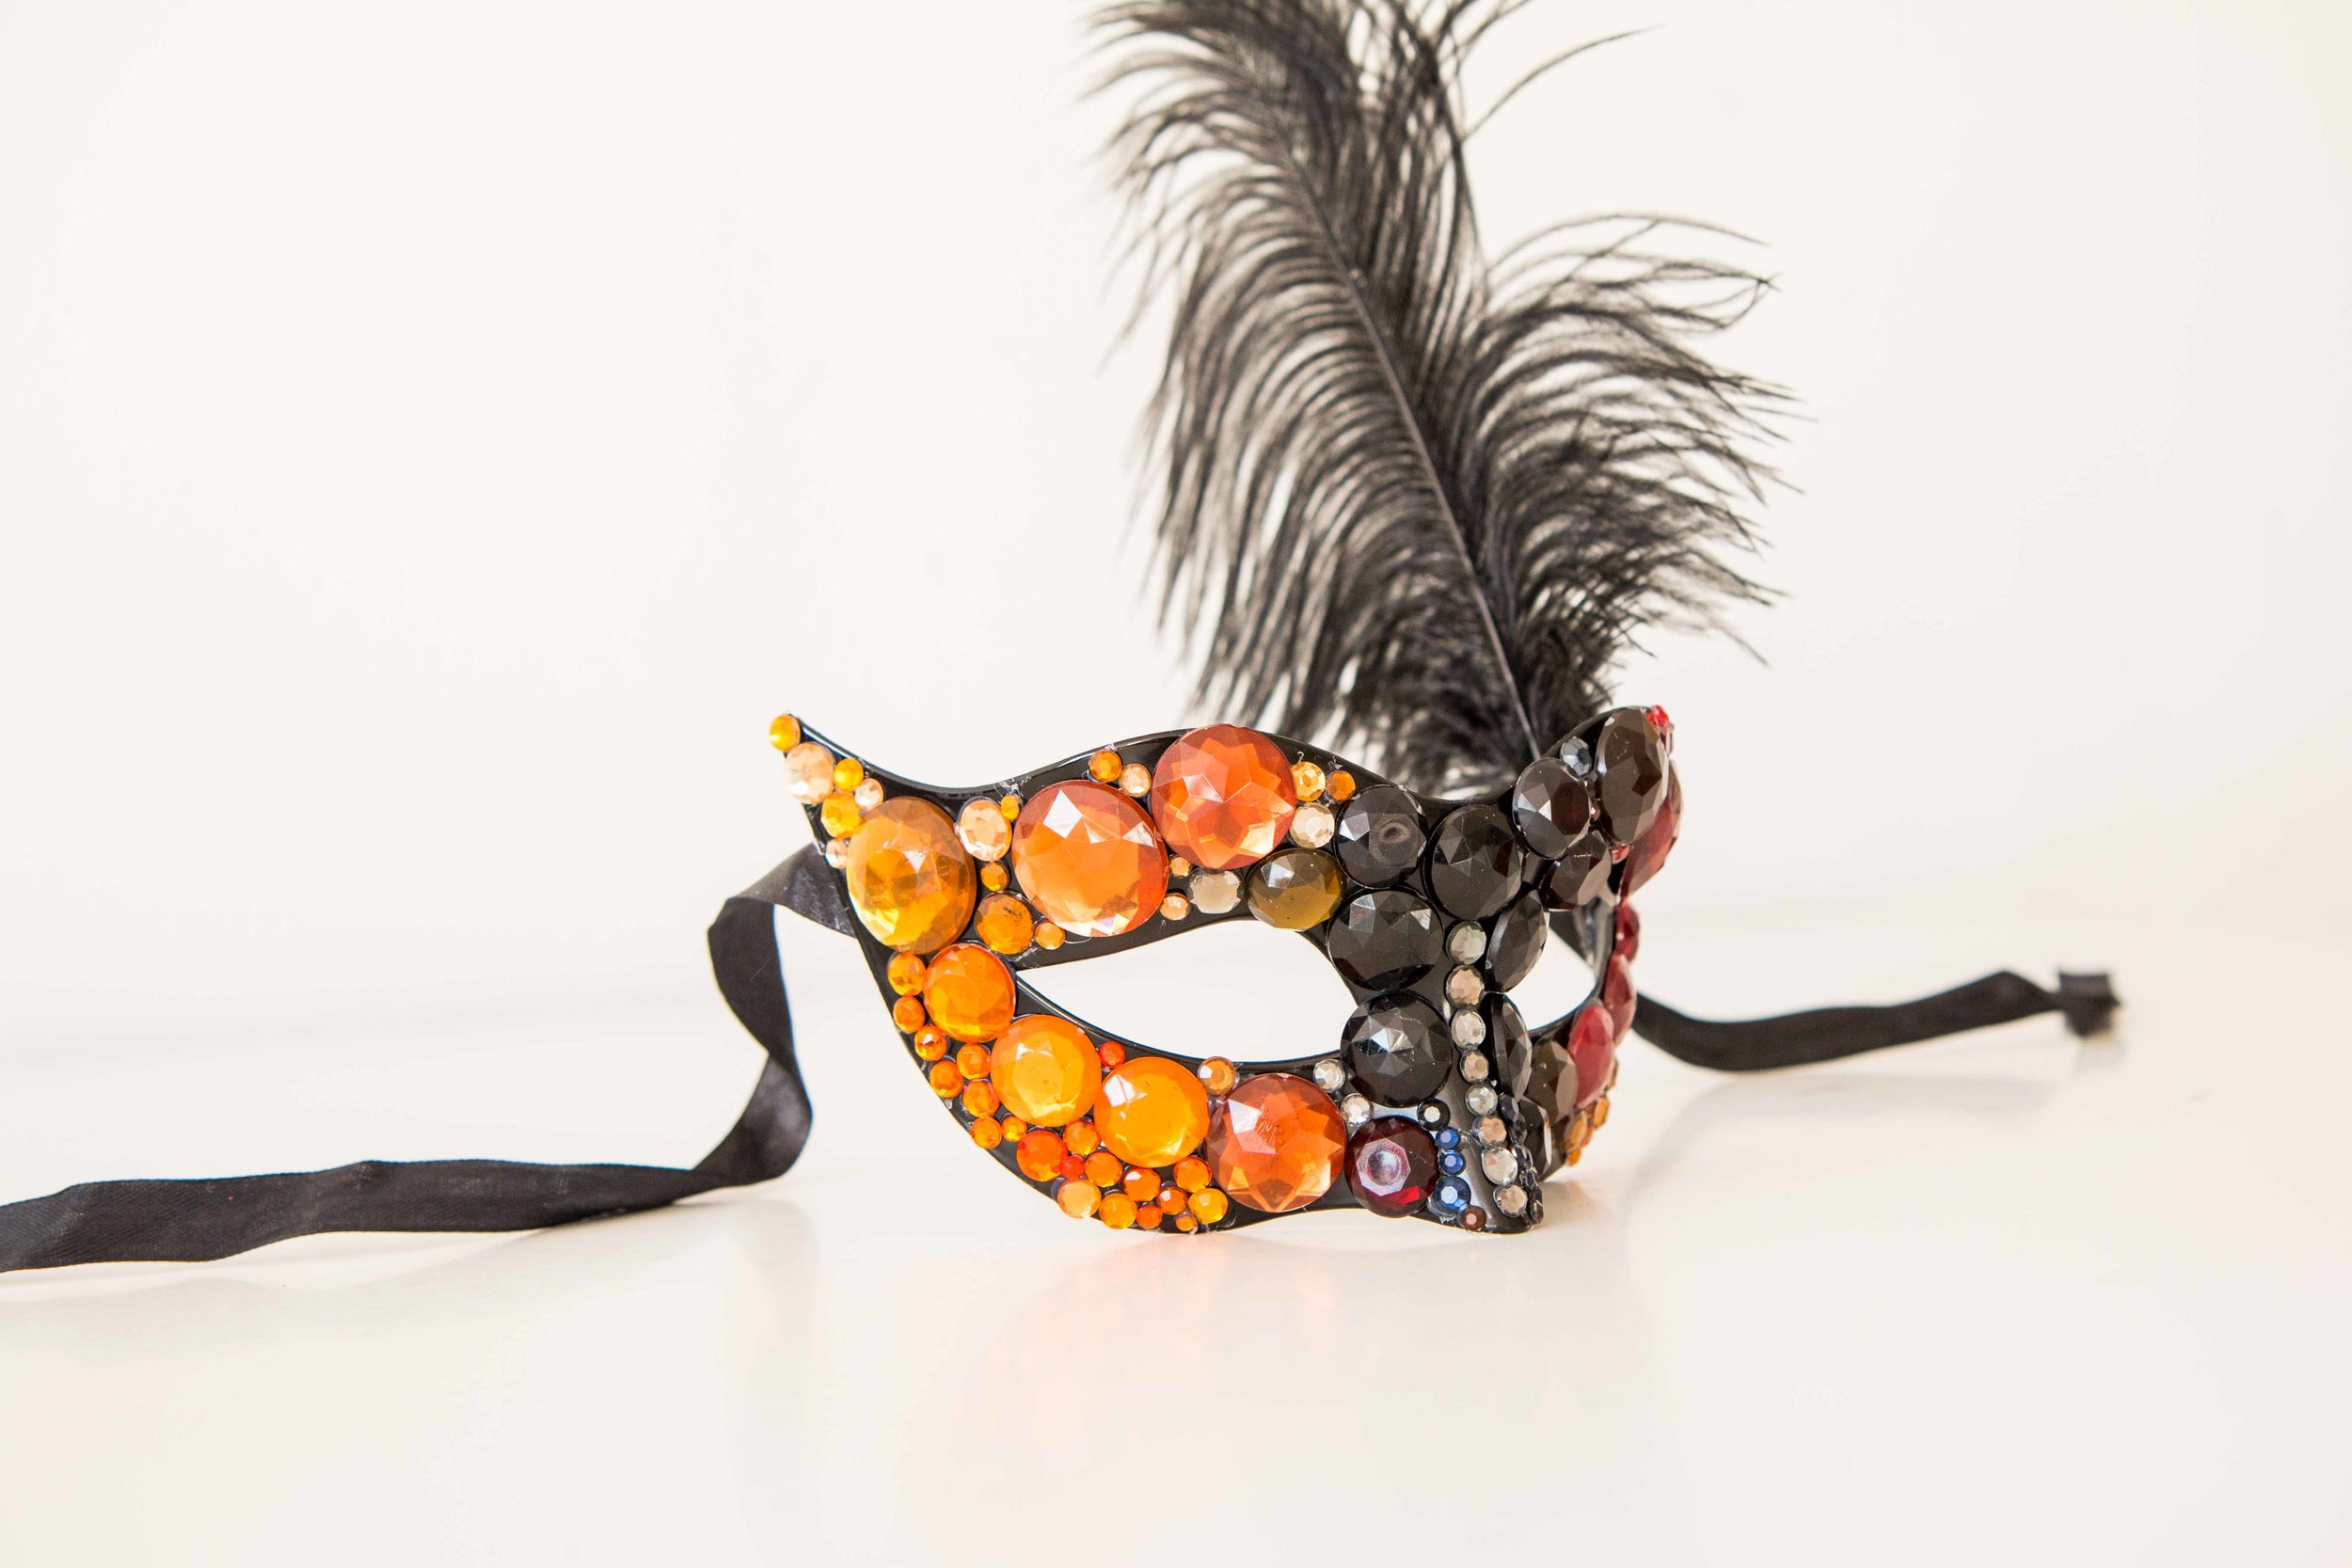
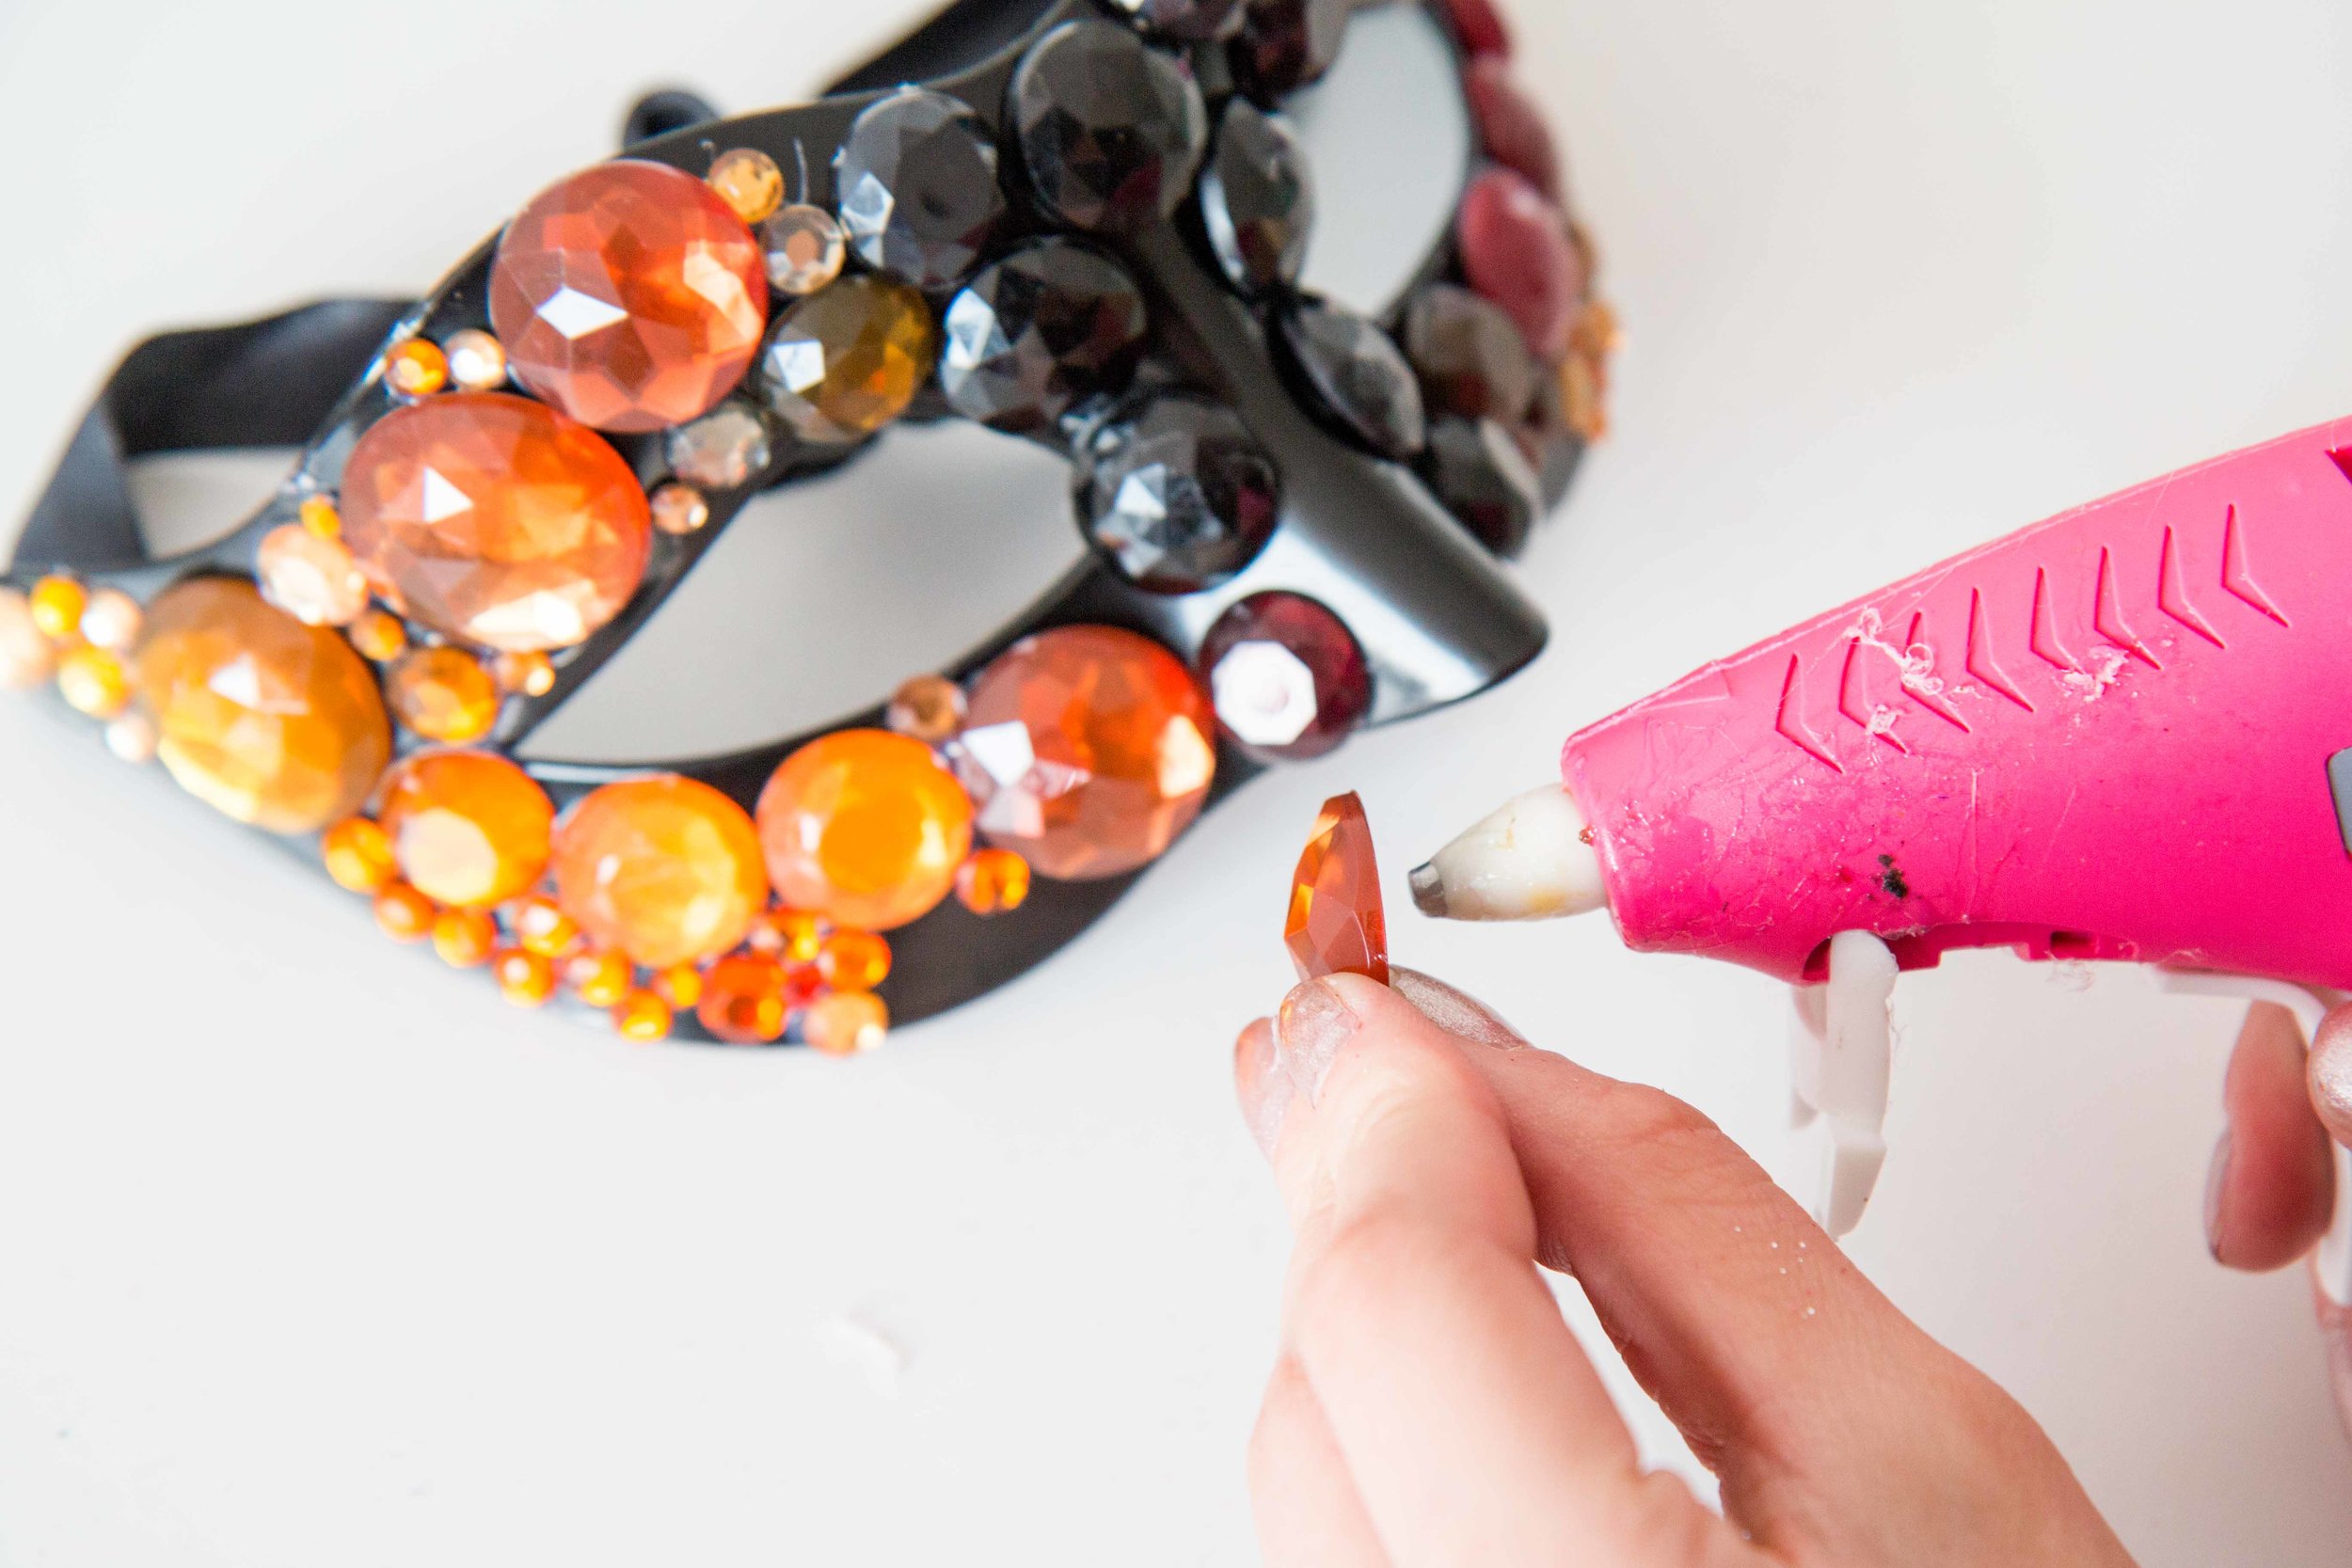
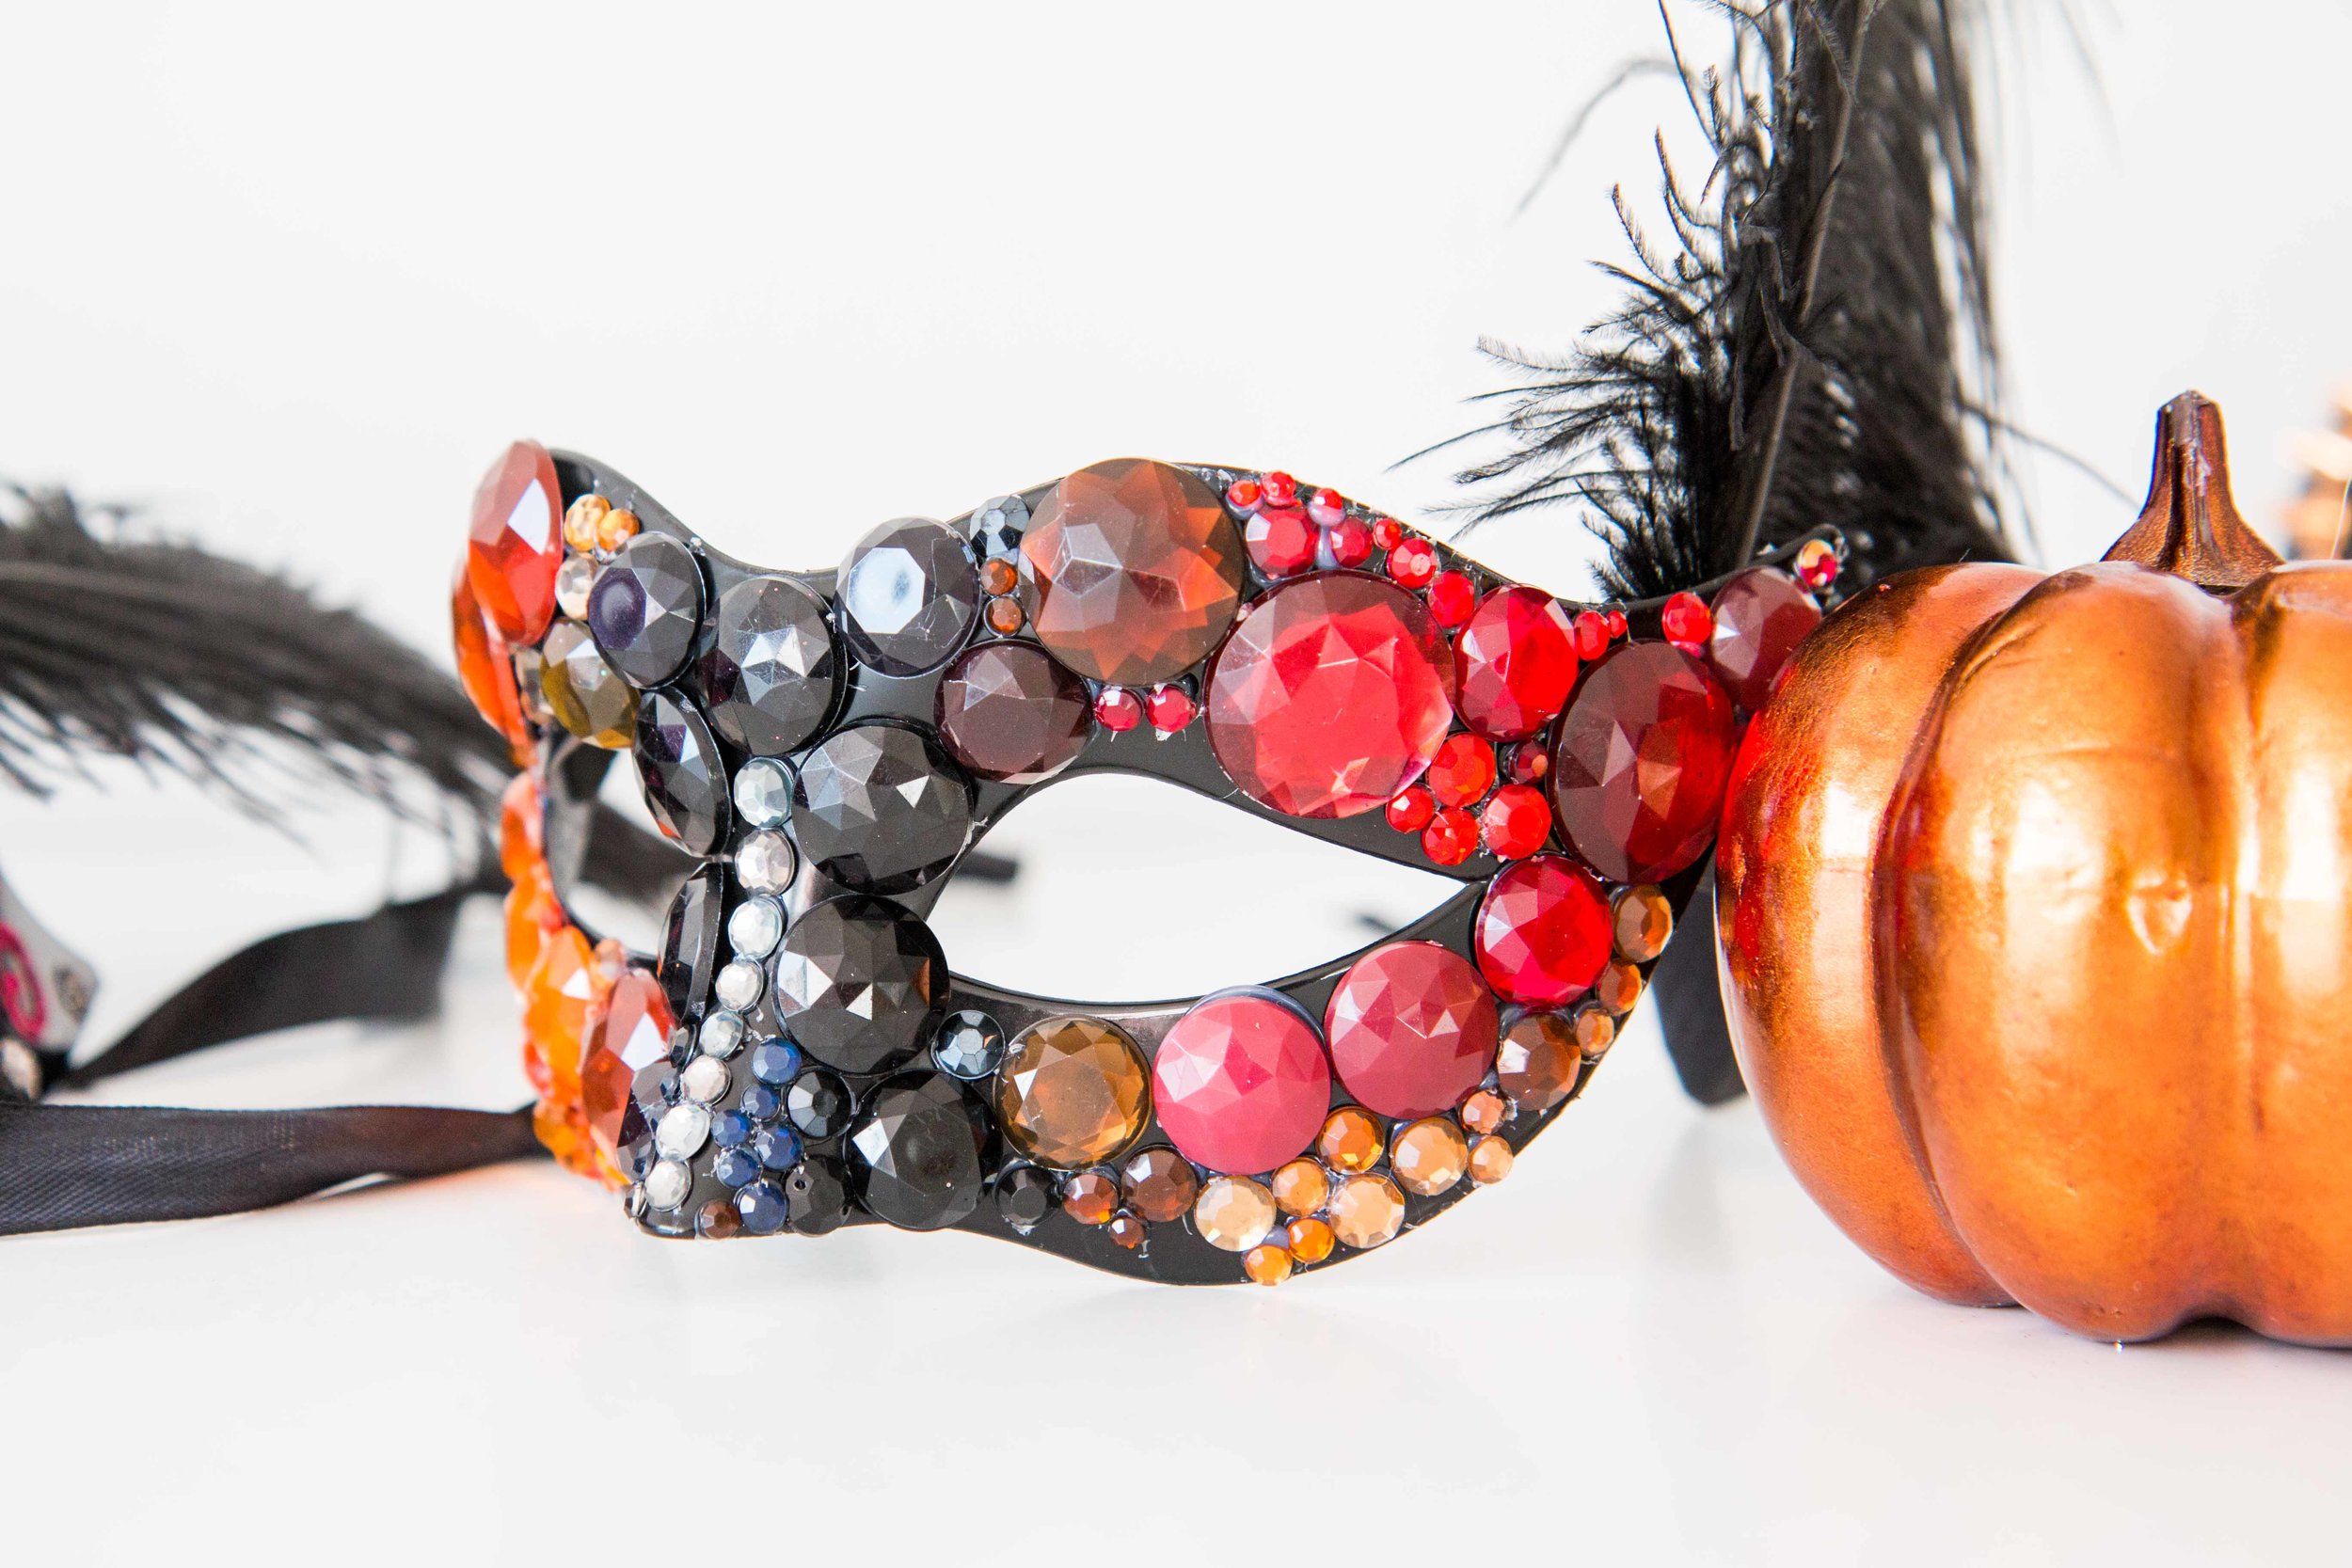
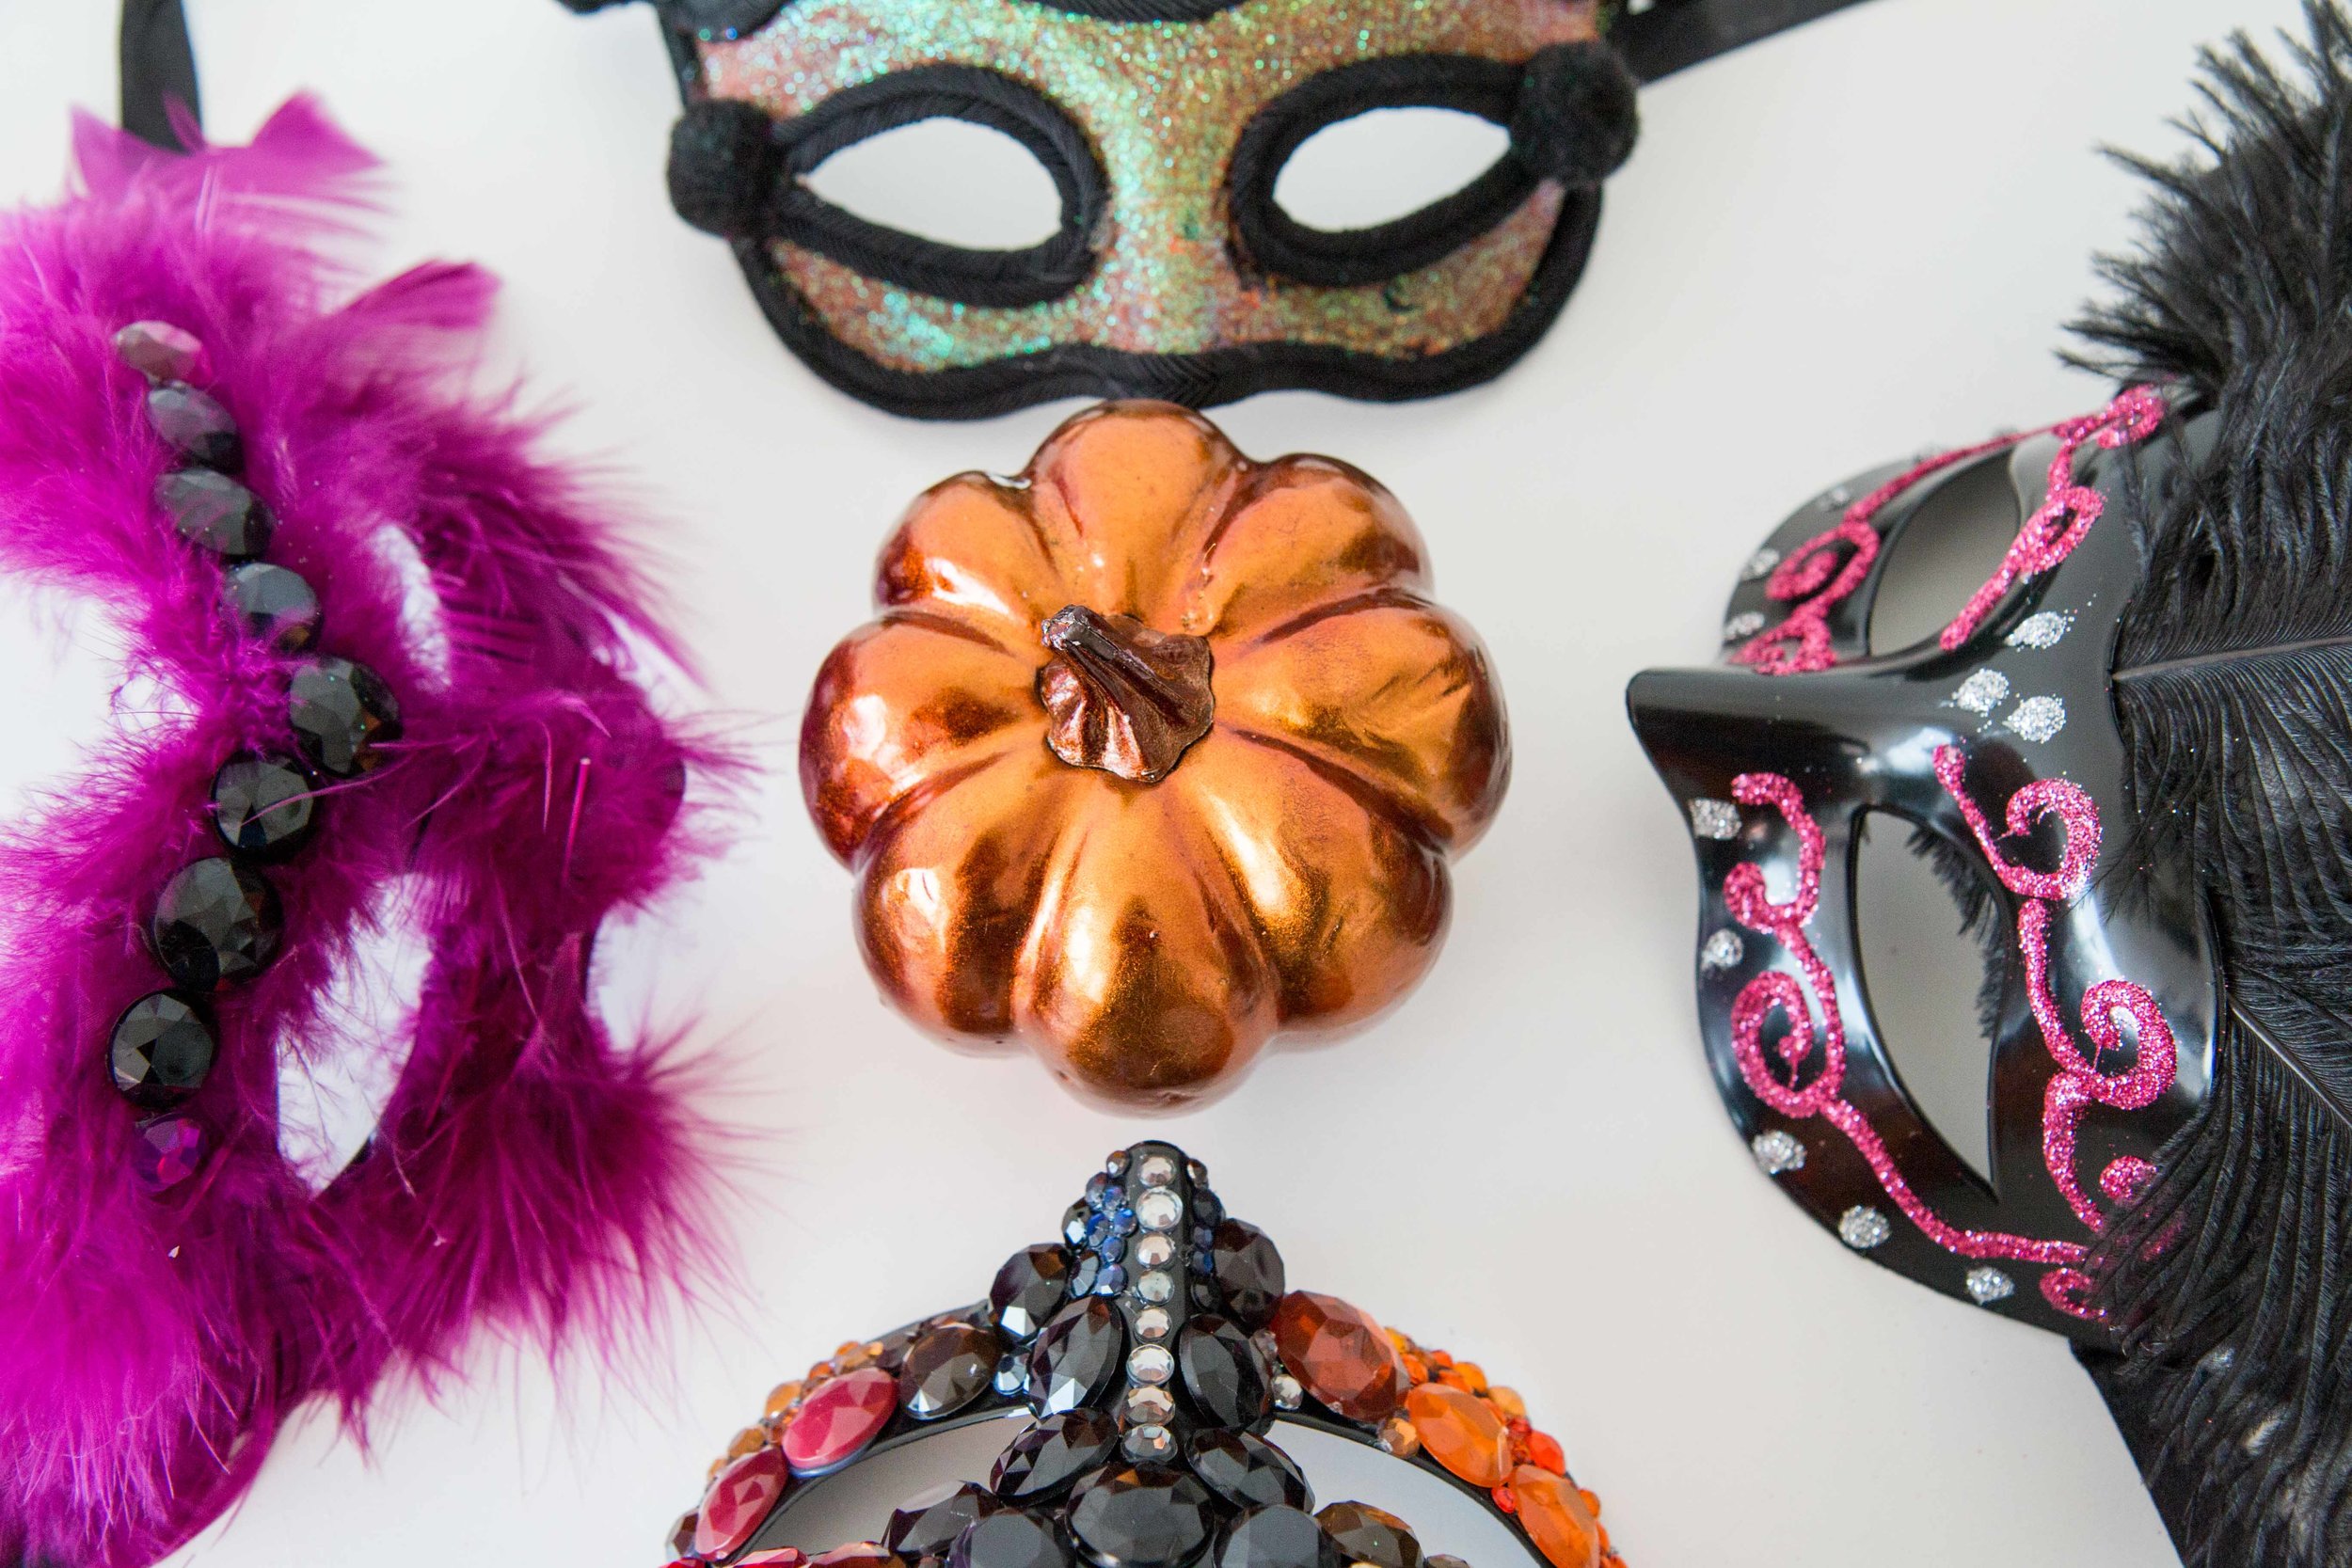
This first mask made with feathers and gemstones was the one that took the longest- but was certainly our favorite! We laid out the gemstones we wanted to use ahead of time, arranged in a general order so when we got to gluing, we were pretty much ready to go. It can be difficult to use the hot glue gun with the small pieces, so be careful!
This next mask was super easy, and probably only took about 30 minutes to make! Coat the whole mask with regular glue and douse it in glitter. Once it feels dry, use hot glue to attach trim all around the edges, finishing the frayed ends with pom poms.

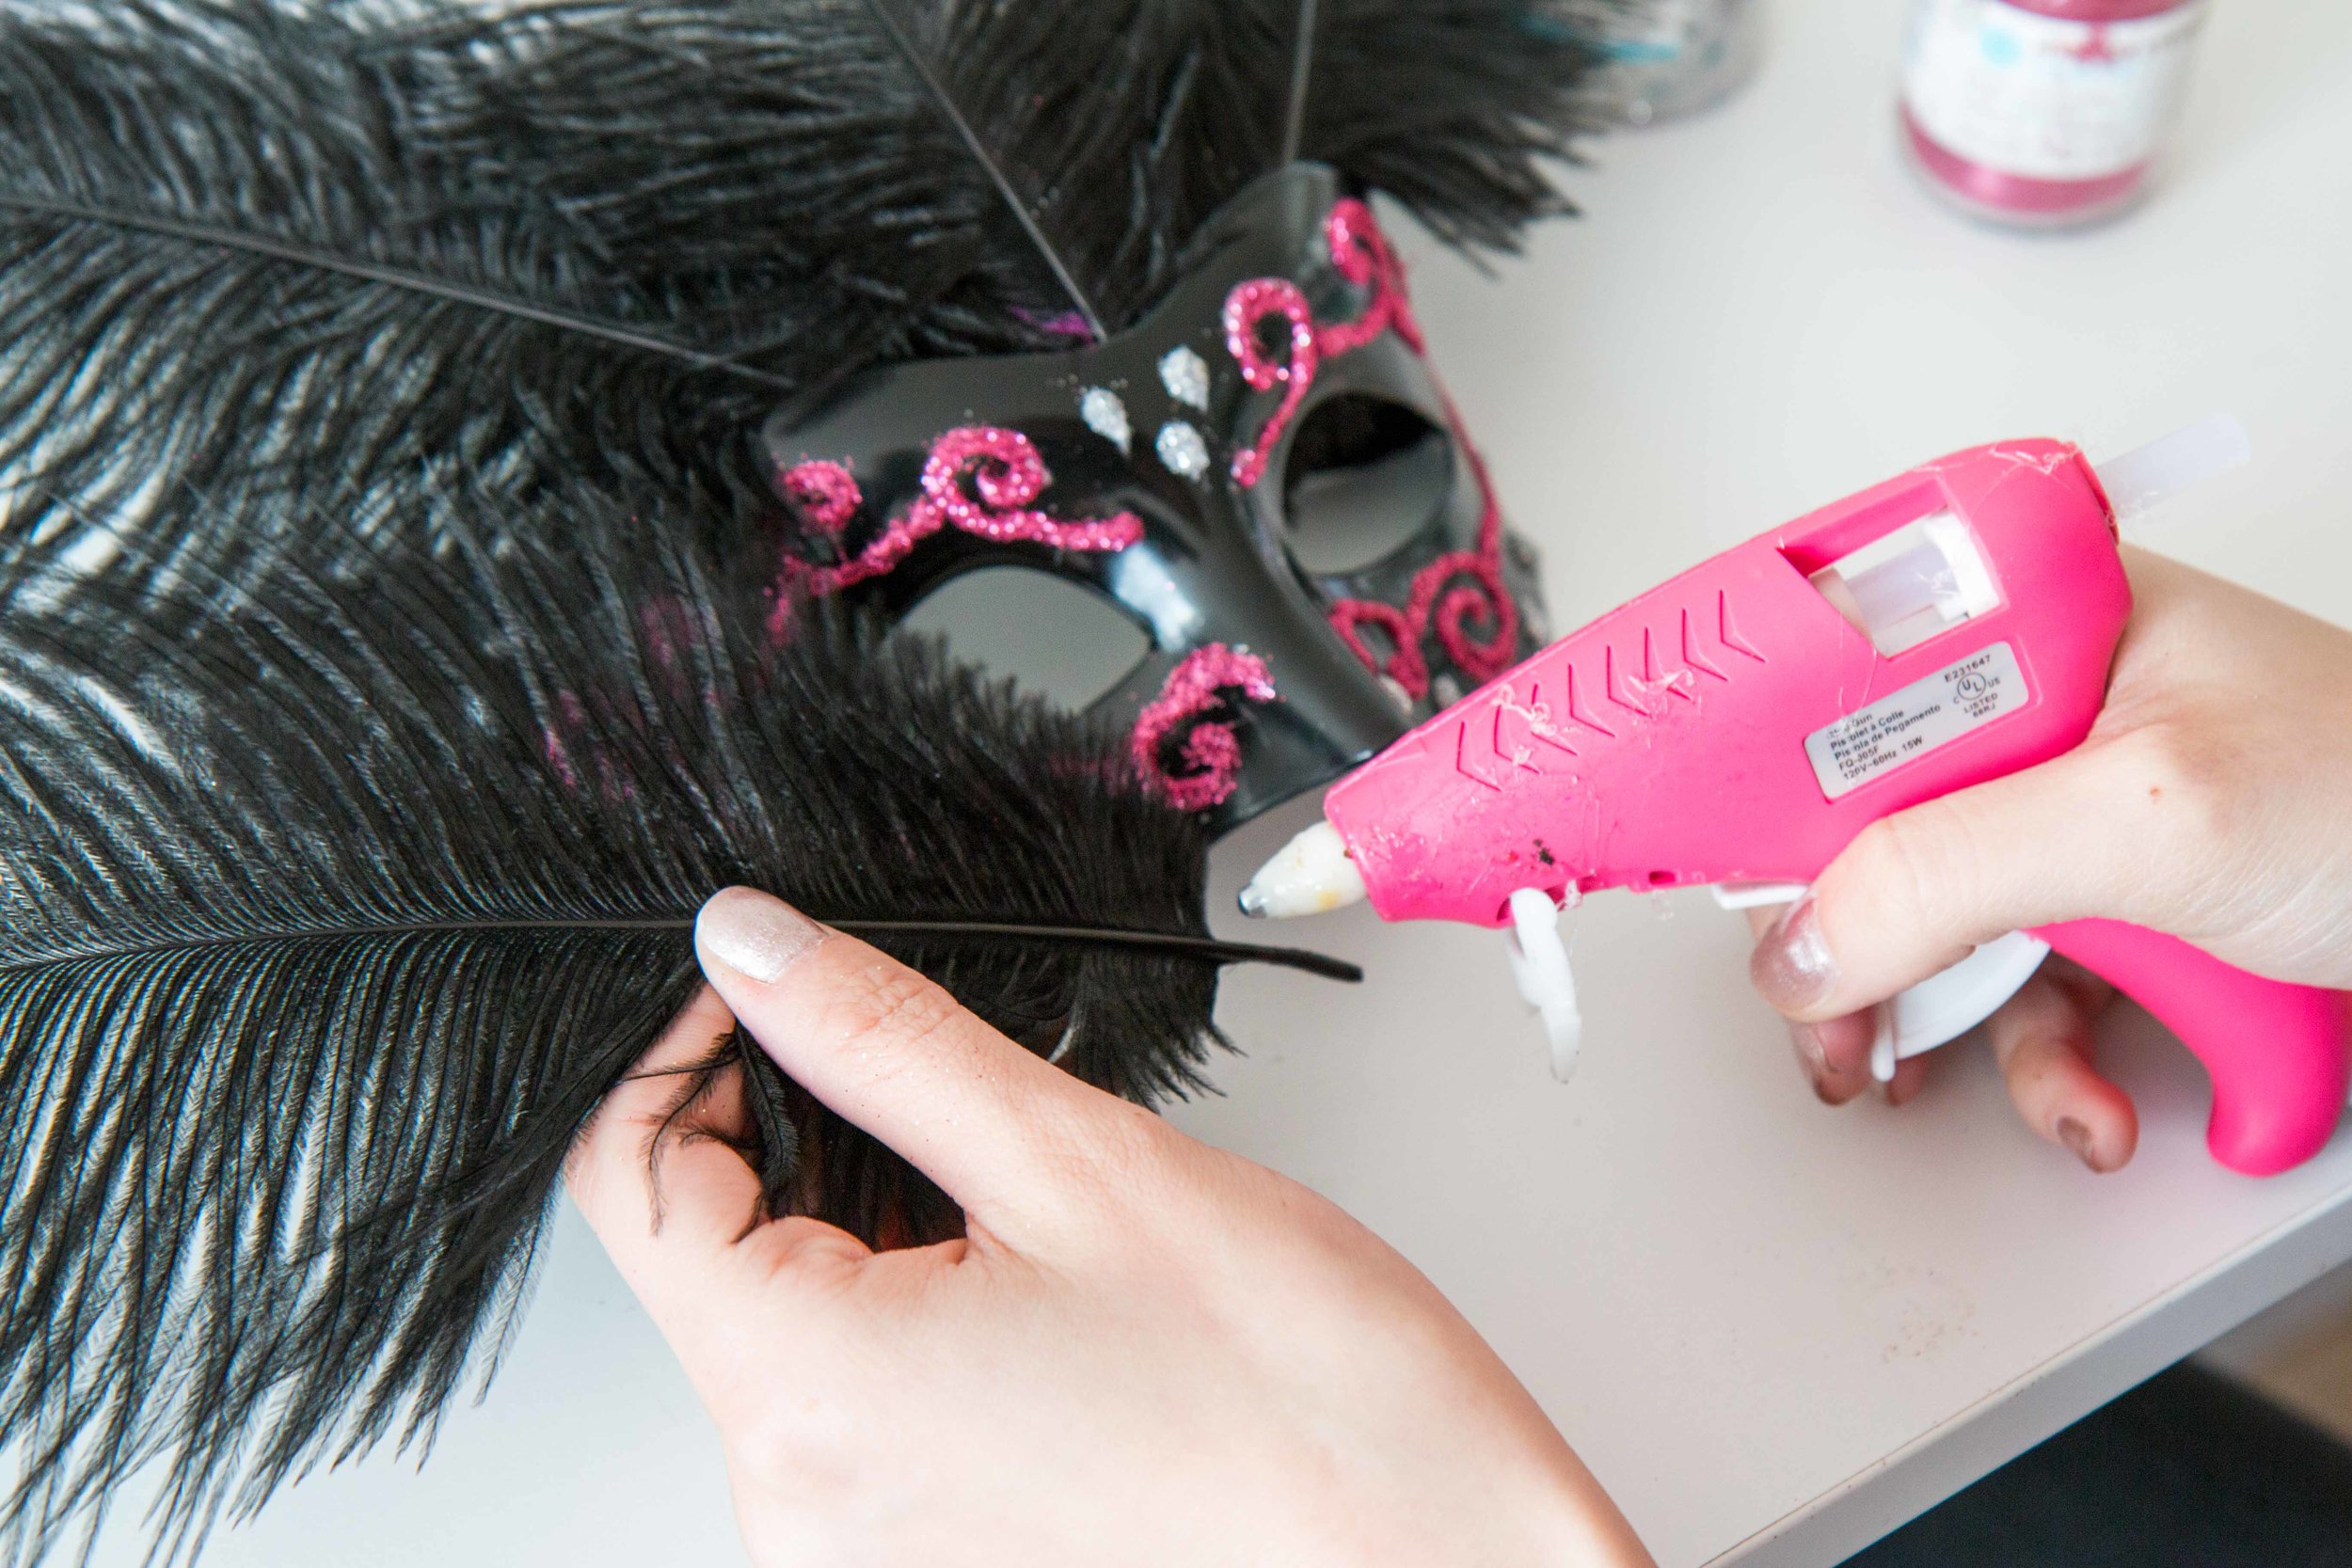
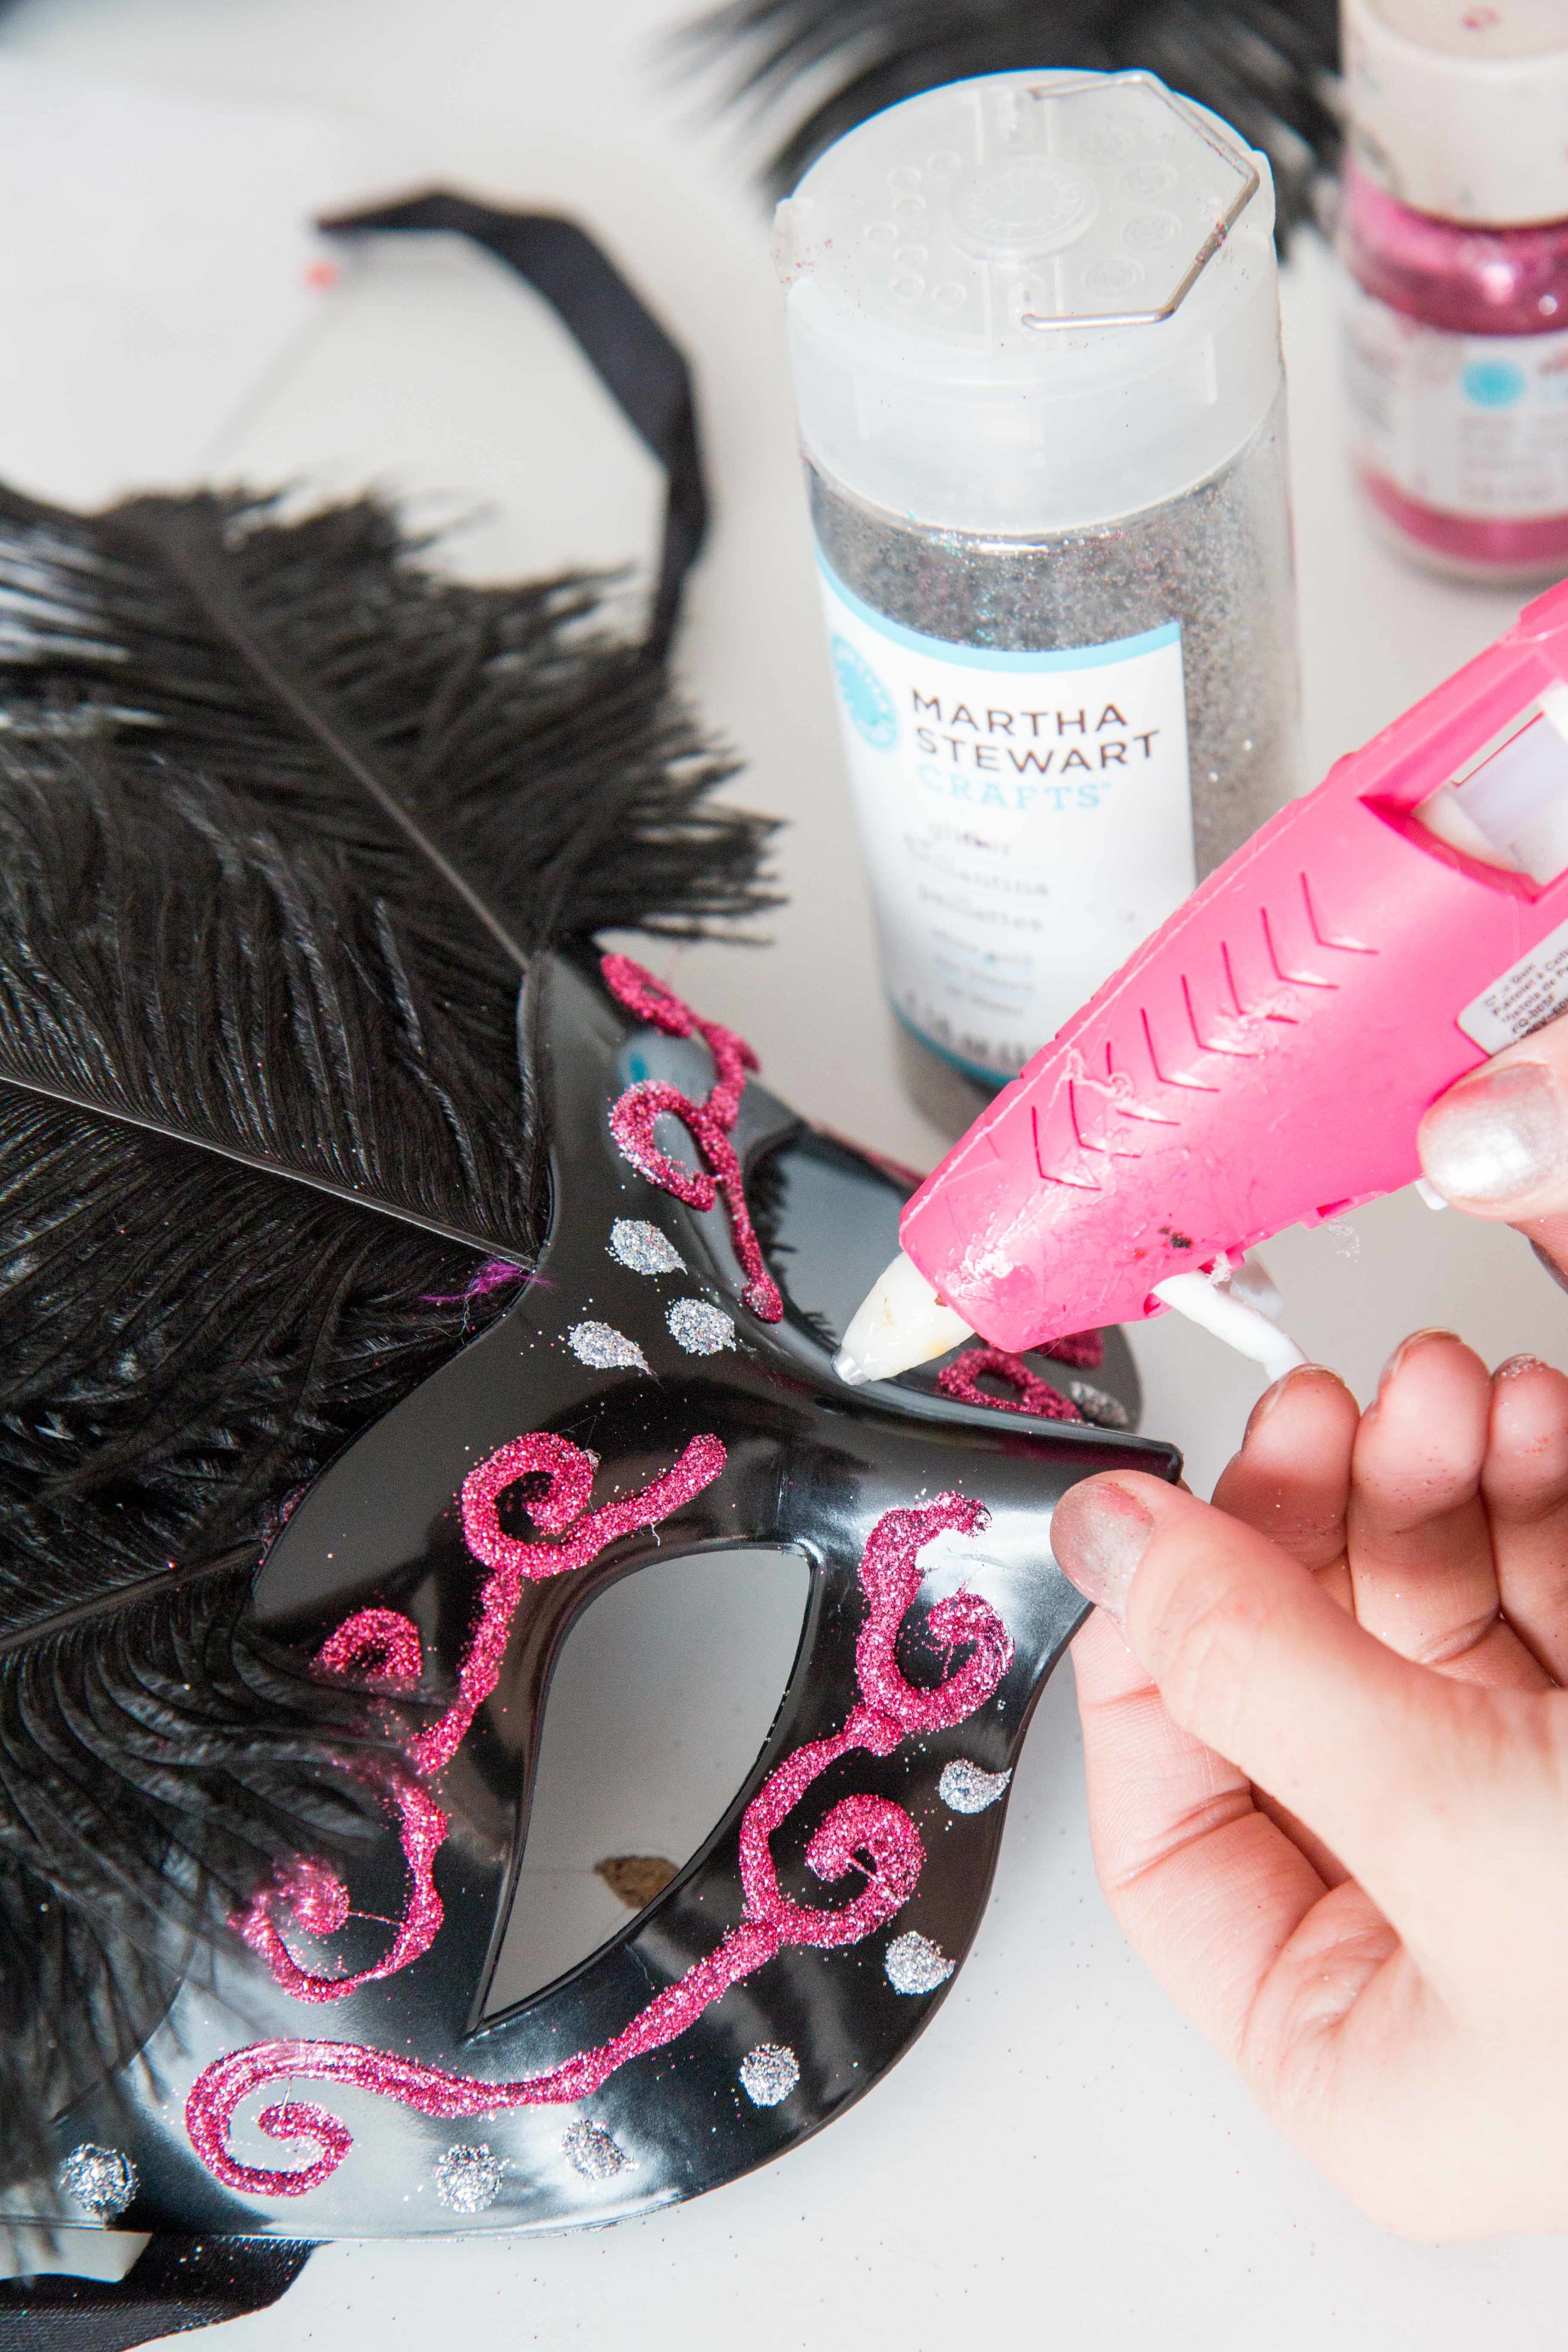
Natalie did an amazing job with this mask, and it took her such a short amount of time. She carefully used the hot glue gun to create swirling designs, and quickly poured glitter on top before it dried. She did it in sections to make sure the glue did not try too fast and to separate the colors of glitter she wanted to use. Then she attached the black feather along the inside of the forehead.

Lastly, another feather mask, but this time, completely covered! Natalie made this one using the hot glue, and carefully attaching each small feather in an outward motion from the nose to the sides. Then she went back in at the end to trim the excess feathers near the eyes to make sure they stayed open. To finish it off, I added some more gemstones around the forehead for some extra sparkle.

This mask project was not only fun, cheap, and easy, but its making for the PERFECT addition to our Halloween costume repertoire!
Happy Halloween!
xo
Maggie