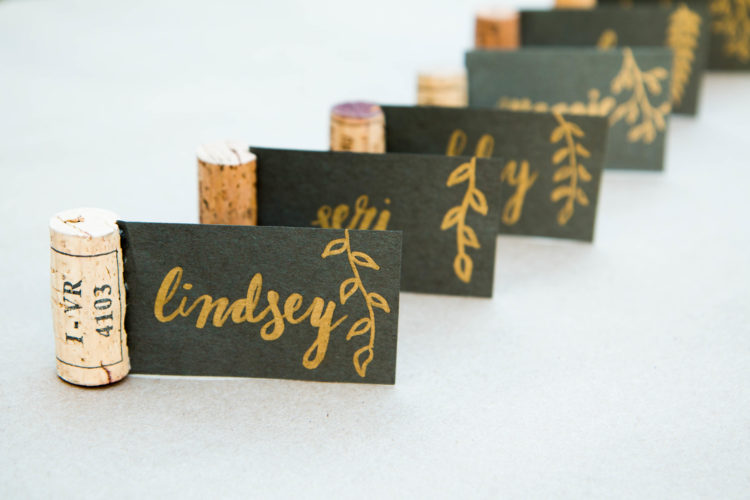
DIY Cork Name Place Cards

Whenever the LMP team is hosting a dinner party, one of my favorite tricks to "wow" our guests is to provide them each with a unique name card for their place setting. This way, they can each find their seat and take home the name card if they wish.
Last week, we hosted a backyard dinner party and wine tasting, so I made each guest a name card using CORKS, of course! I feel like we're constantly yelling "GIVE US ALL THE WINE" so you can imagine that this was a hit as a finishing touch to our table.
The best part is, it's super easy. You will need:
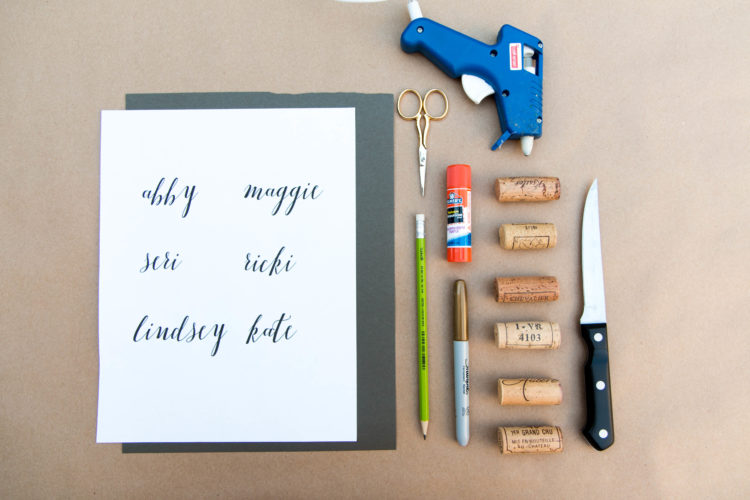
- black construction paper
- print out of your guests names in your favorite script
- scissors
- pencil
- ketallic sharpie
- old corks
- kitchen knife
- hot Glue & a glue stick

Step 1: Prep your corks by carefully slicing into them with a kitchen knife. Make sure the cut is deep and wide enough to securely hold the construction paper.
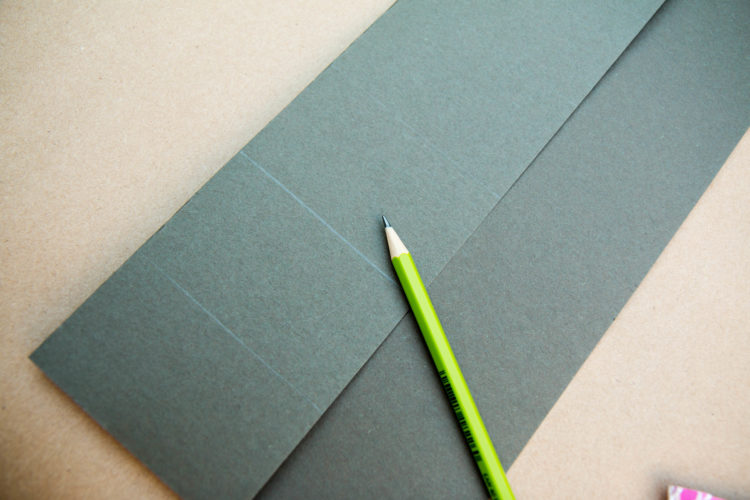
Step 2: Make your cards by measuring the height of your corks and deciding how wide your would like your card to be. My corks were about 2" tall, so I made my card outline 2" by 3". I used a ruler and marked my paper, then folded it over so each card will be double layered for thickness.
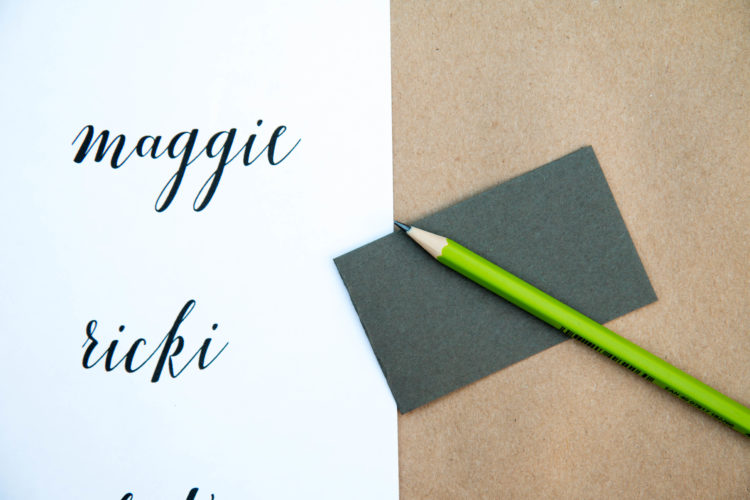
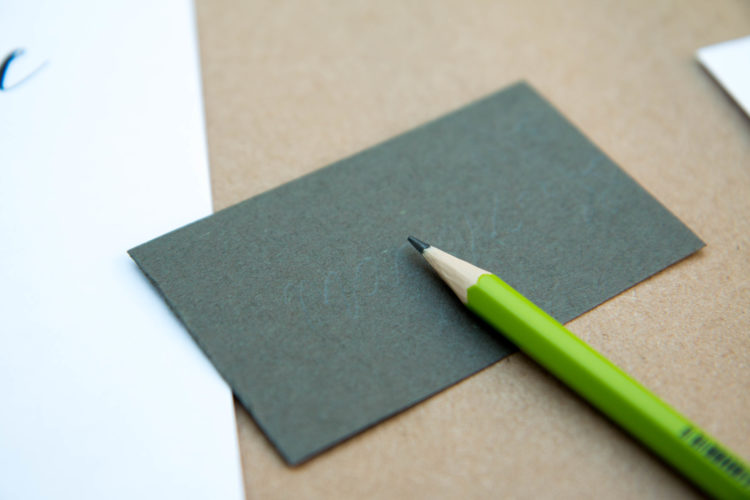
Step 3: Once your cards are cut out, bring in your print out and start to make an outline of each name in pencil.


Step 4: Go over your pencil with the metallic sharpie, and add extra details (like leaves!) if you wish.

Step 5: Use your glue stick to glue your layers together.

Step 6: Apply the hot glue in the crevice of the cork and insert the folded edge of your card inside.
Voila!