DIY Floral Chandelier
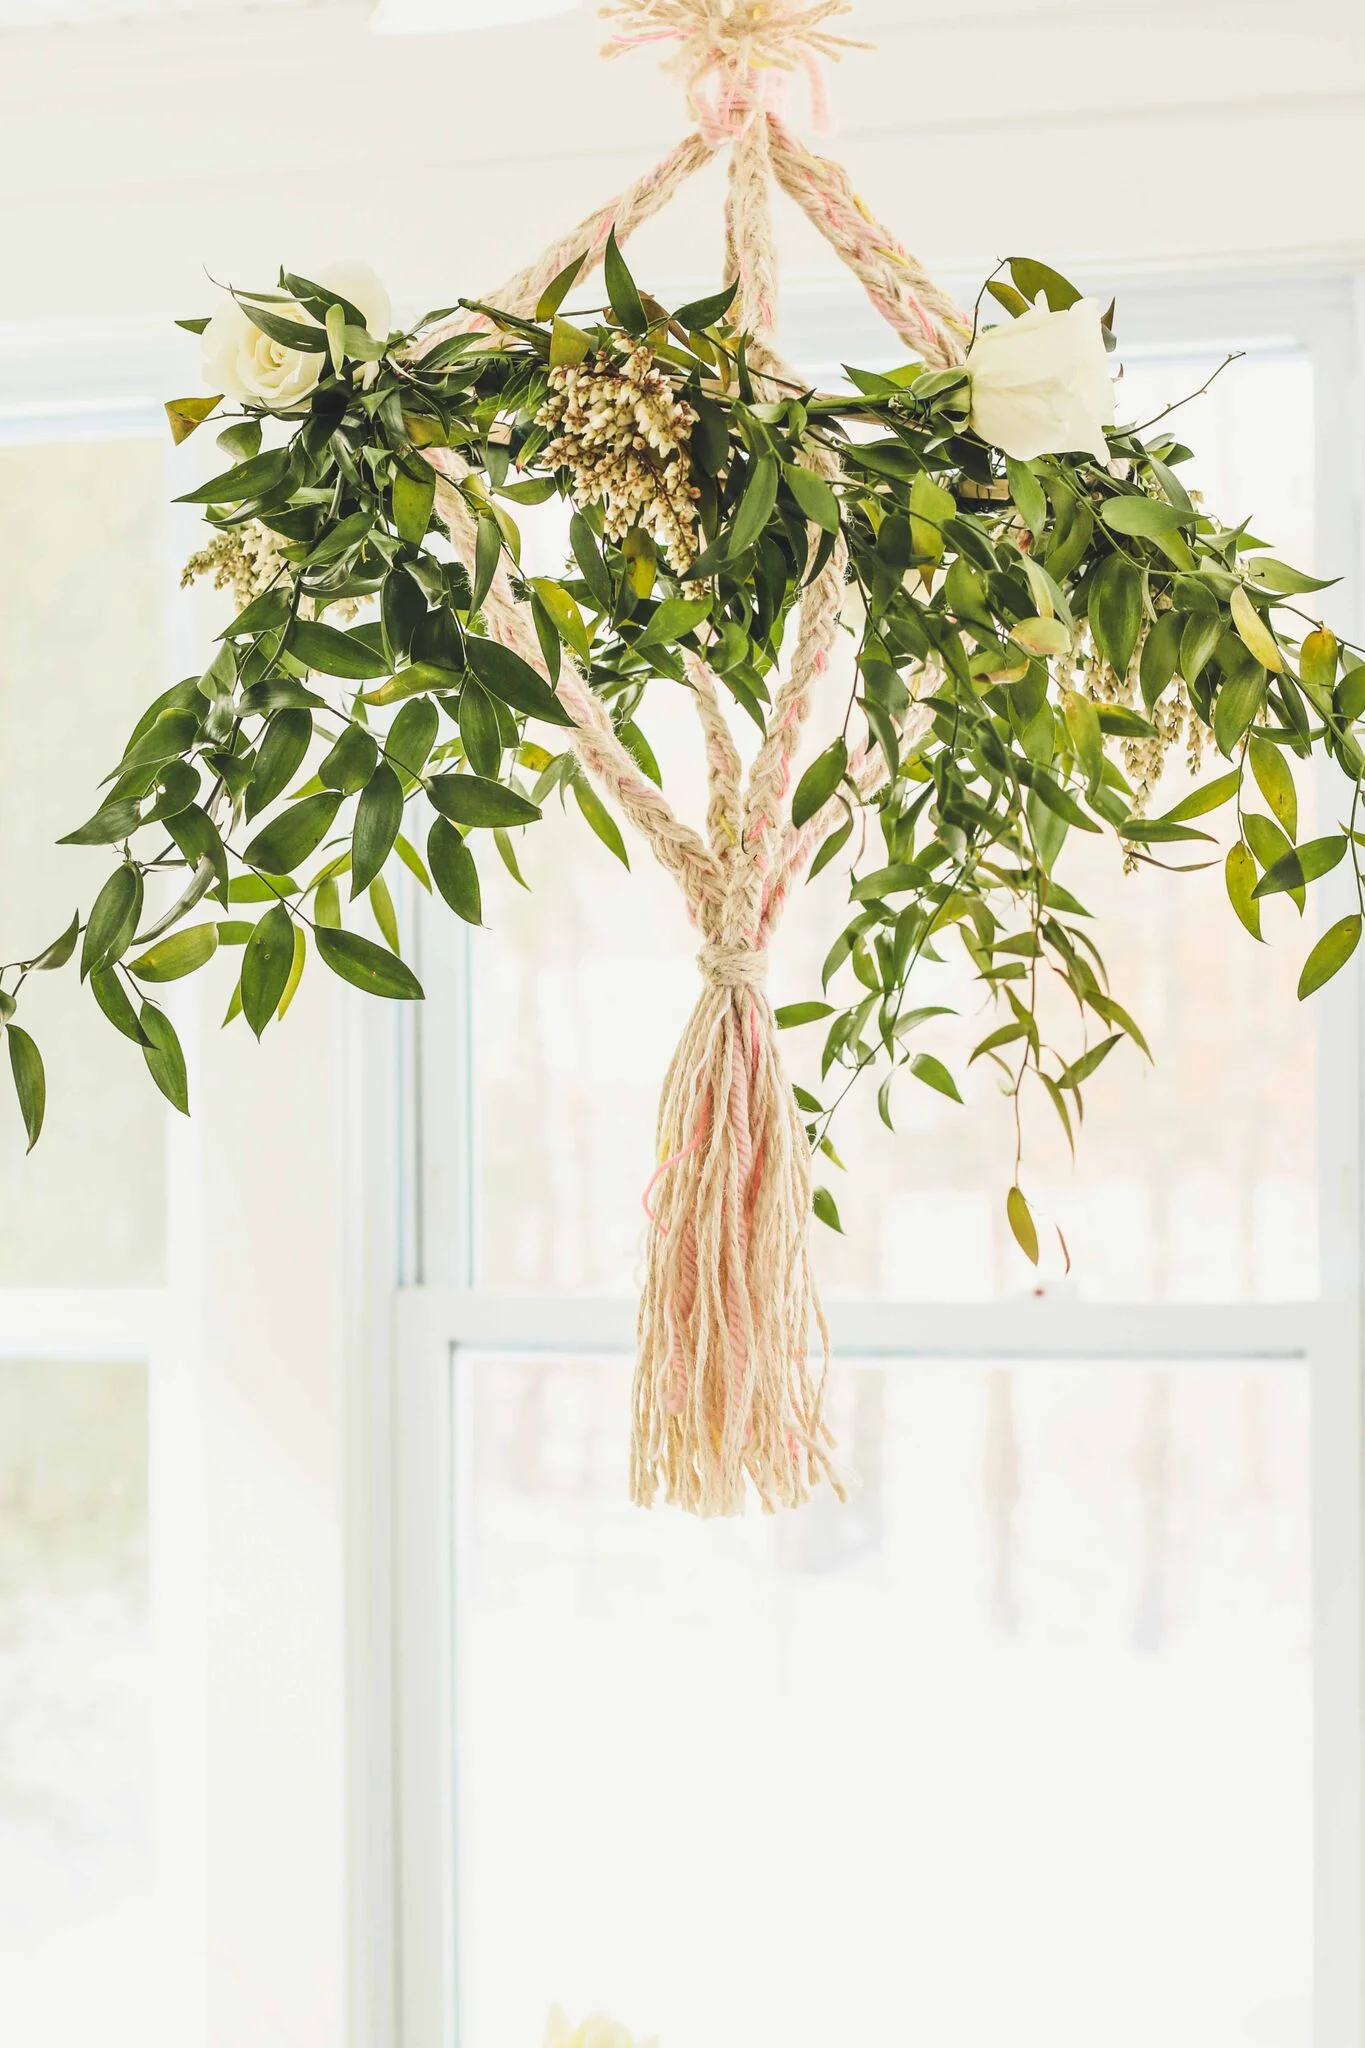
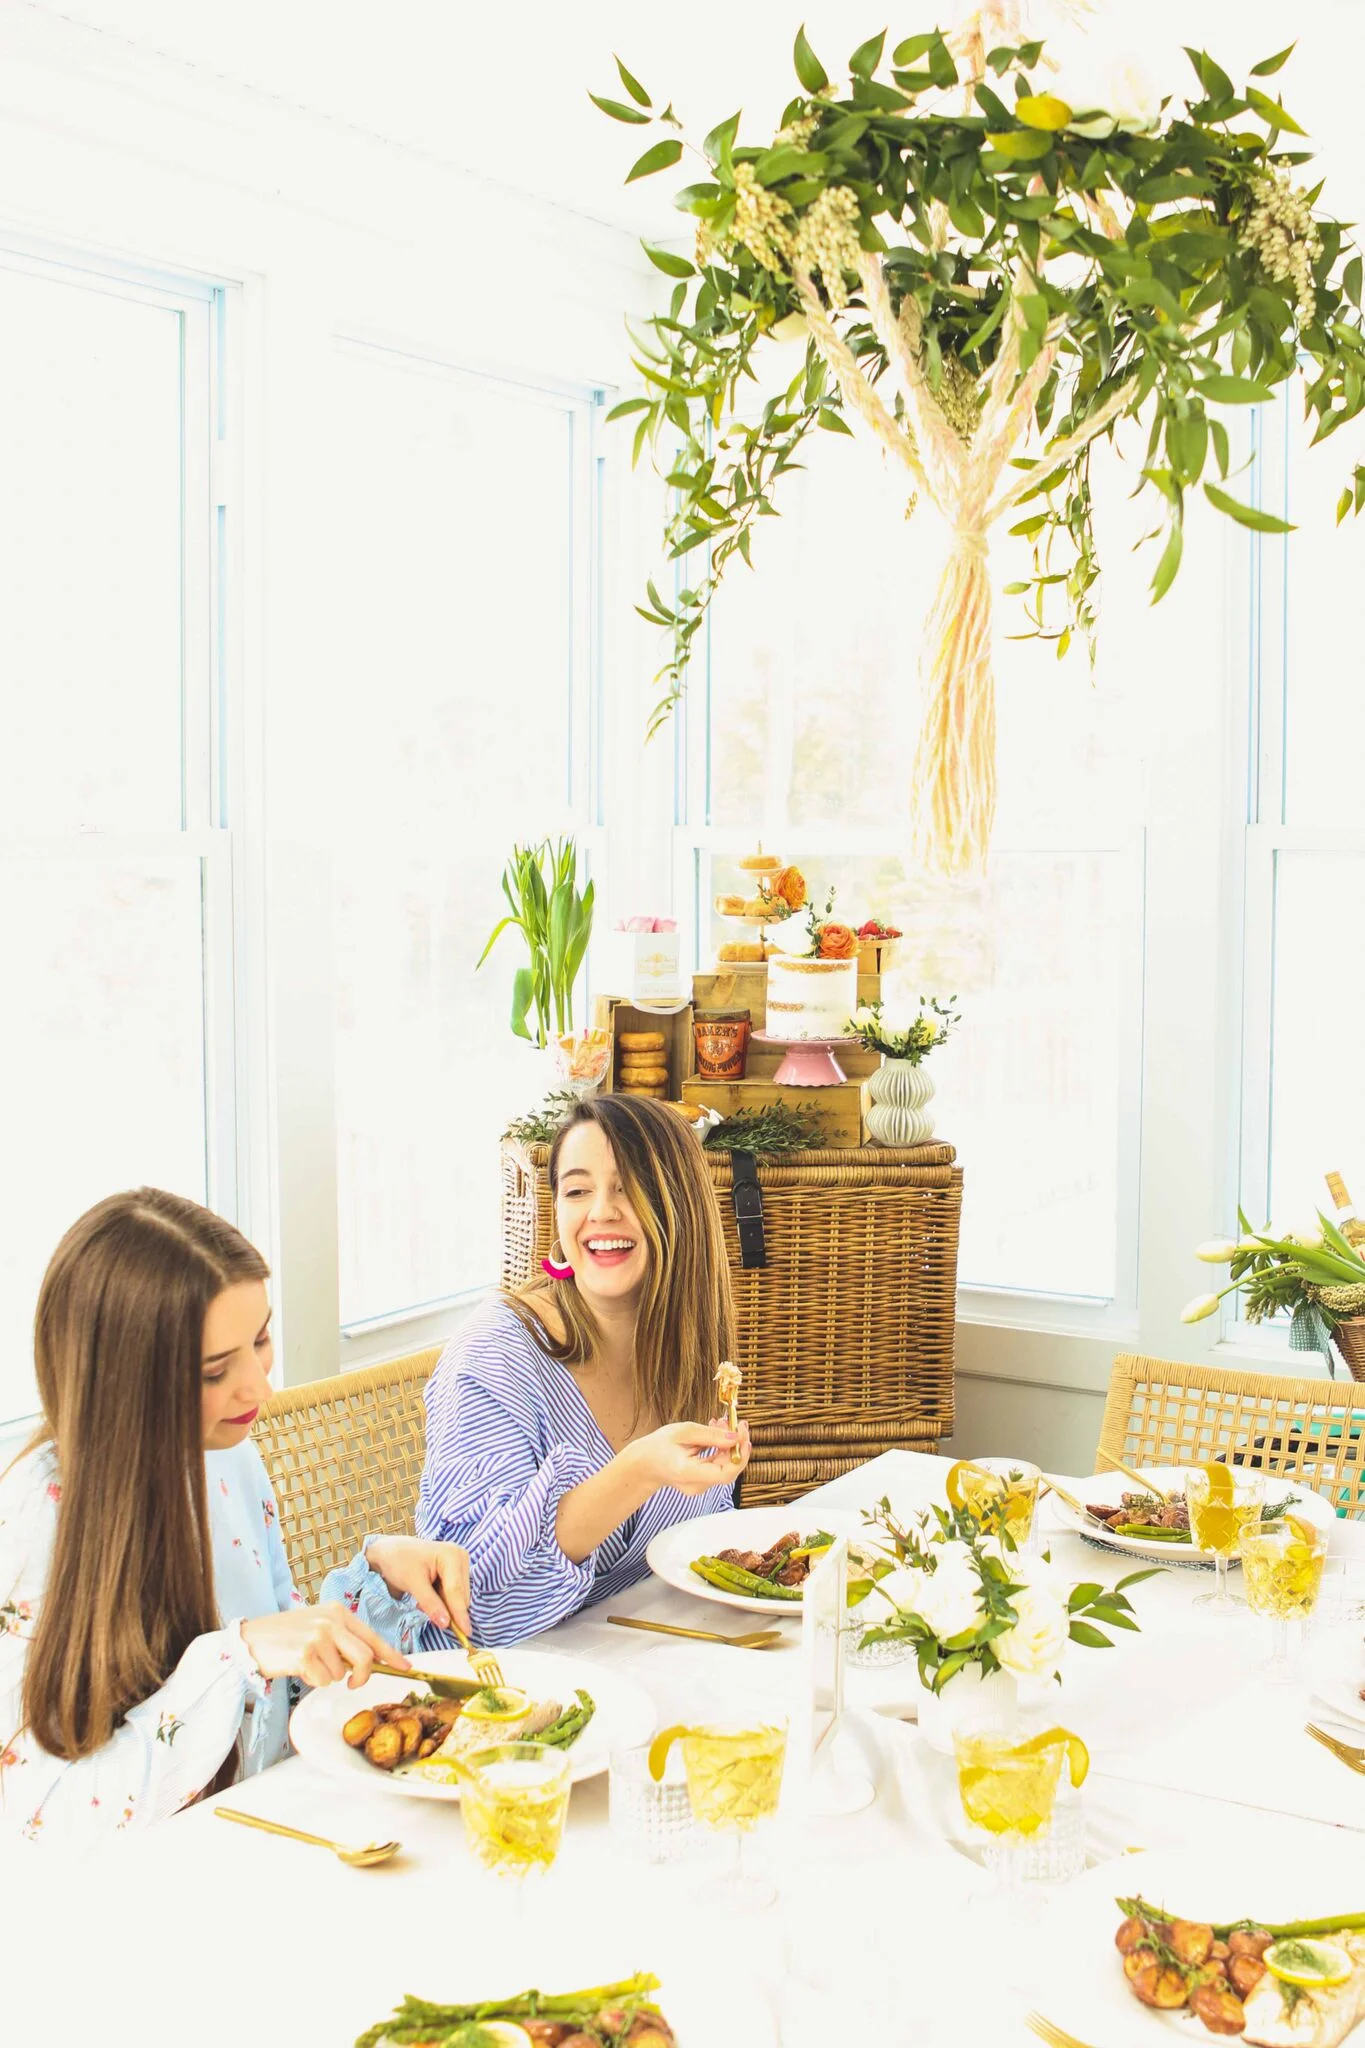
For months now, I'm sure you've seen big & beautiful floral chandeliers all over the internet. They're so dreamy and perfect for the warm weather months to hang in your sunroom, under a tree, or even just in the corner of a room to add some fun decor.

A lot of people think floral elements like this will break the bank or are just too difficult to do themselves..... wrong! This DIY was actually so easy and requires very few items to make it come to life.
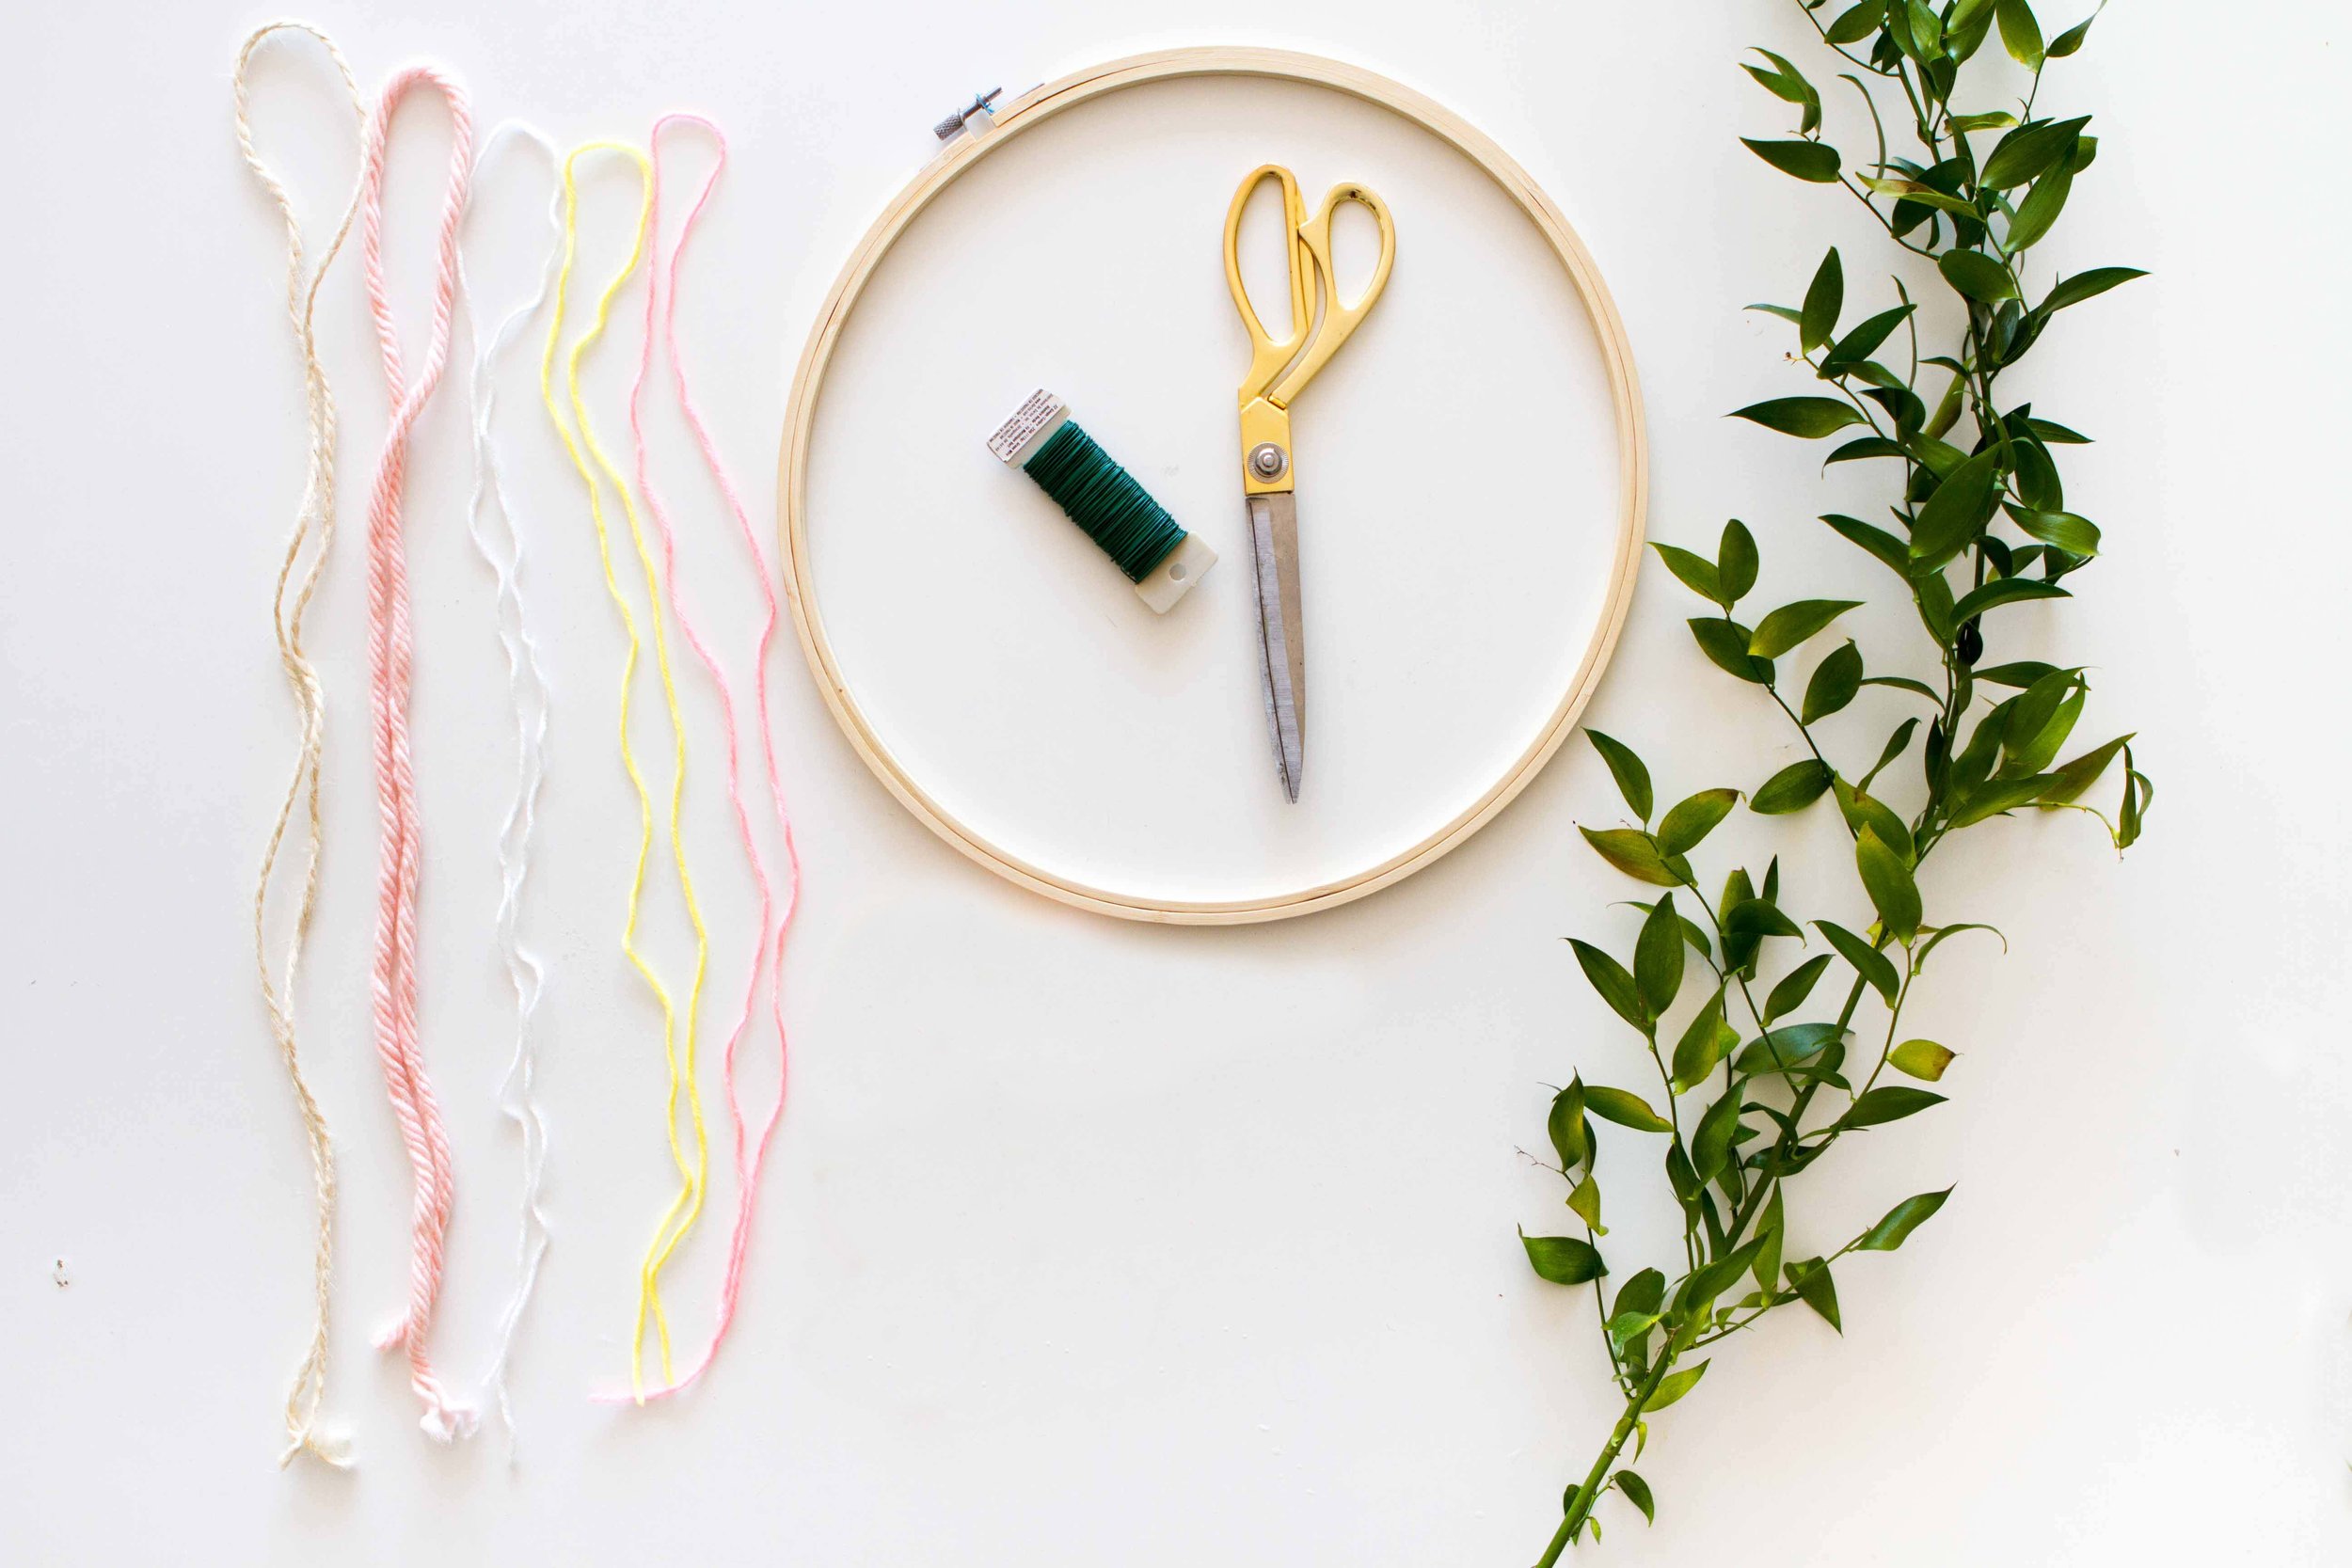
Here's what you'll need:
- A Large Embroidery Hoop (The one we used was 14" but feel free to go bigger!)
- Floral Wire
- A Variety of Yarn (The thicker, the better!)
- Scissors
- Greenery
- Flowers
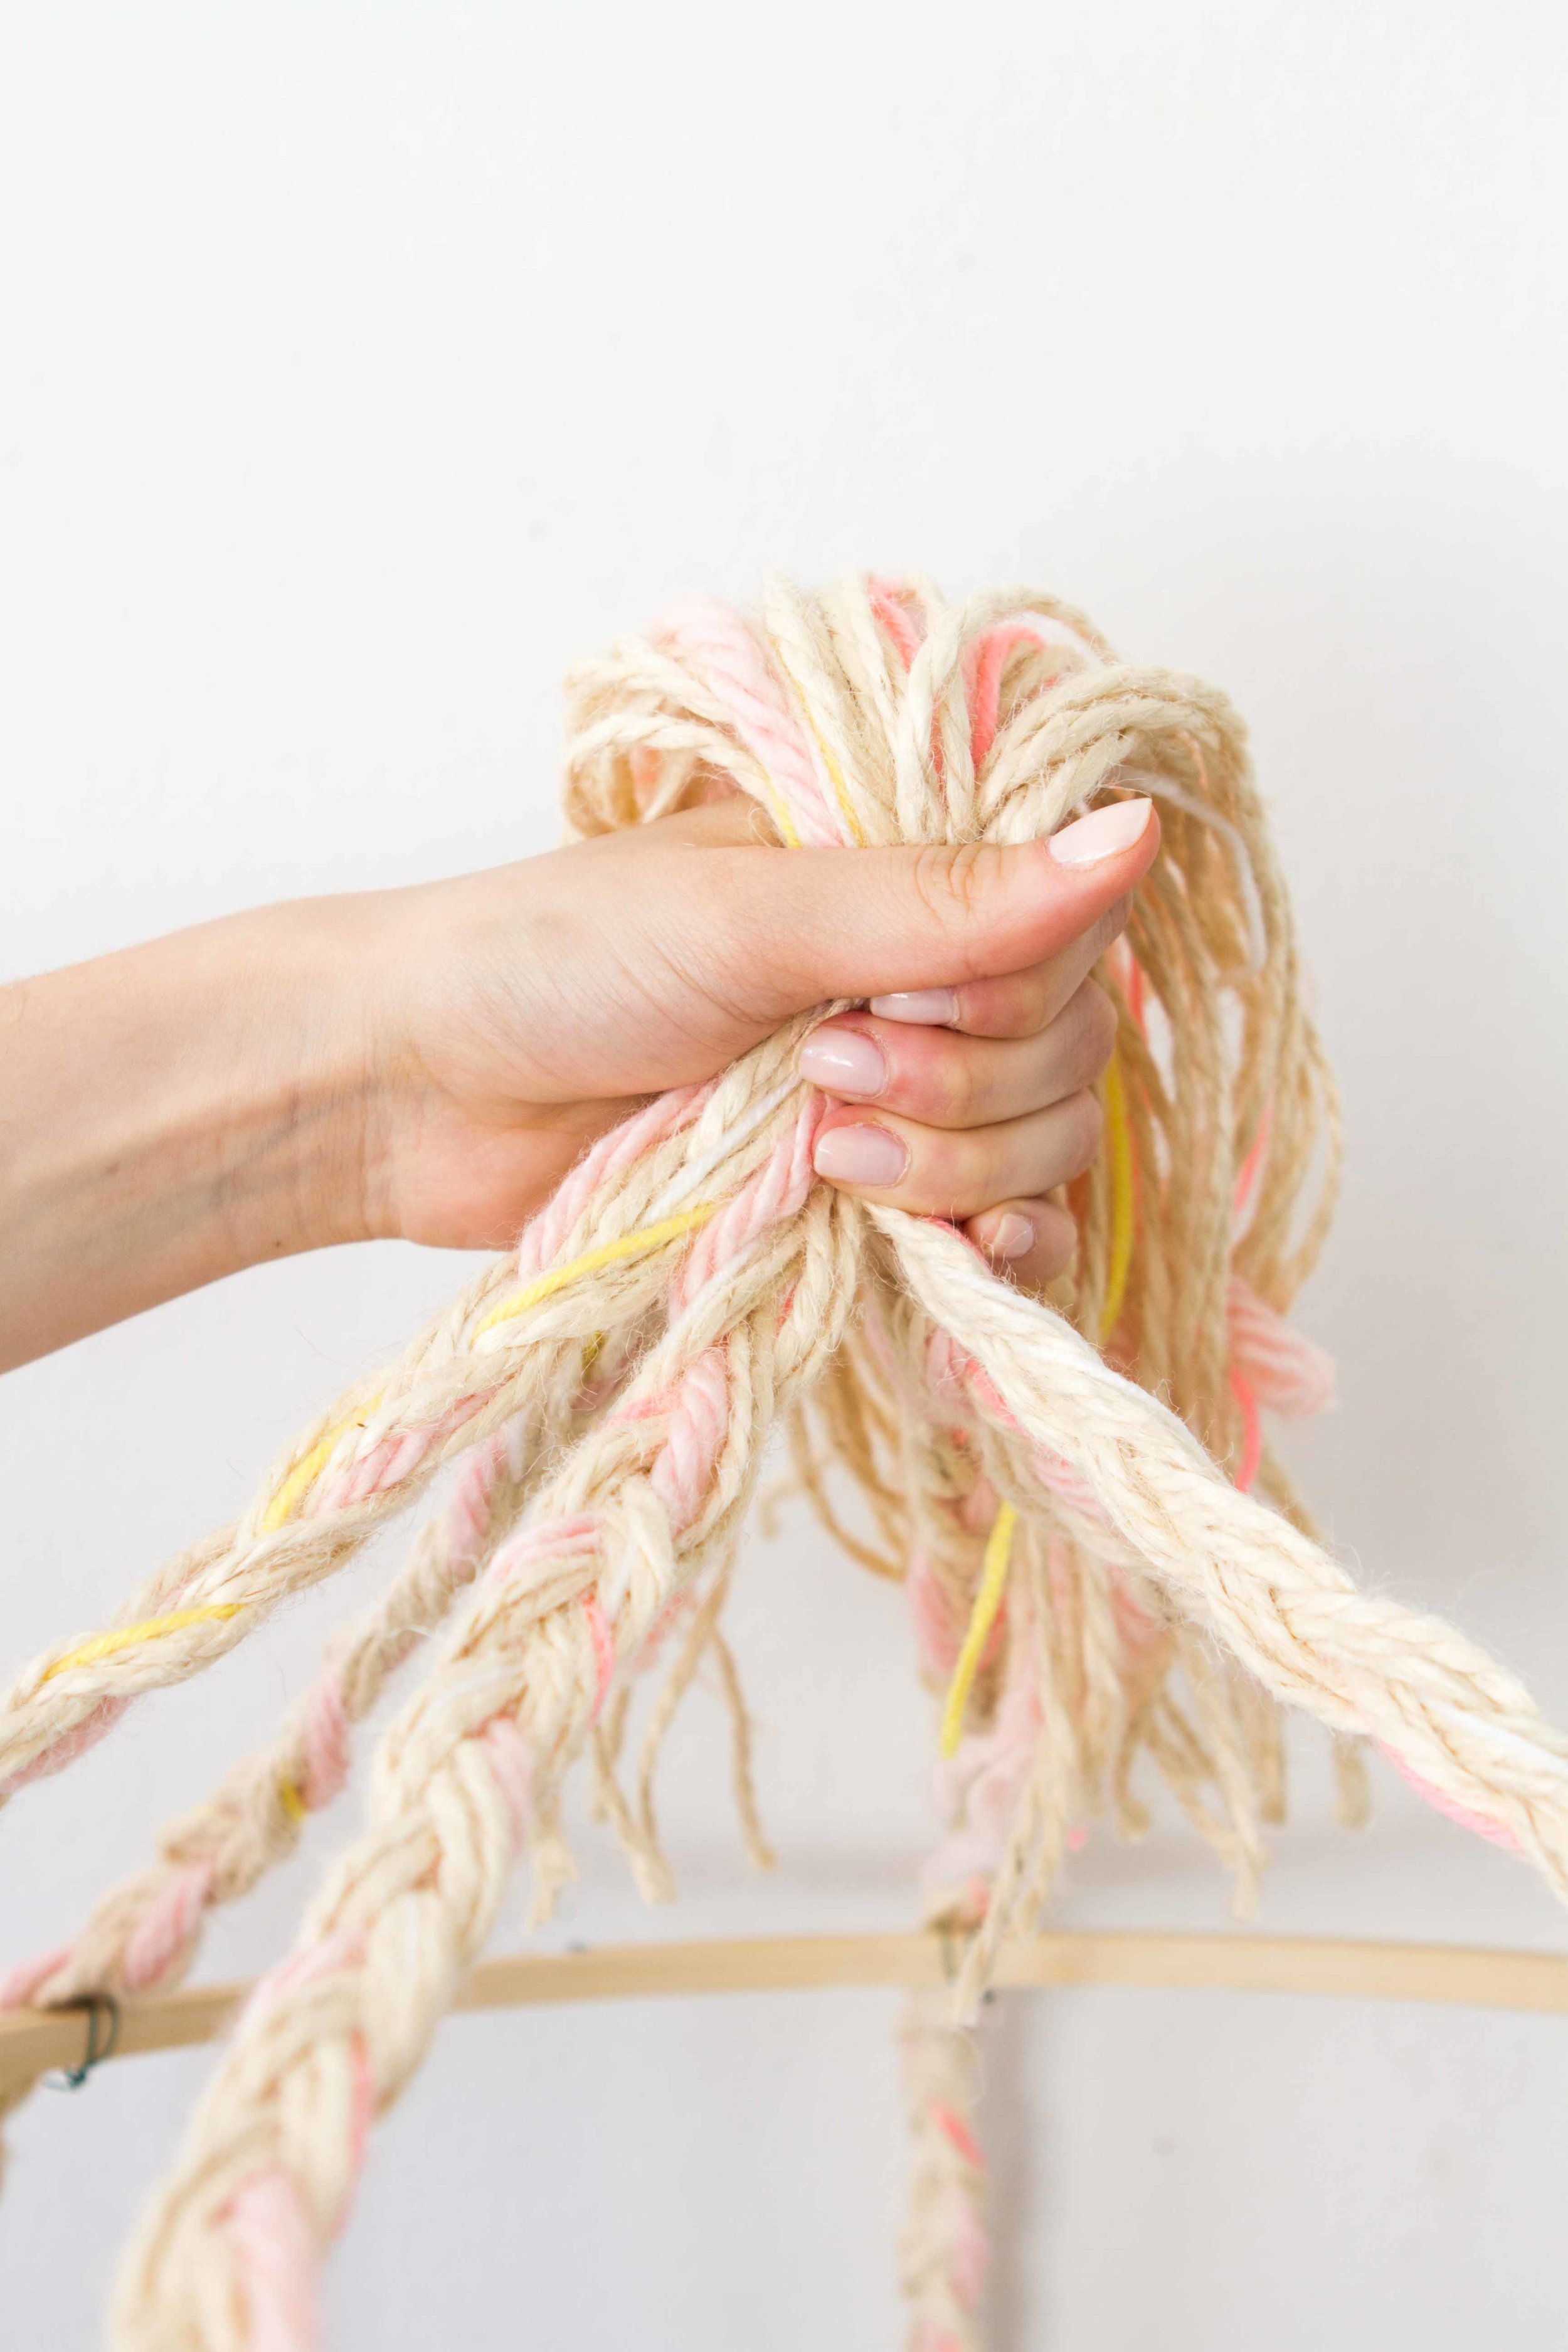
Step 1: Cut LONG pieces of yarn (about 4 ft) and start braiding! To get them nice and thick, I combined about 9 pieces per braid. Feel free to mix up the colors in each of them. In total I made 6. Temporarily tie them off at the end with a small strand of yarn until later.

Step 2: About 1/3rd of the way down, loop through some floral wire to attach to the hoop.

Step 3: Combine all the braids and wrap a long strand of yarn around to secure them (you can add a little bit of crazy glue on the knot to make sure it does not loosen).
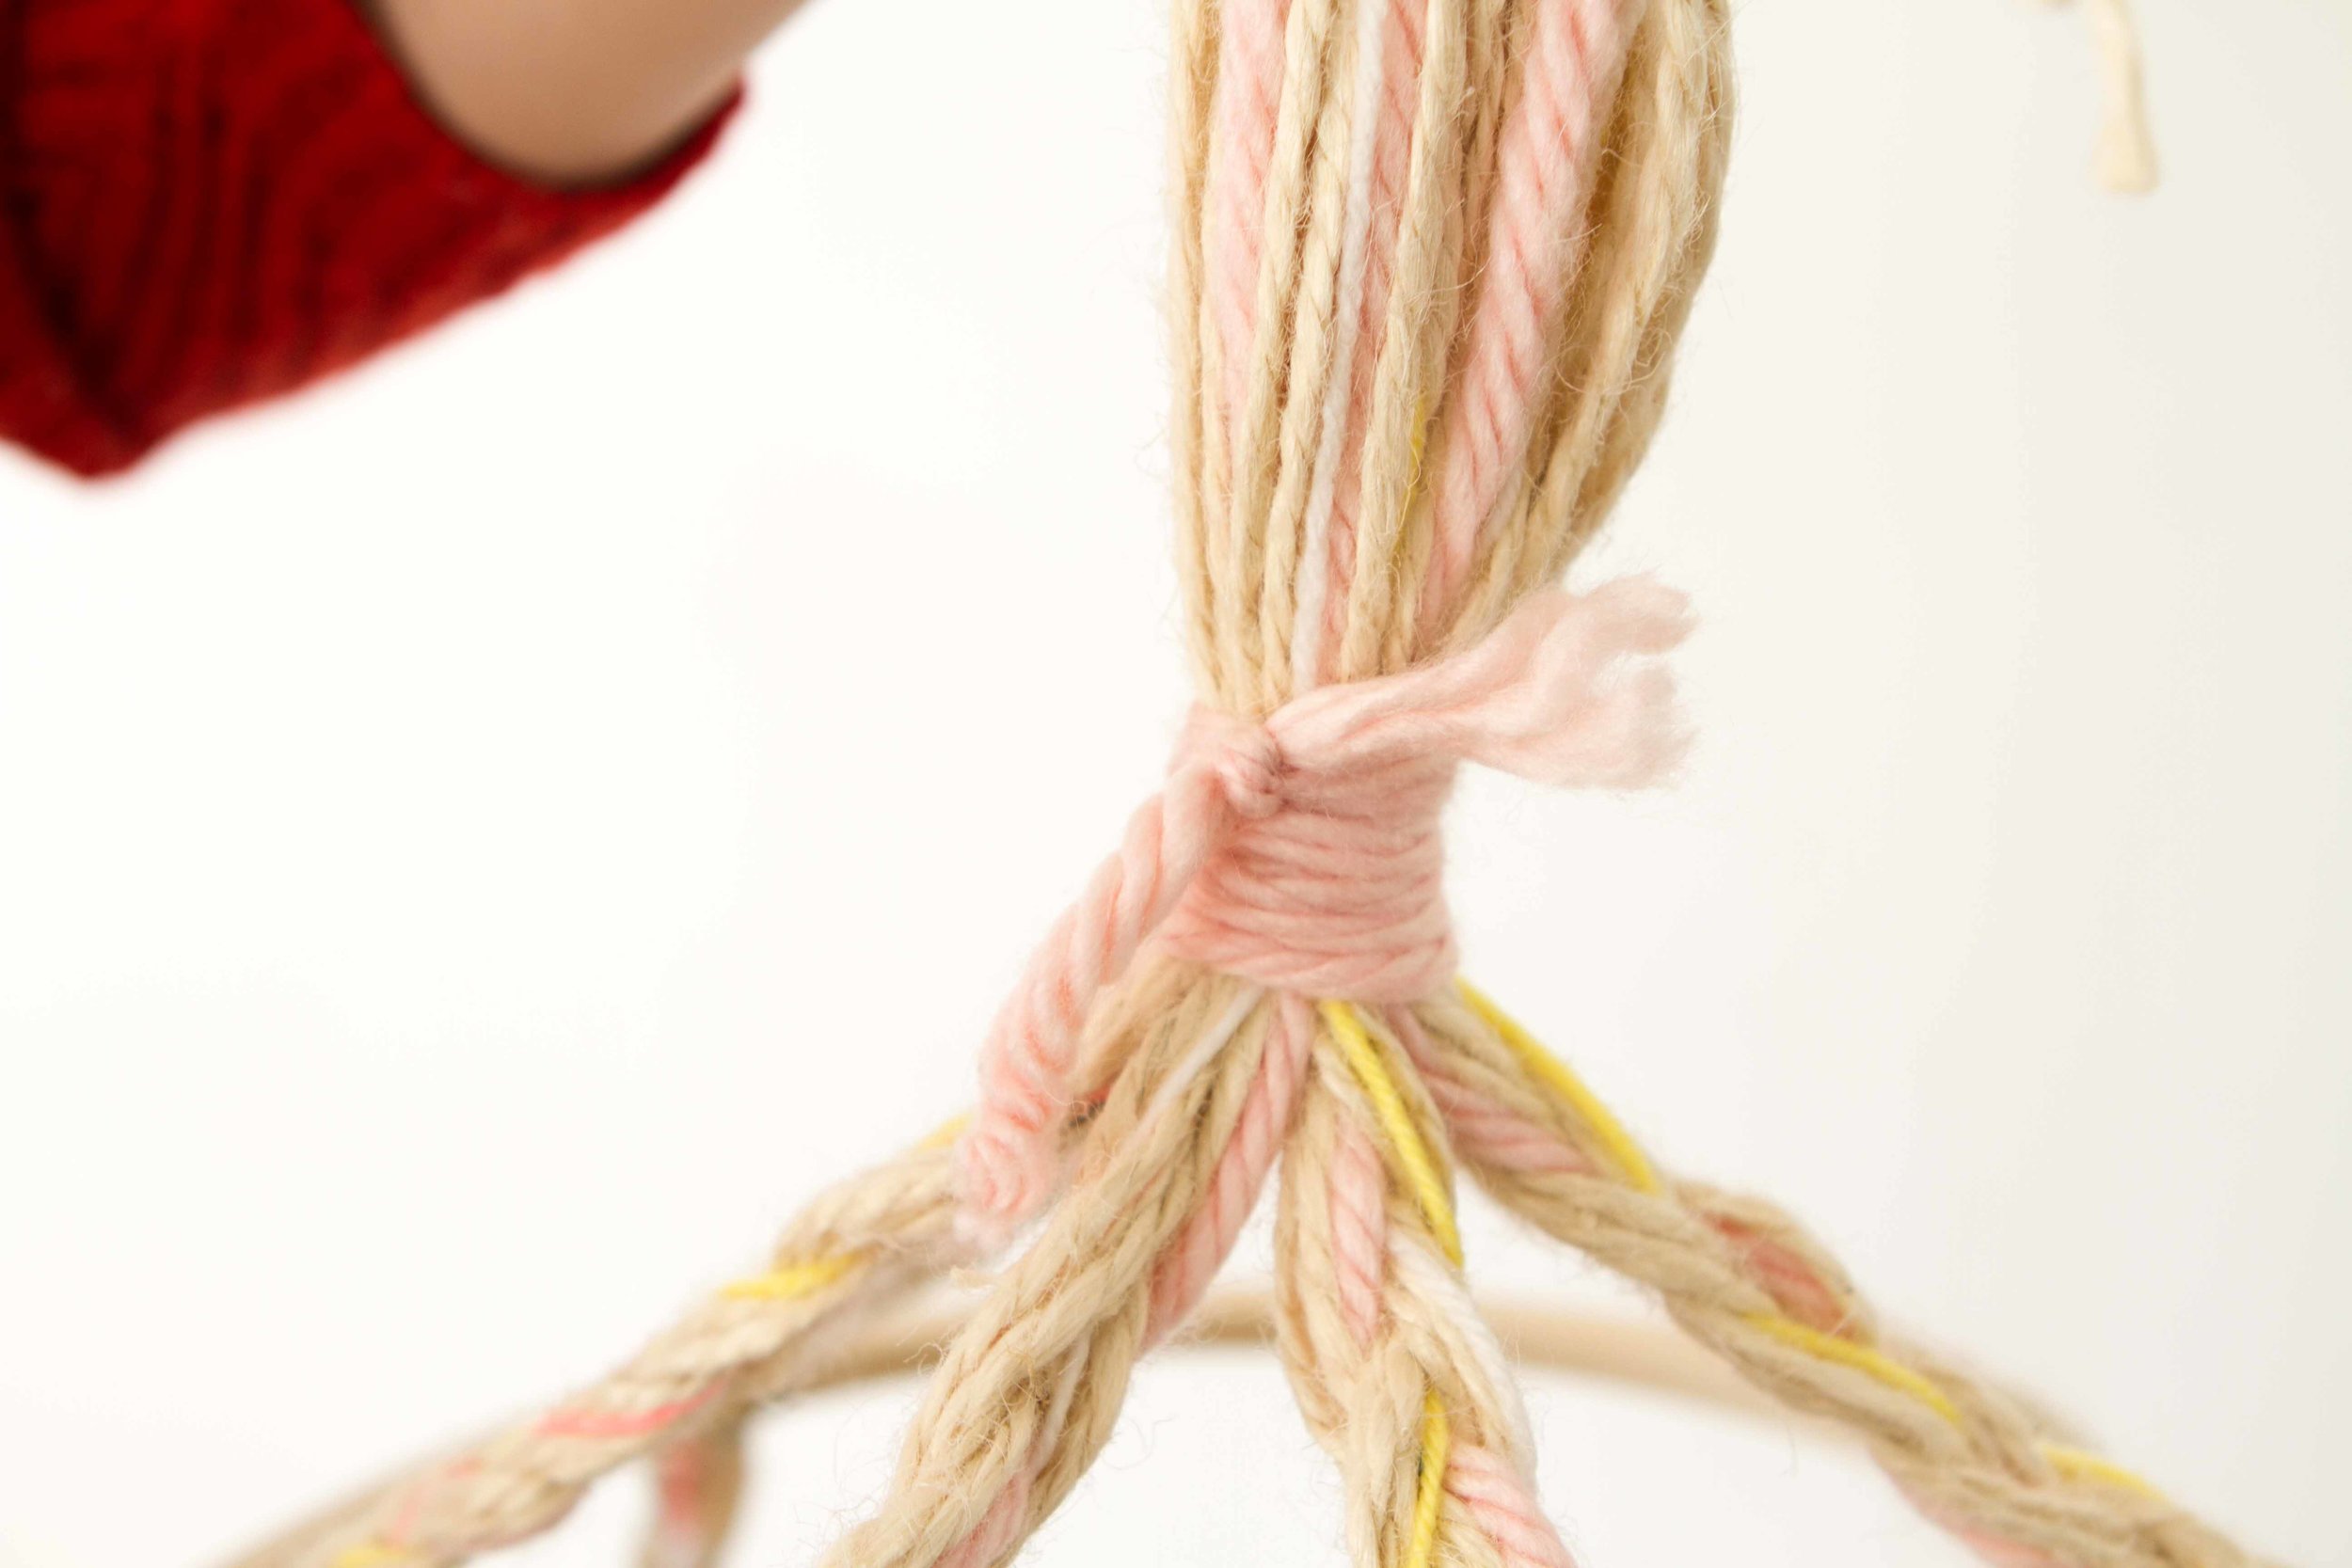
Step 4: Using the excess yarn at the top, create a loop to hang your chandelier.

Step 5: For the bottom of the chandelier, you can bring them together in the center and wrap a long piece of yarn around them once again to secure them together.

Step 6: Undo the braids at the bottom to create a large tassel effect. Trim any uneven edges.
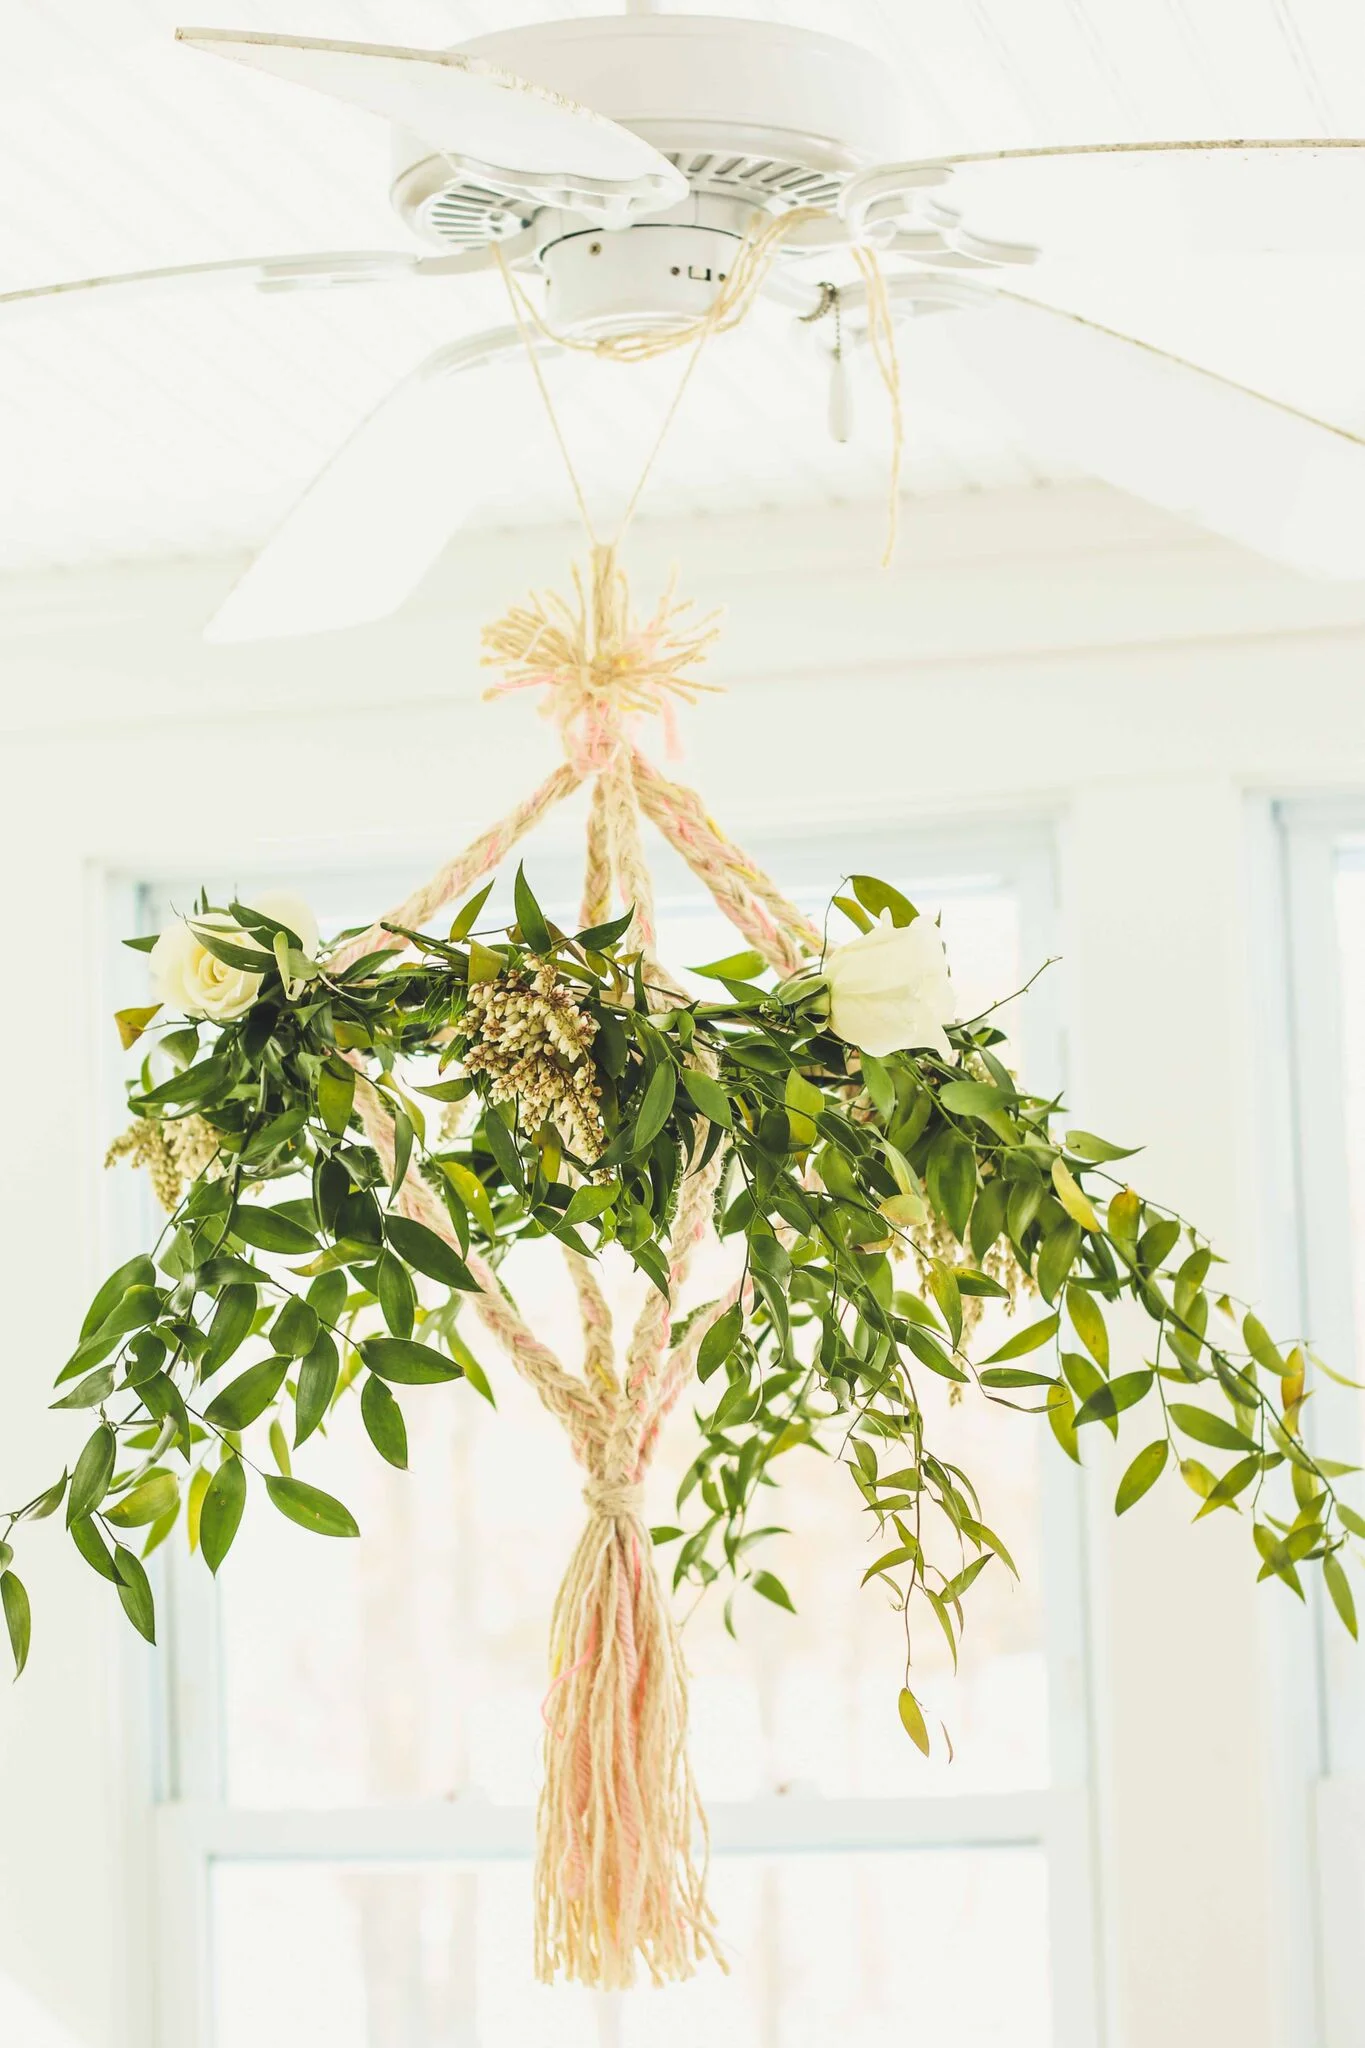
Step 7: Wrap greenery around the hoop & secure with floral wire. Feel free to have it hang down like we did or keep it nice and tight at the top, whatever you prefer! Then add in any additional floral heads, attach with floral wire, & you're all set!
See! Easy Peasy.
My favorite thing about this DIY? You can reuse it as many times as you want! Just make sure to attach fresh greens.
Happy DIY-ing & Happy Spring!
xo,
Natalie