Splatter DIY Easter Eggs
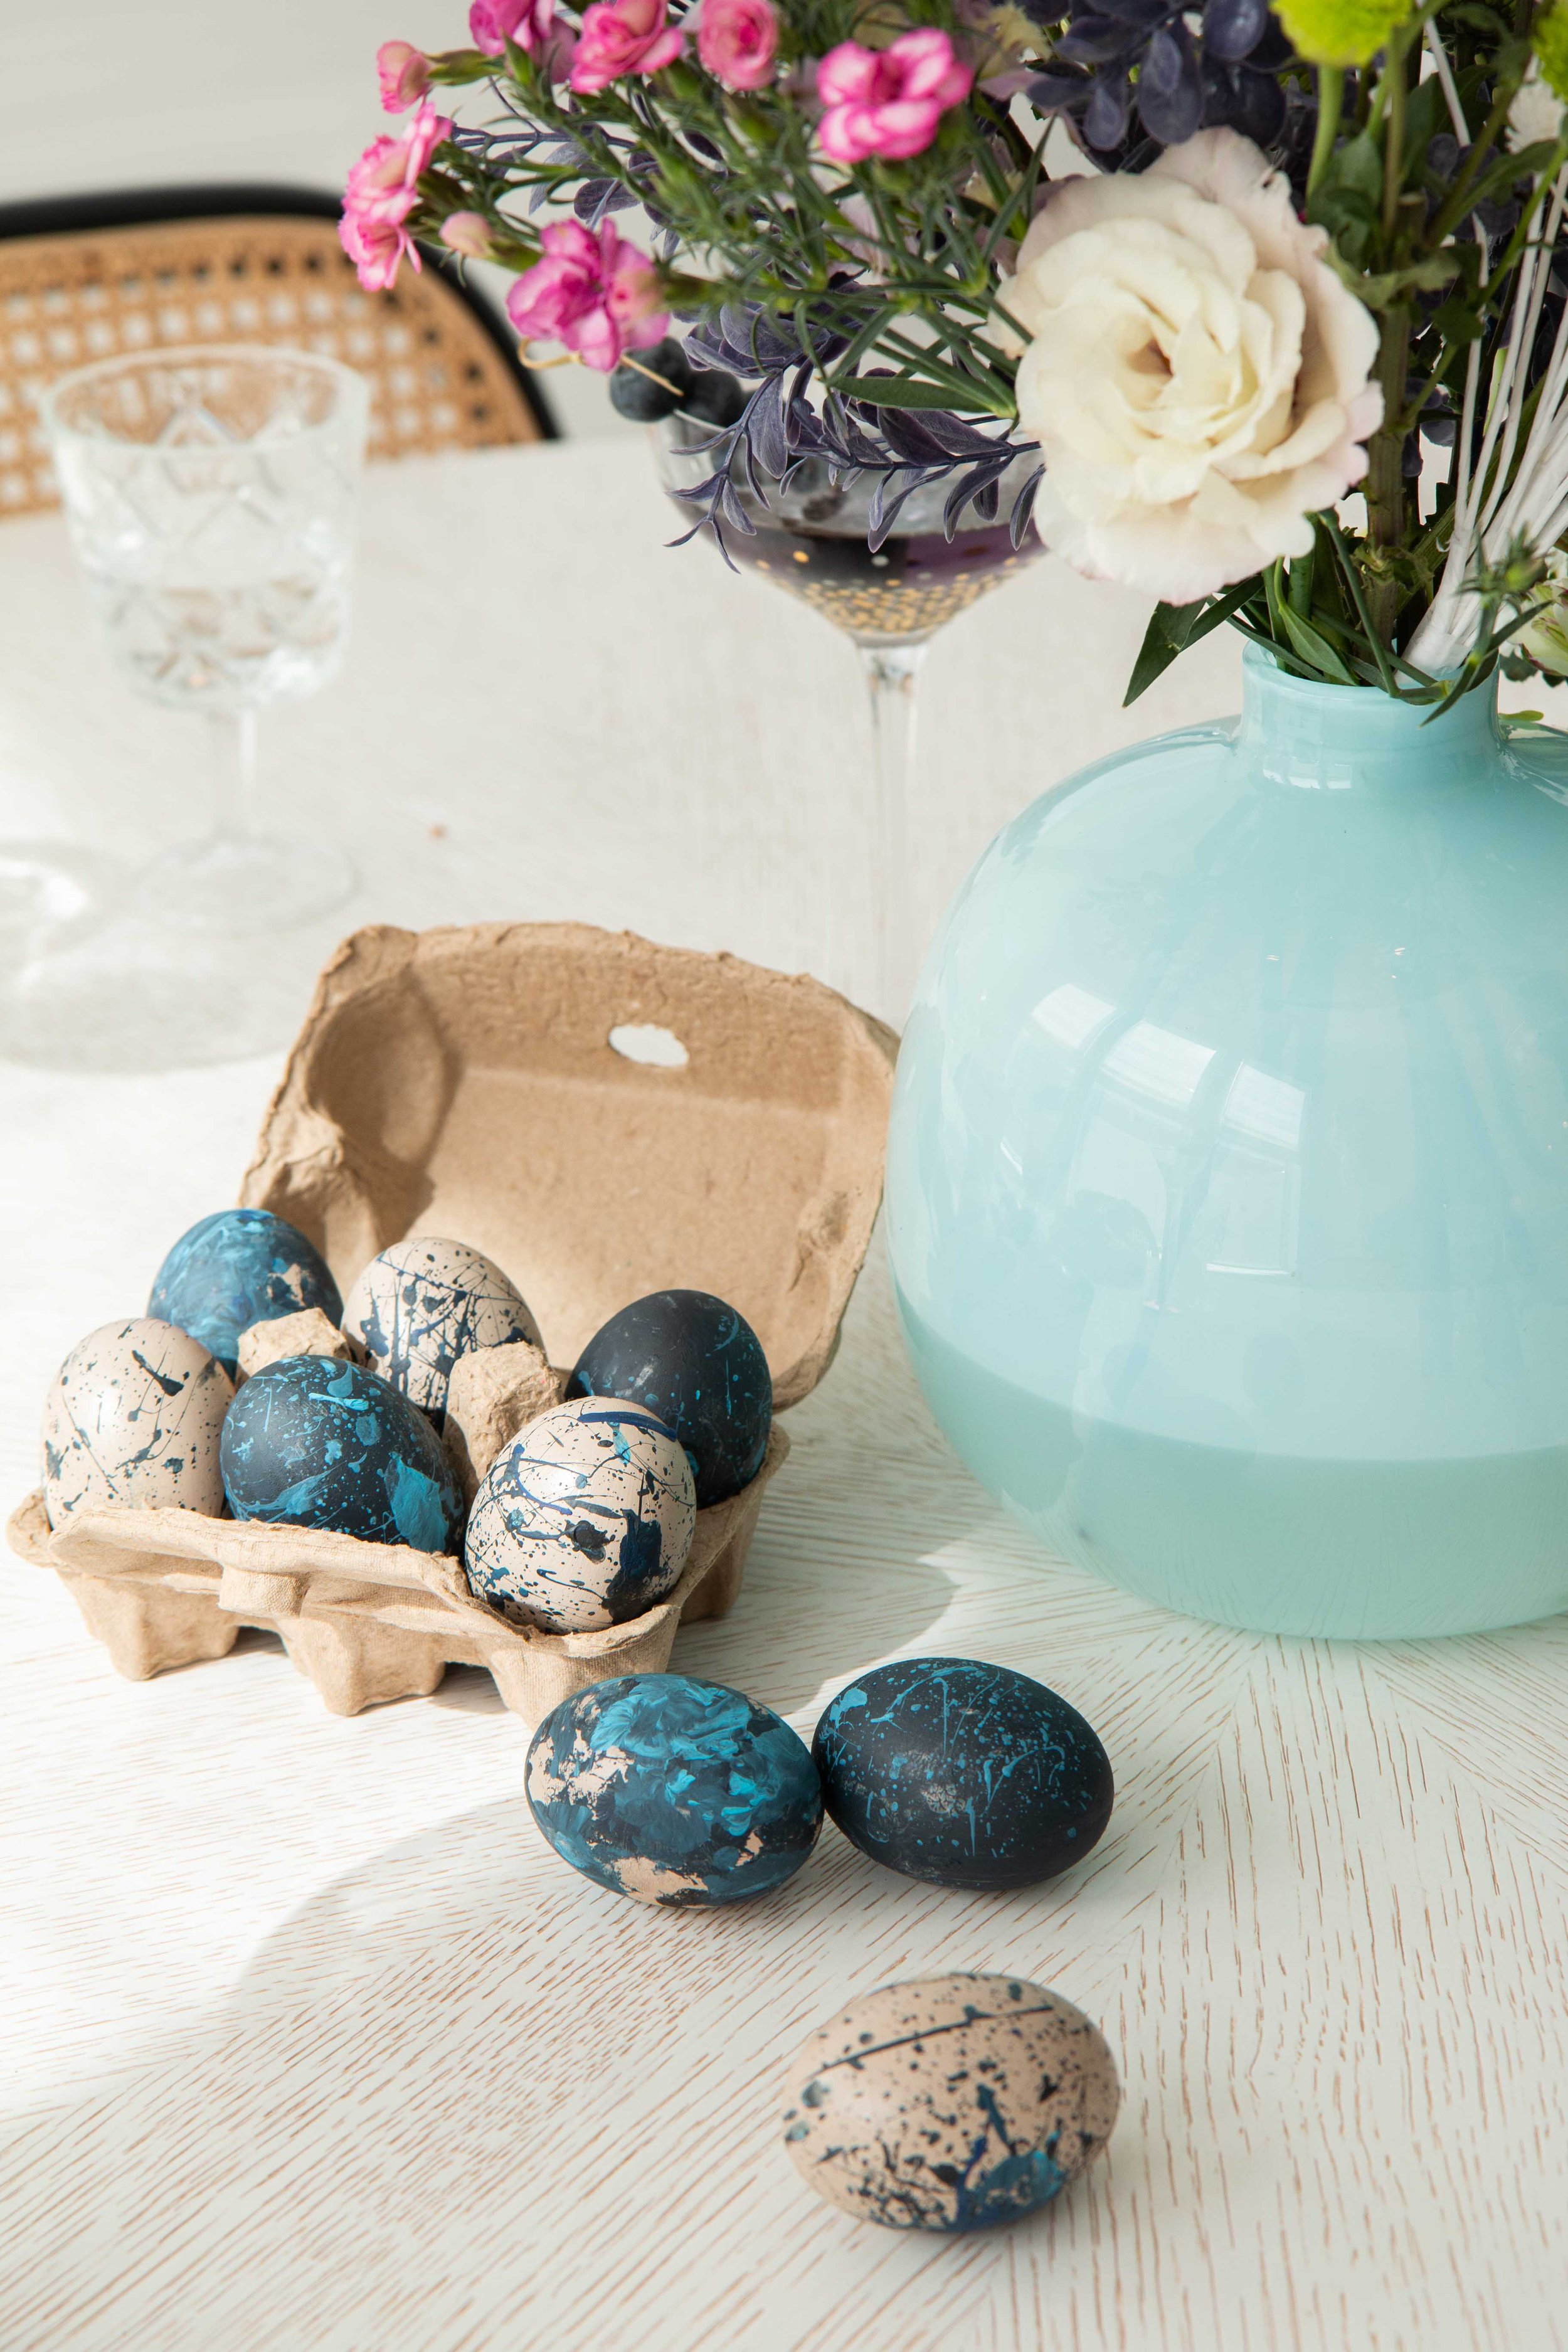
When I had the chance to visit Seri in Florida, we were so excited to be able to style a breakfast photoshoot for Easter! We were really feeling the blue color scheme, so we pulled some decor for the shoot and planned a beautiful menu for Seri’s guests. I wanted some really special elements on the table, so I planned a couple DIY pieces to pull it all together.
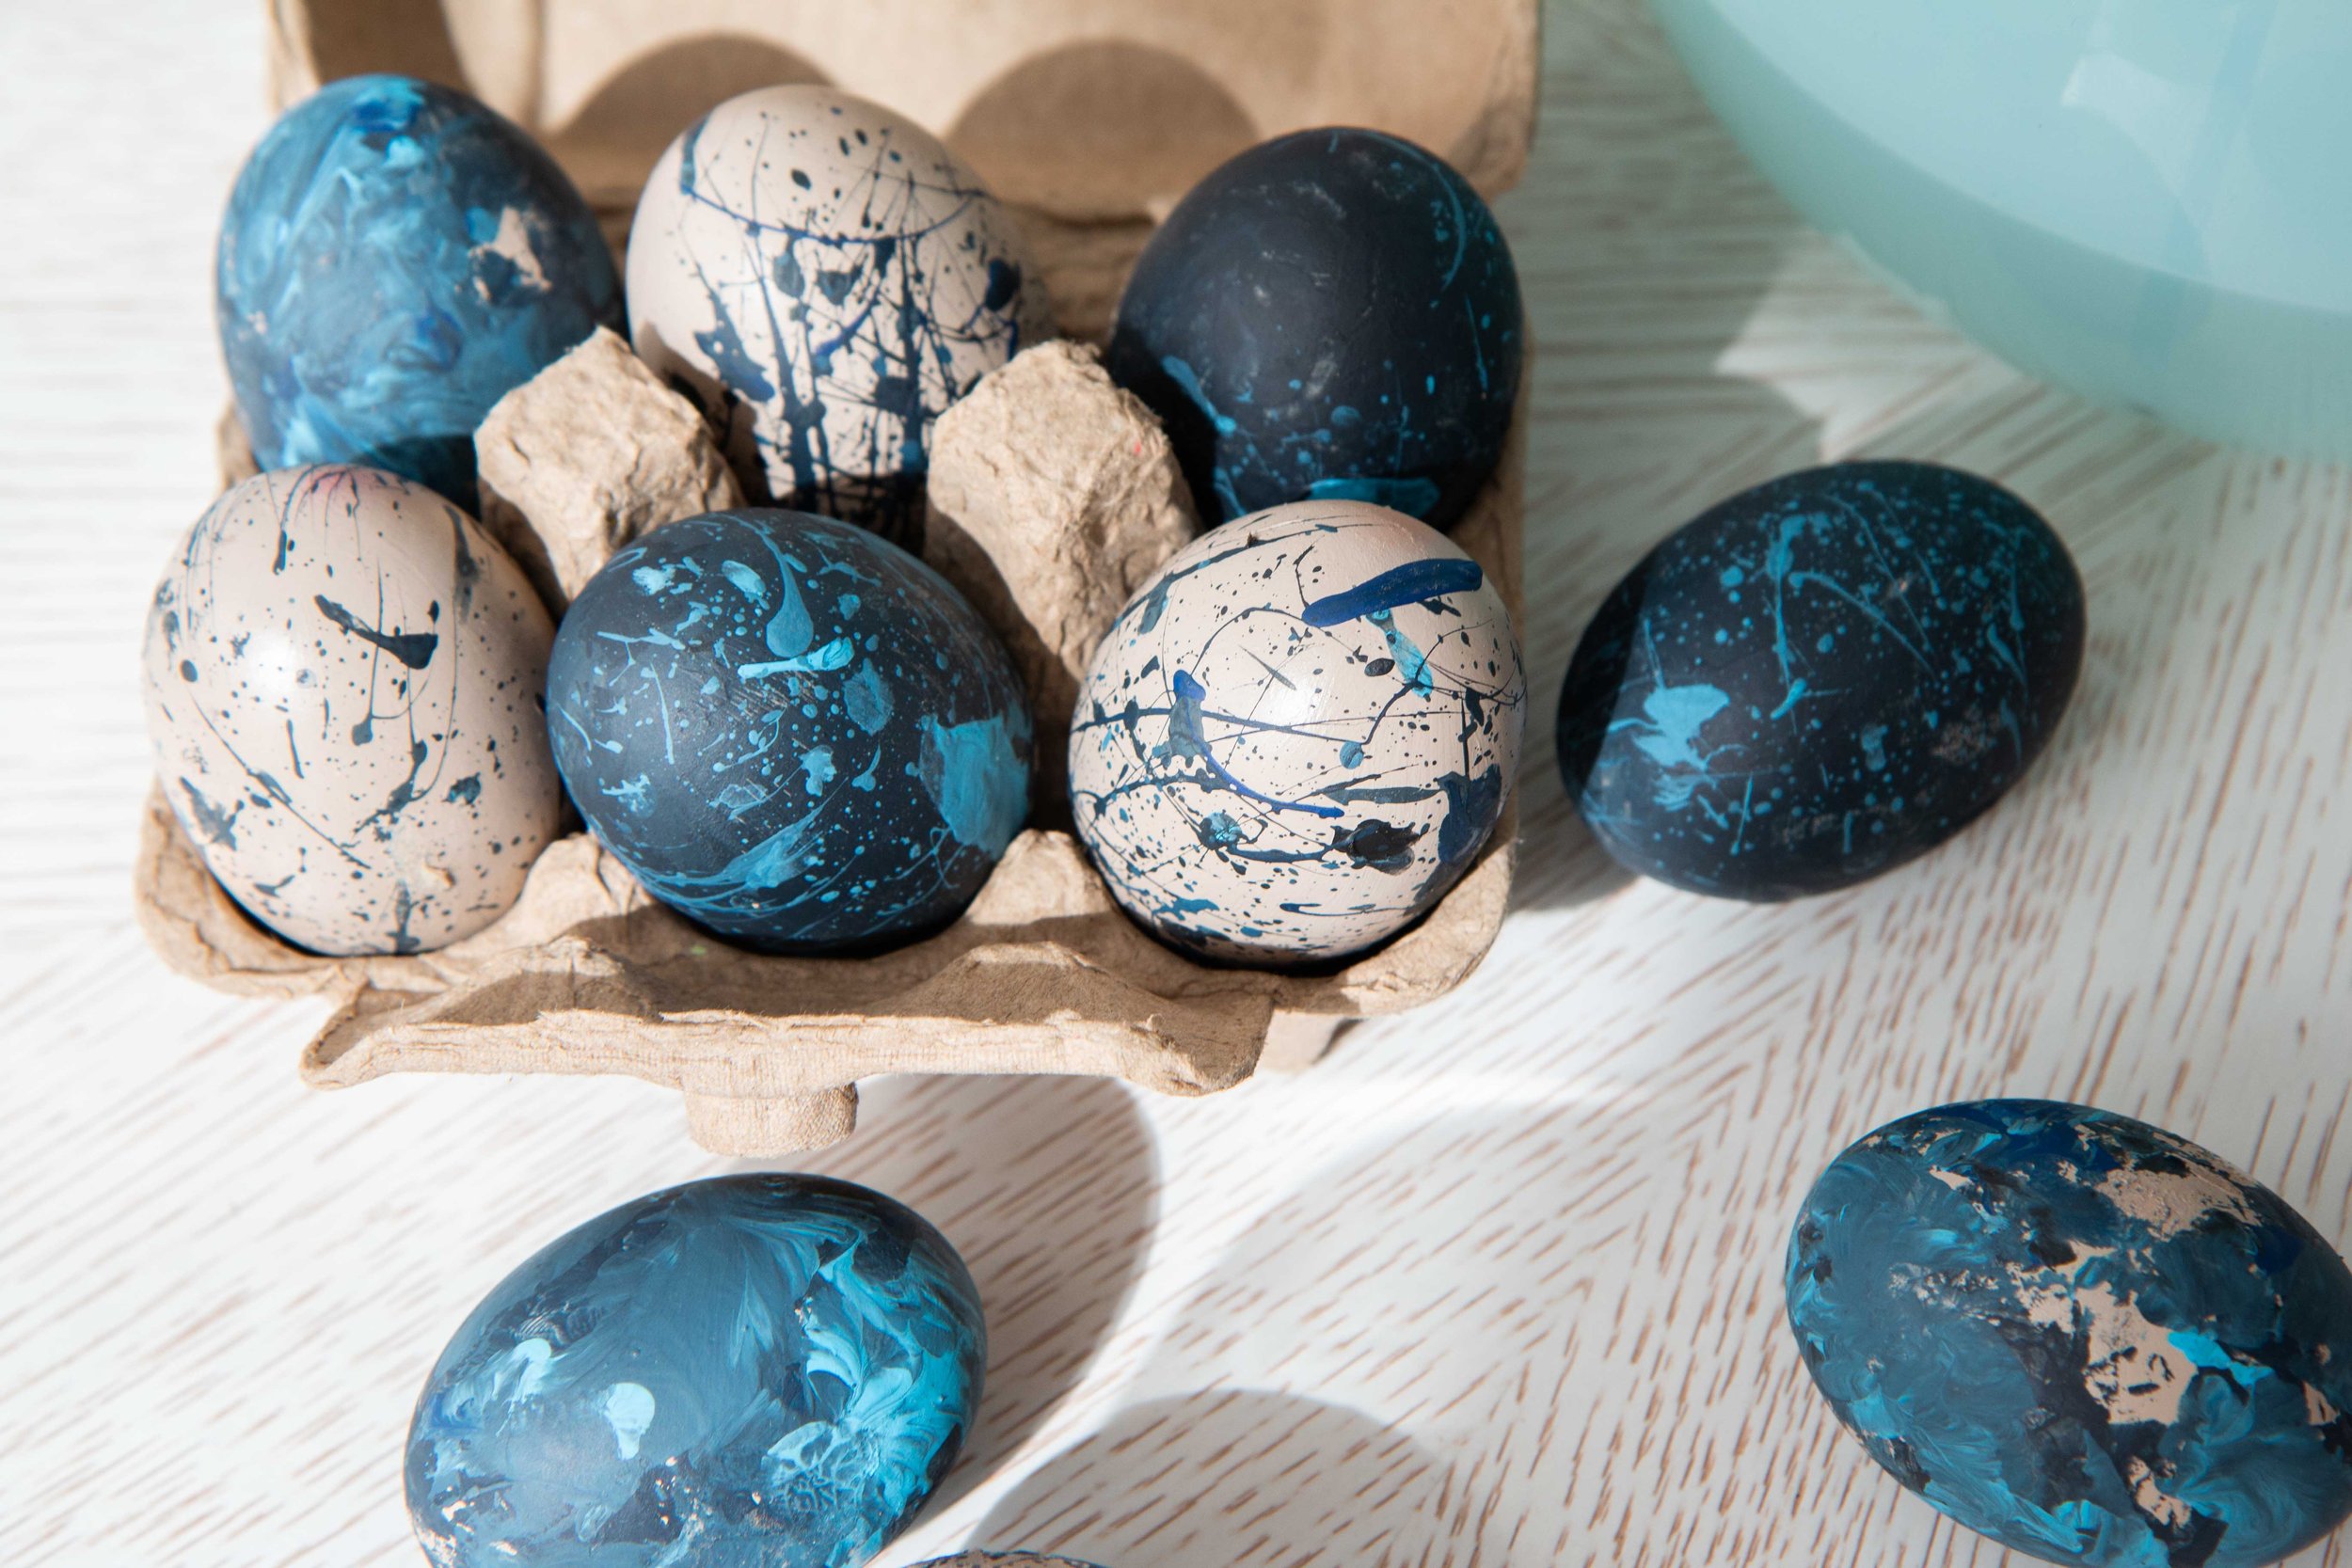
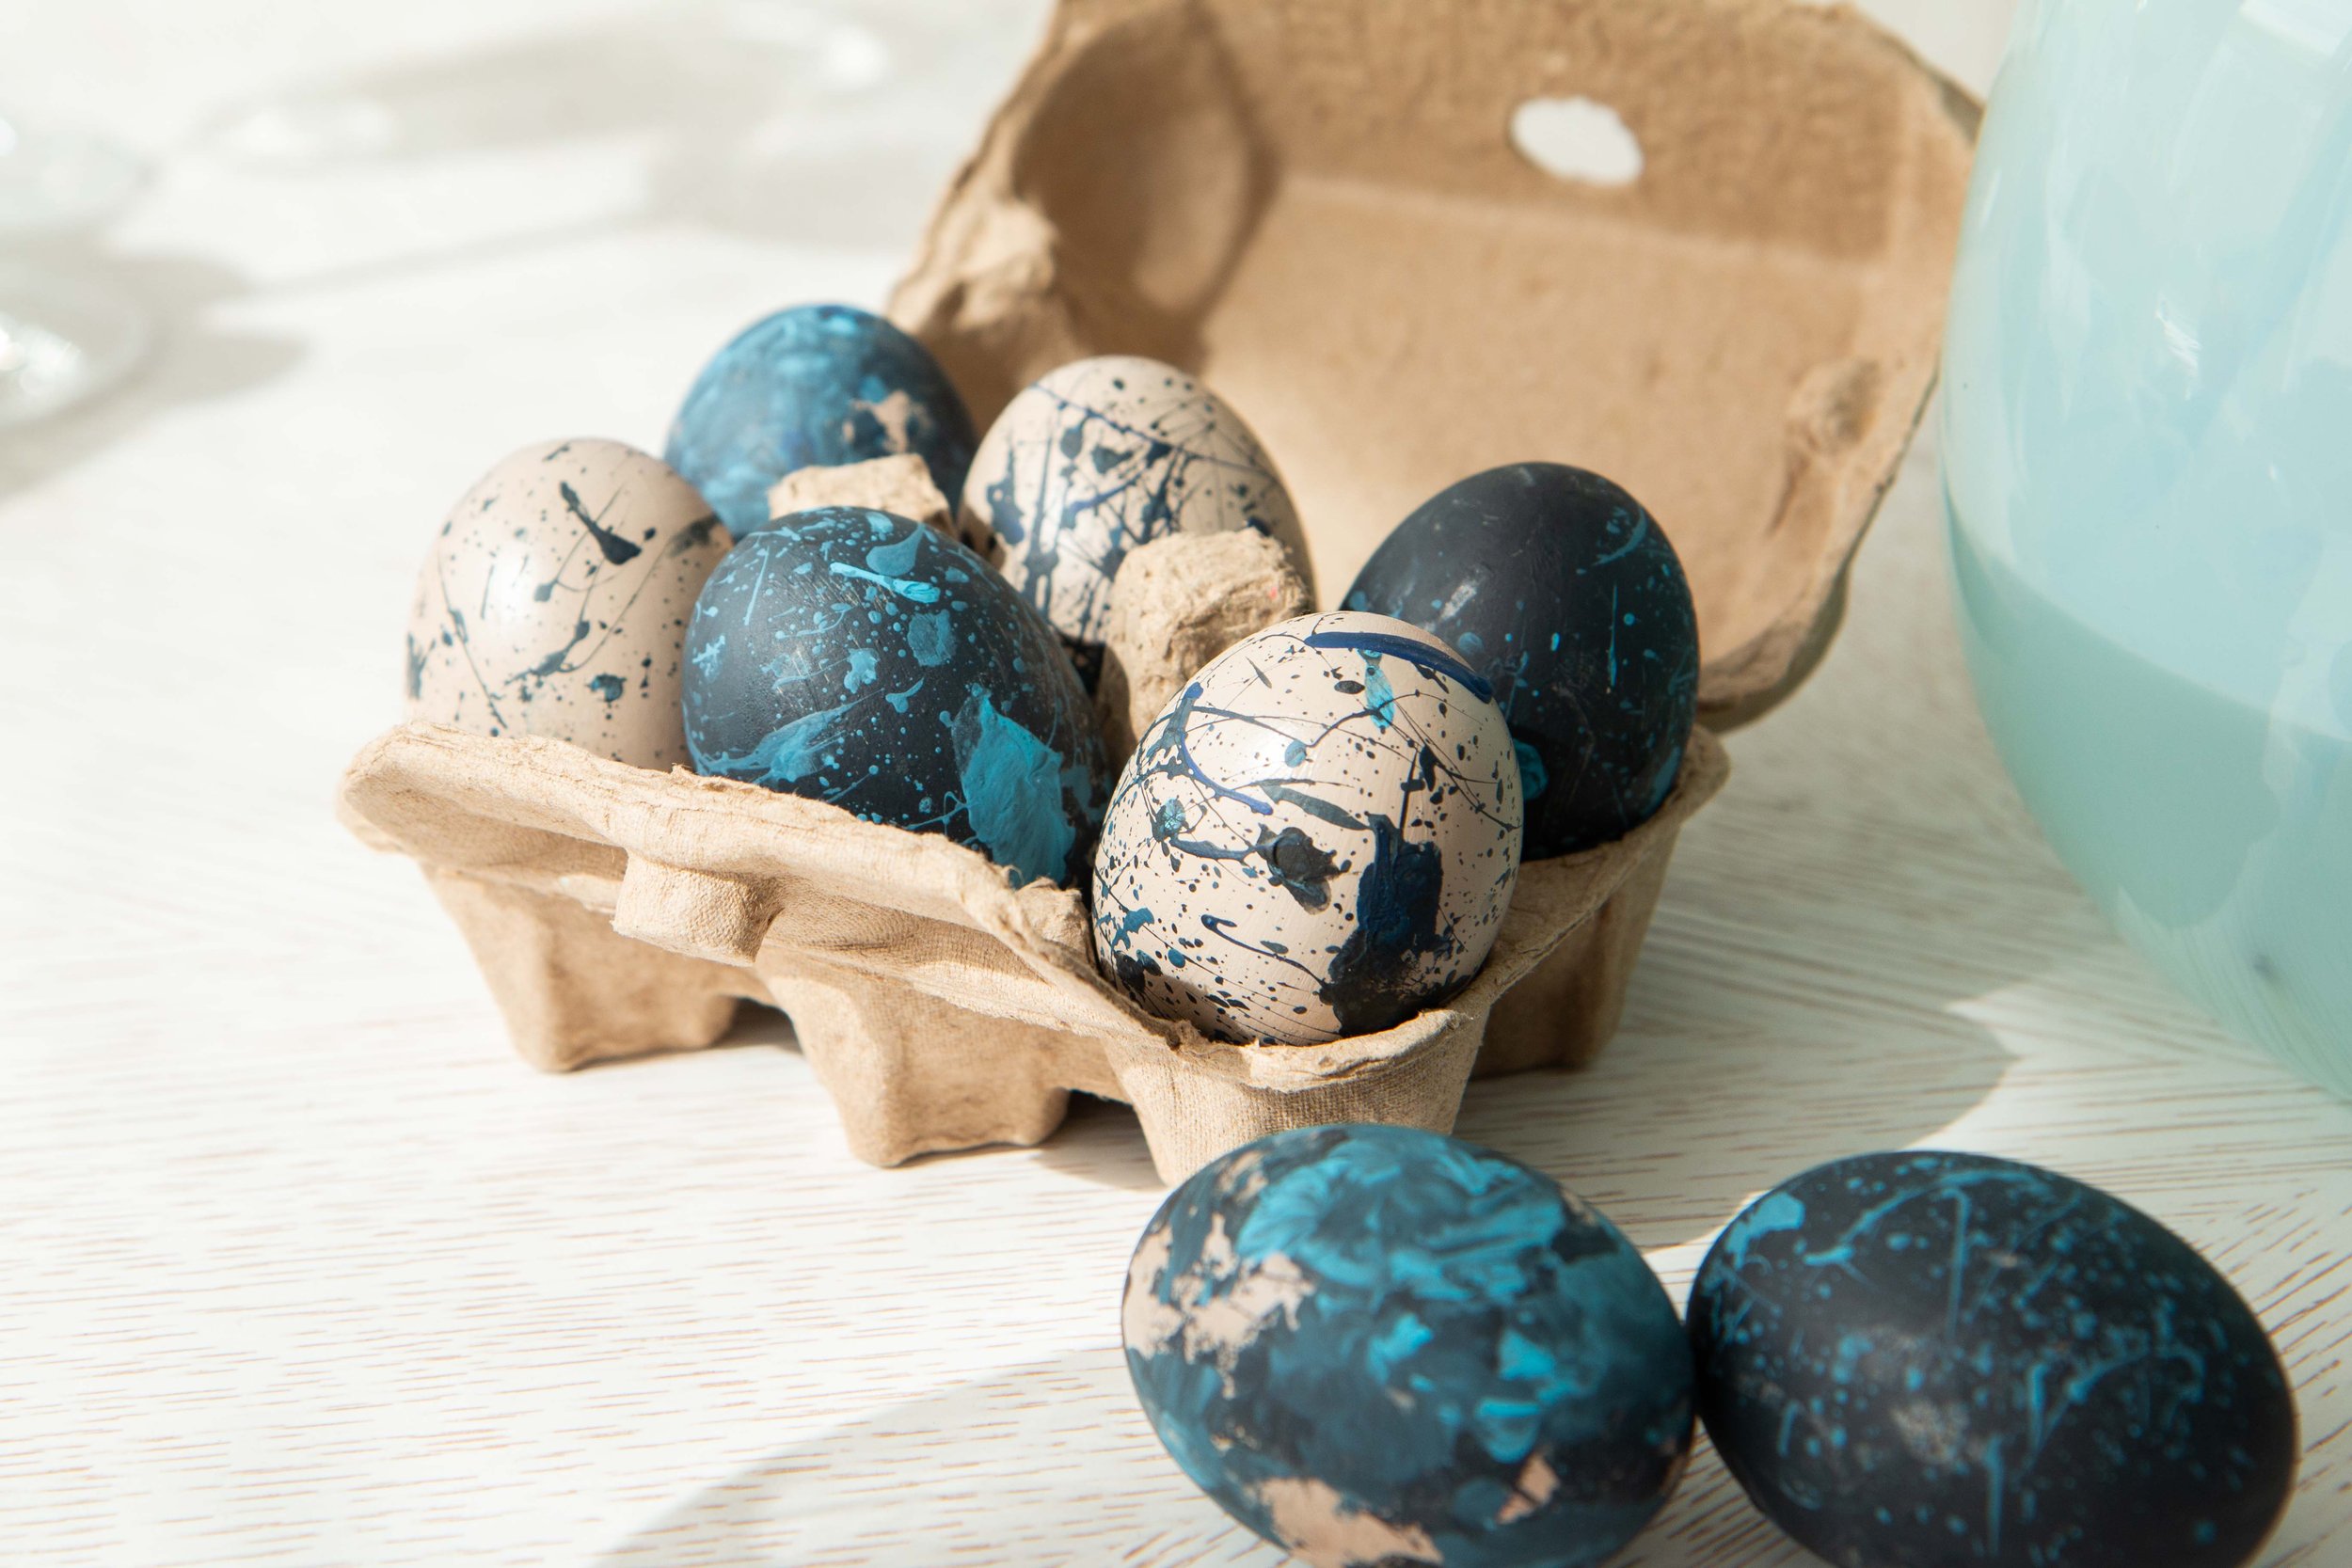
If you saw our Easter shoot from last year, you might remember these adorable painted wooden eggs. We decided to revive the eggs with a transformation to fit this year’s color palette. The great thing about buying wooden eggs is that they can be painted over and over and over again!
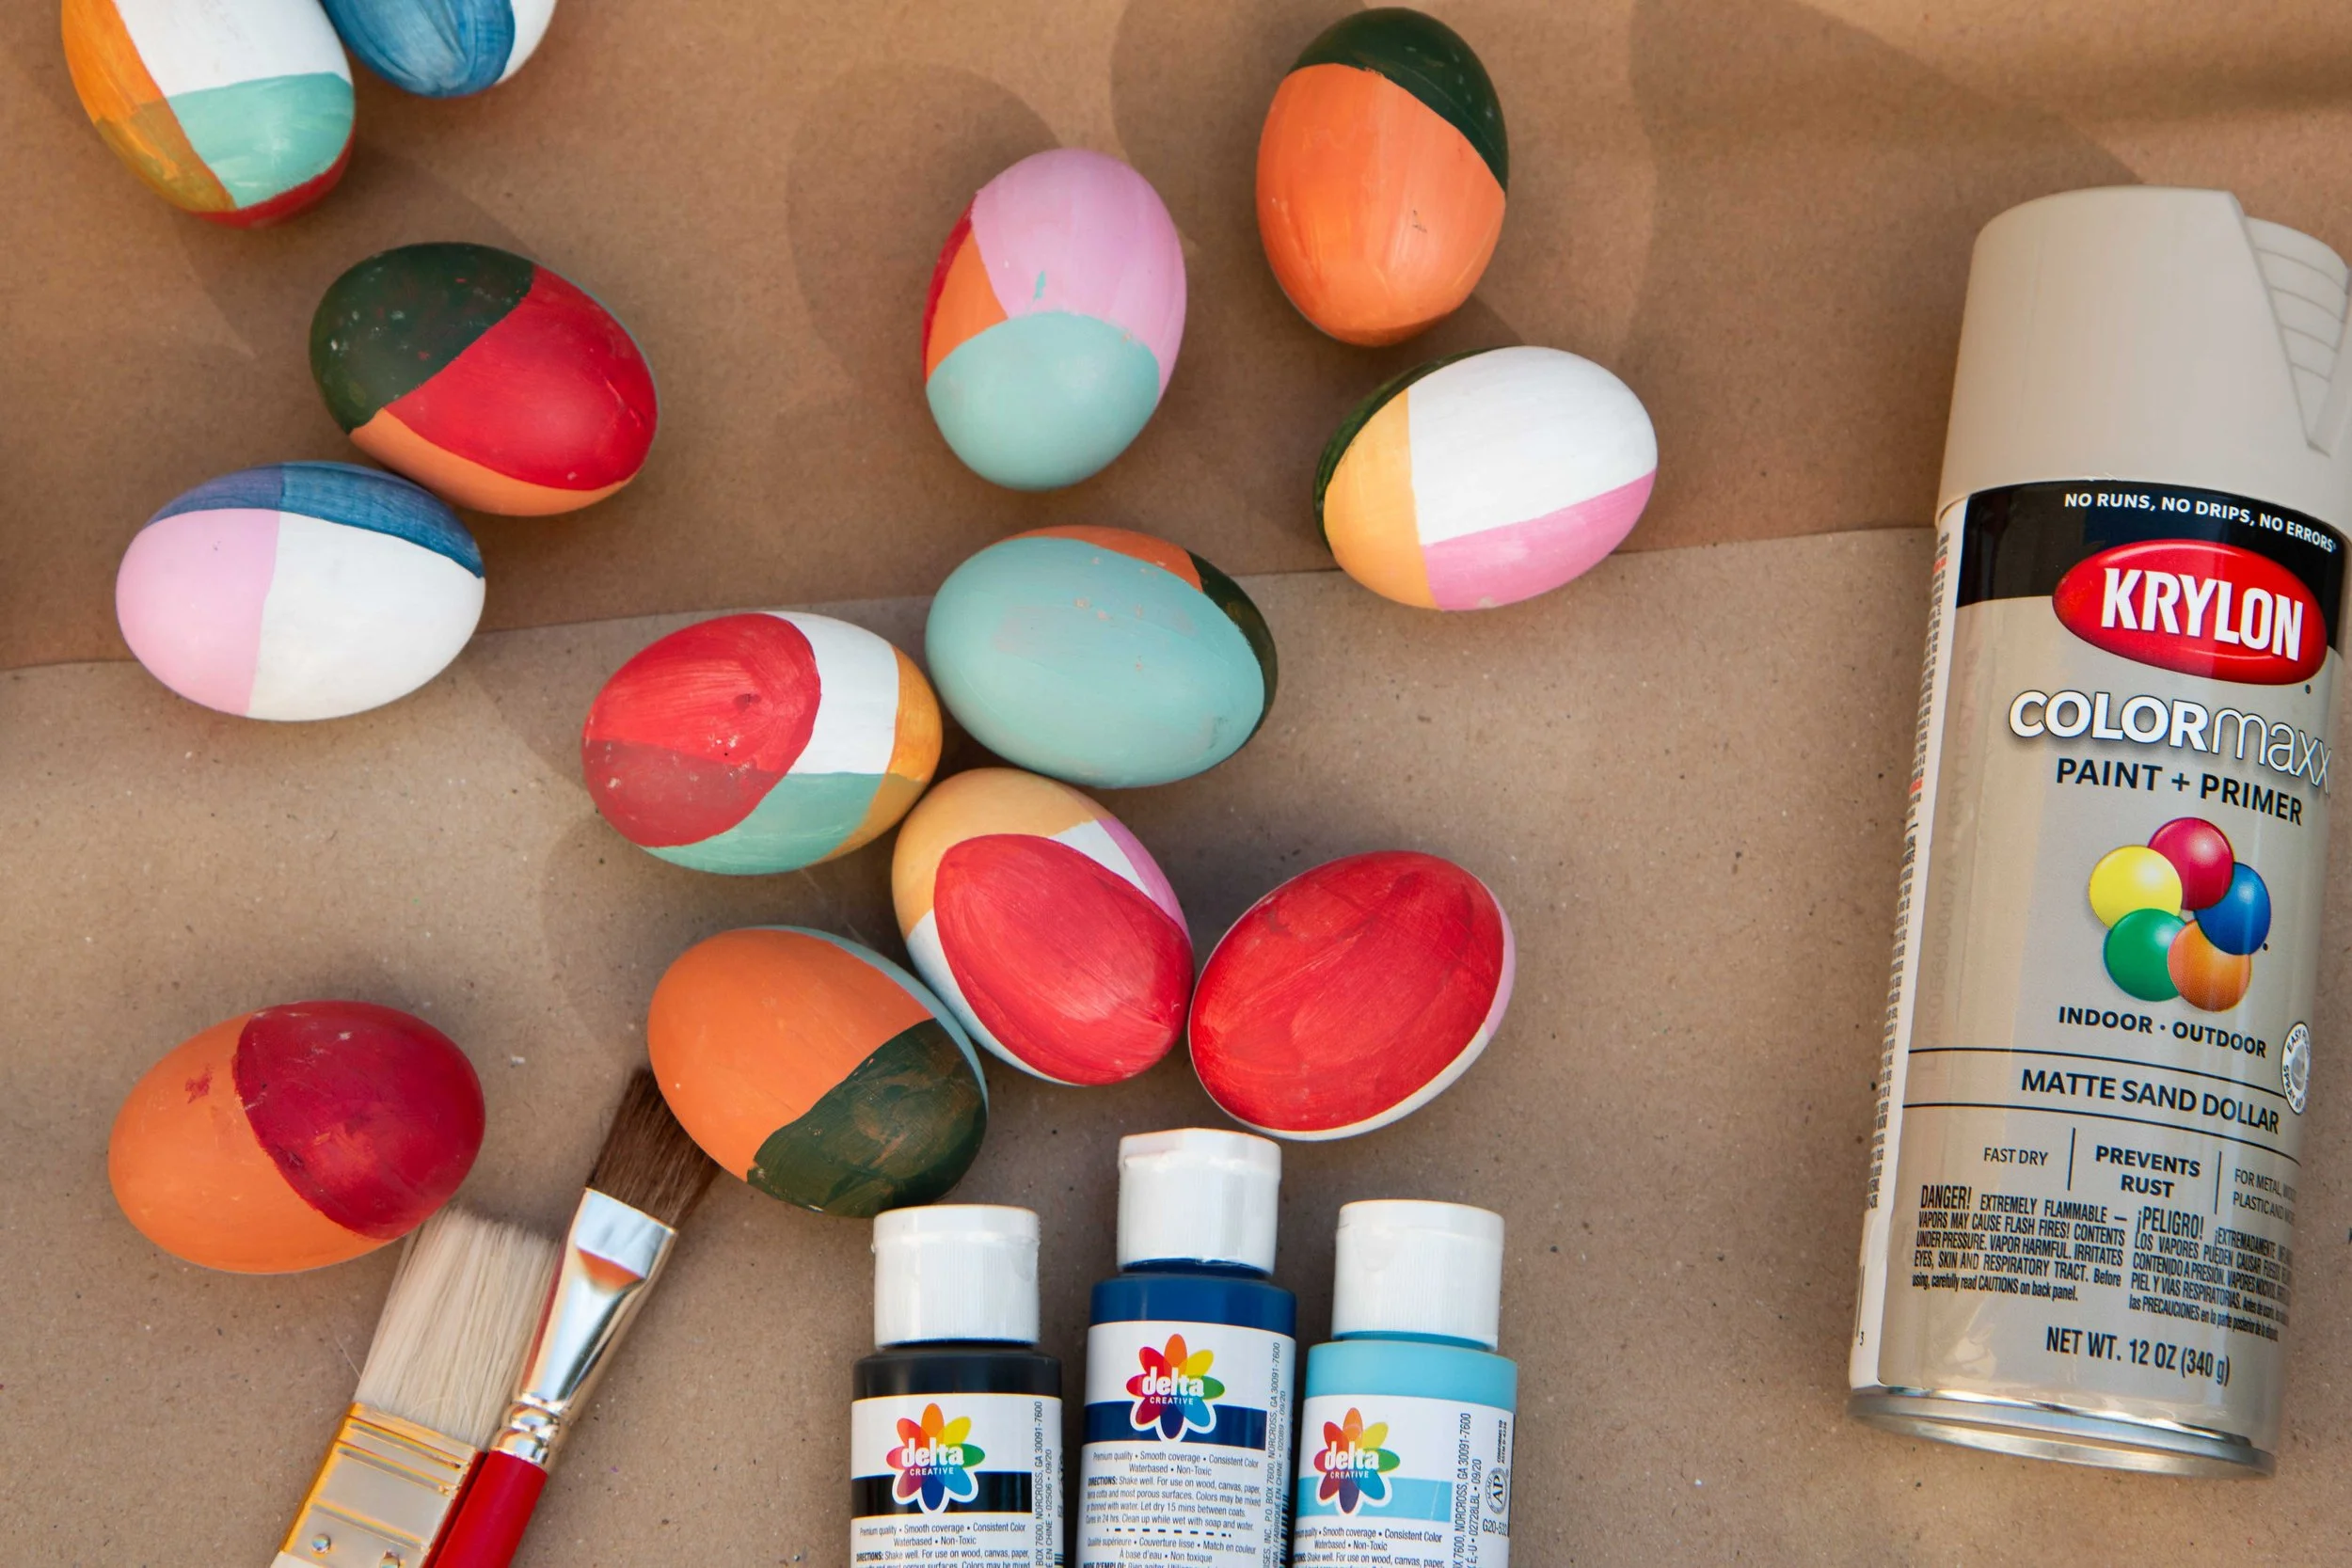
Supplies:
wooden eggs
spray paint
acrylic paint
brushes
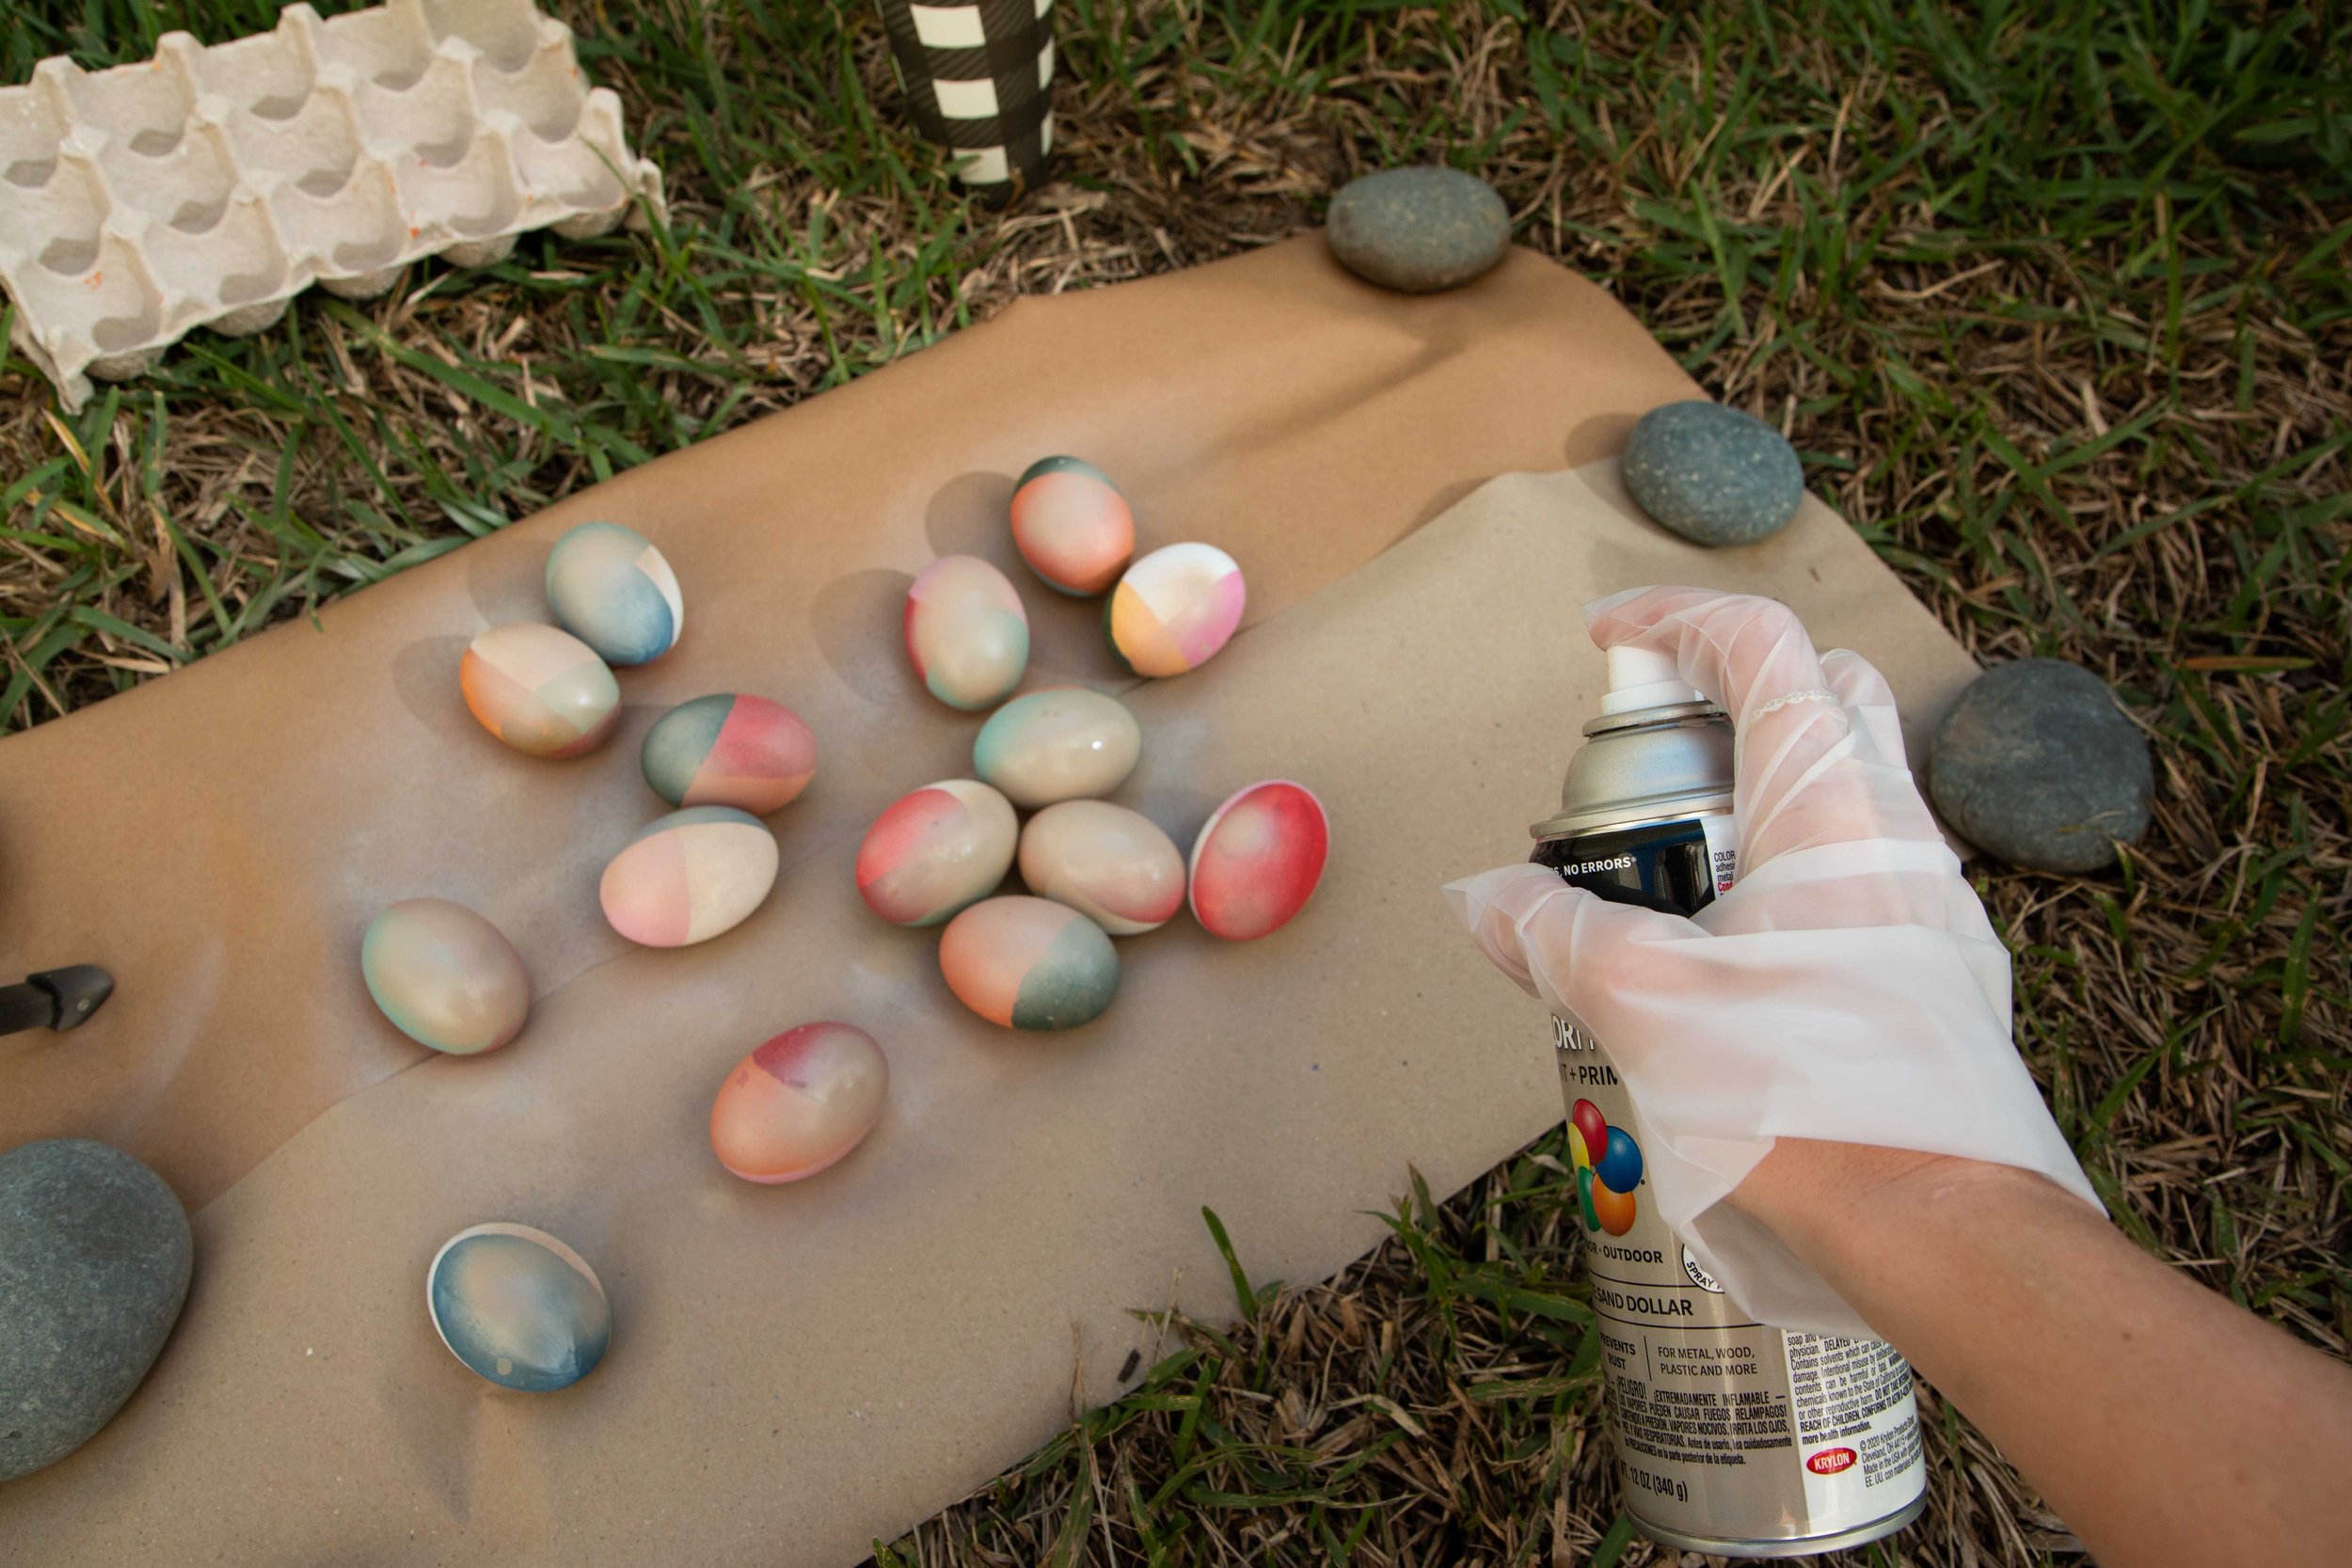
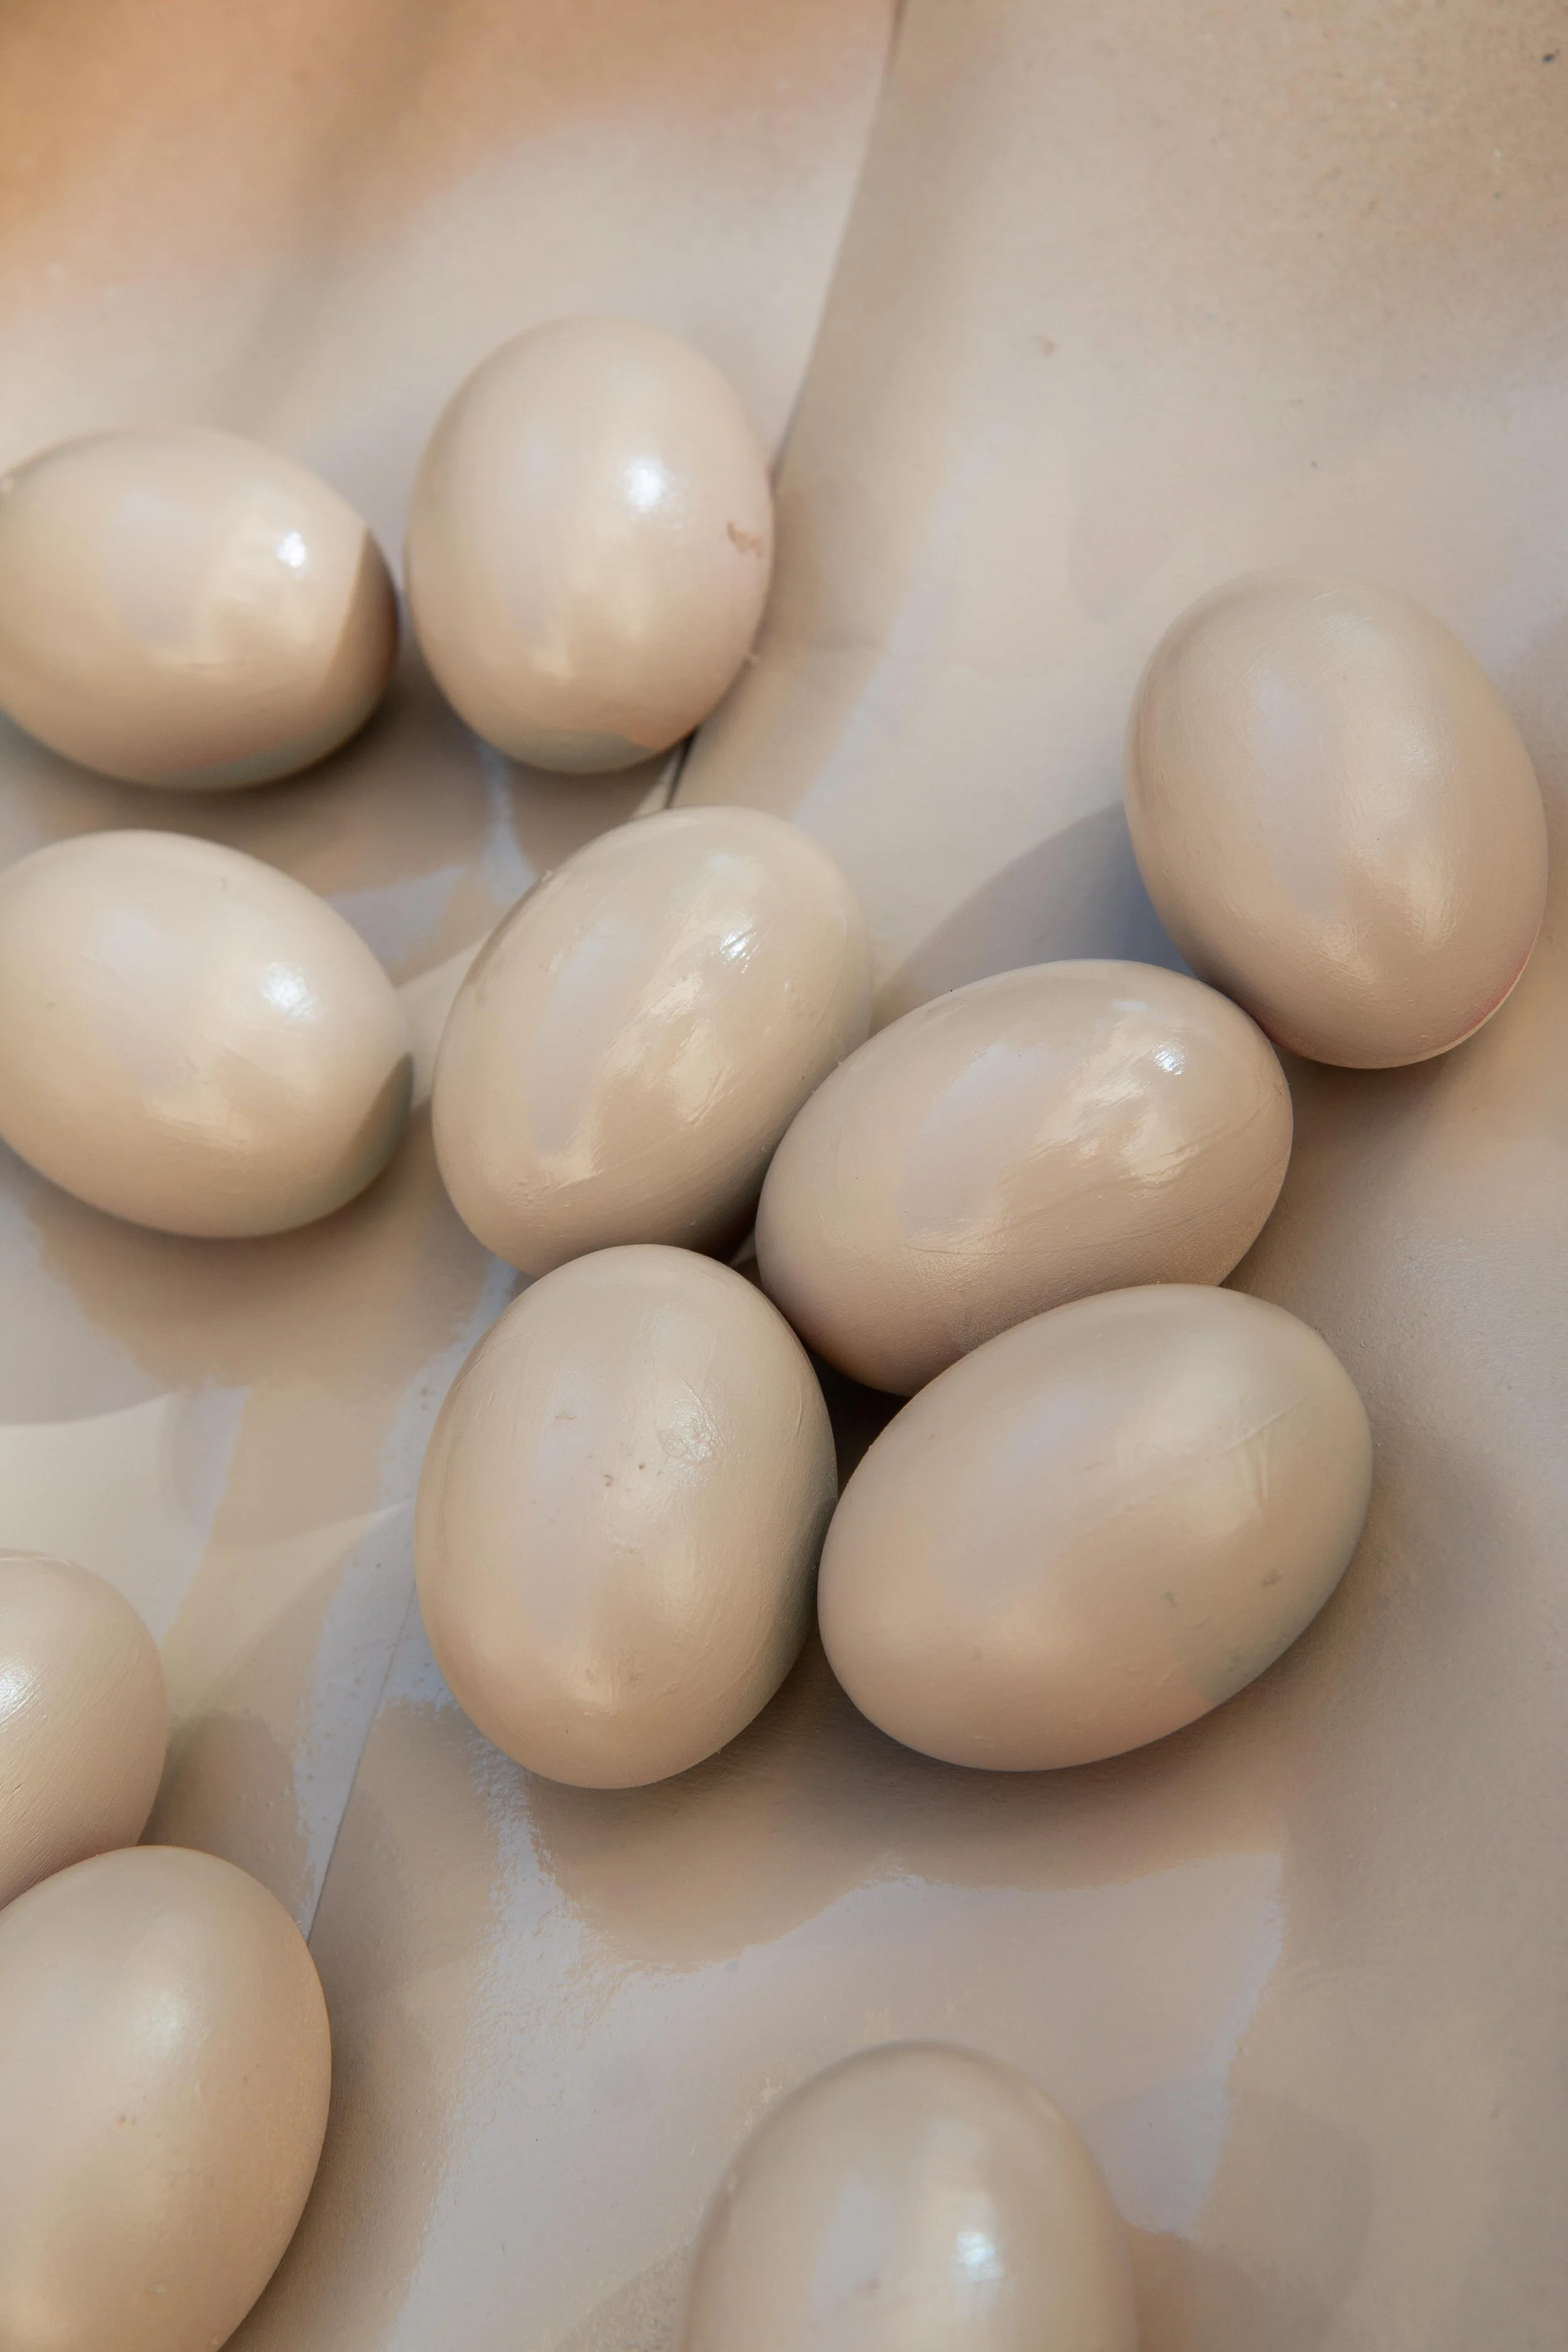
It was important to bring them back to a neutral base before I went ahead to splatter. I figured I could leave some eggs beige with blue splatter, and paint others blue. I ended up with a fun combination of eggs all using the same colors but that each looked unique and different from one another.
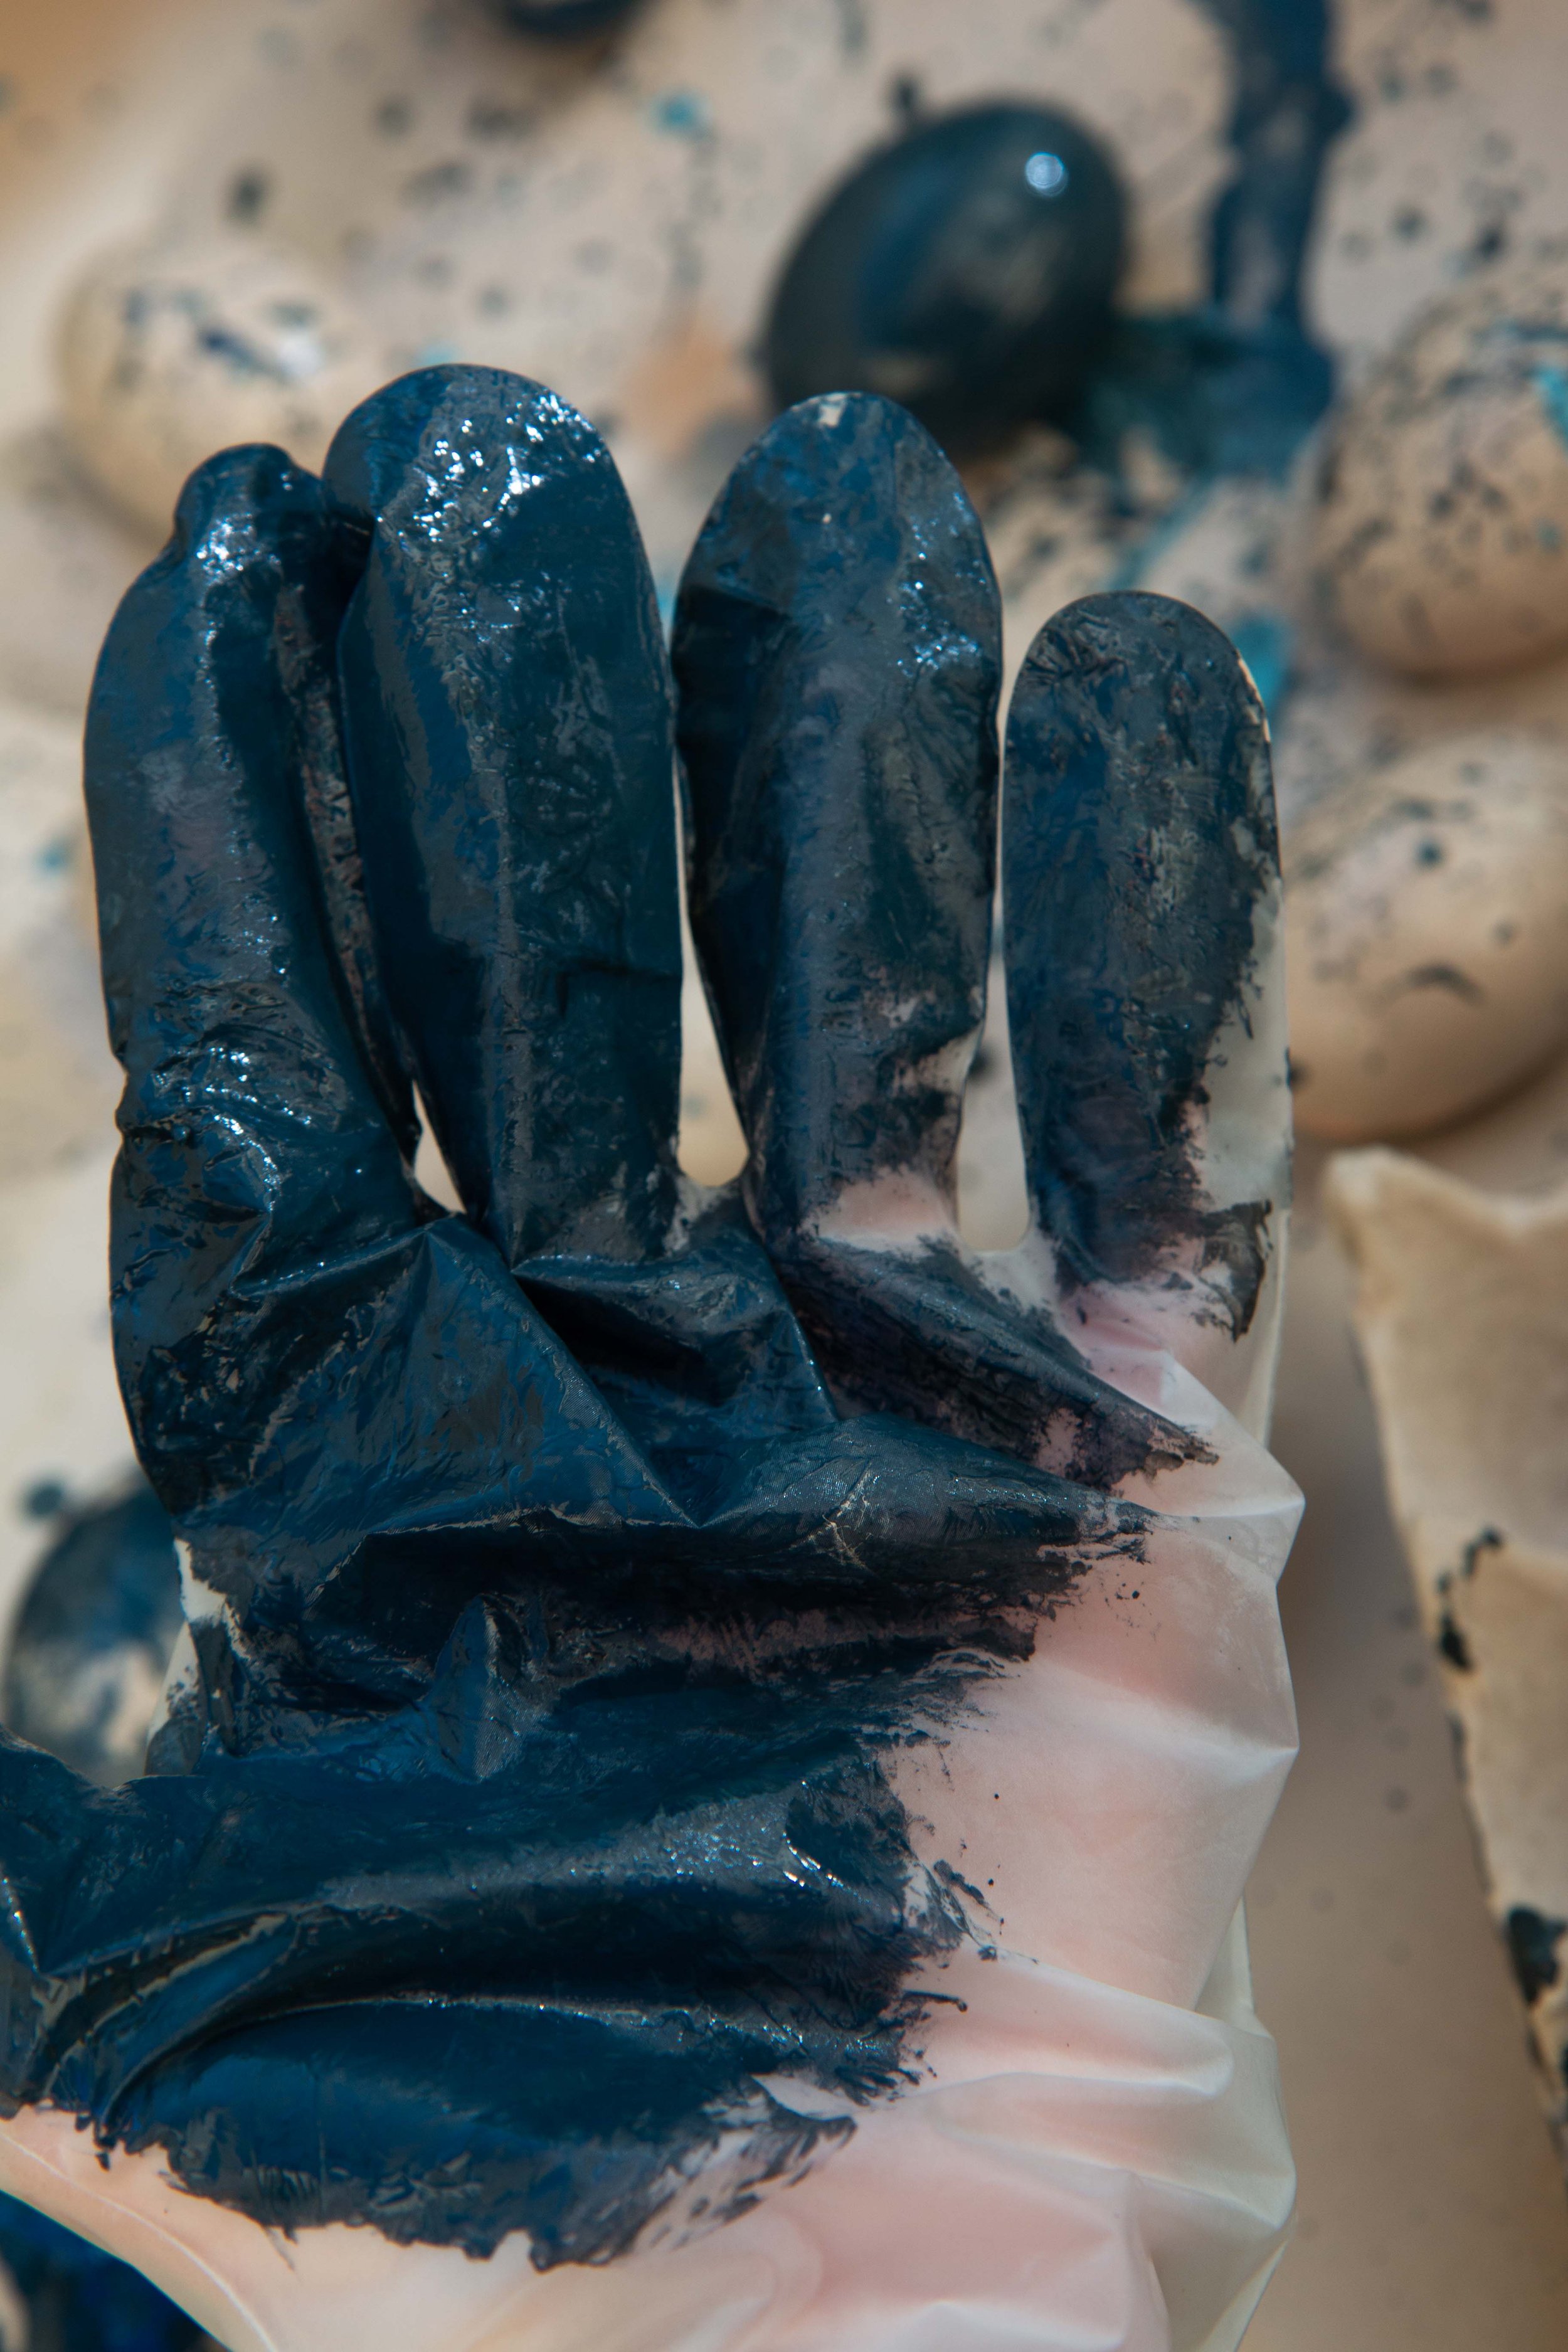
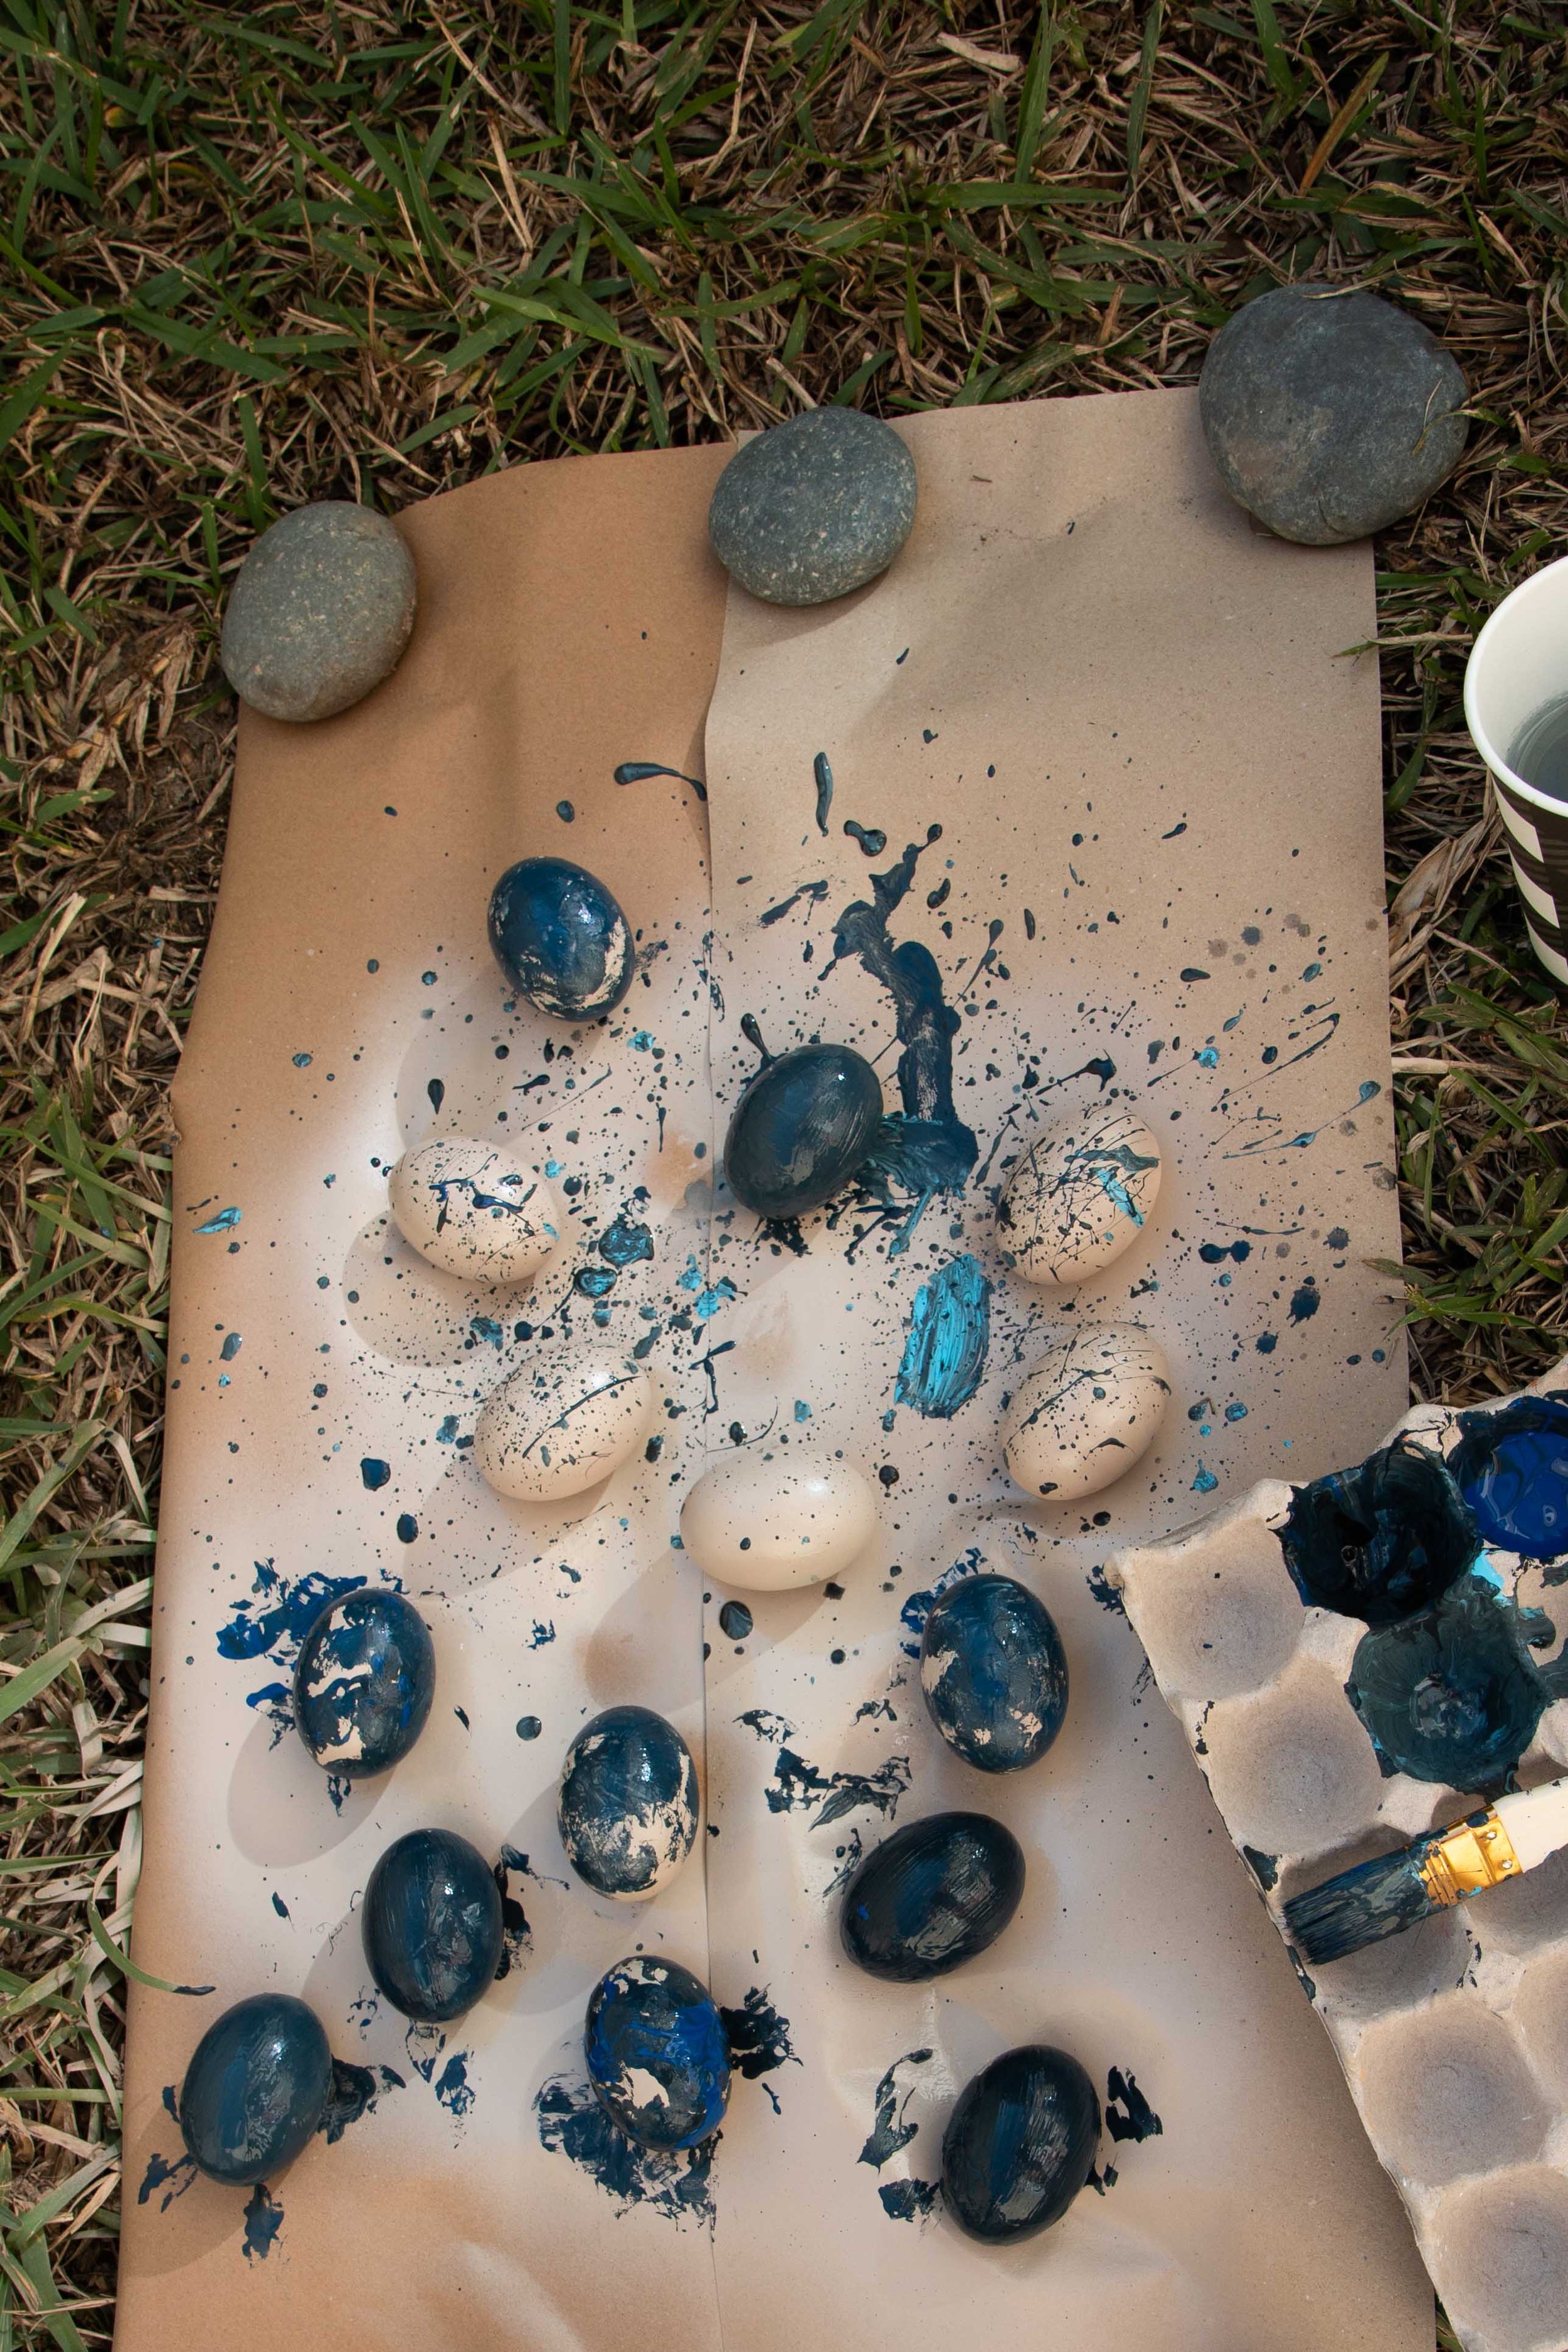
A main thing to keep in mind is to get enough paint on the brush to really get it to splatter when you throw it at the eggs. You might even need to add some water to loosen it up. I highly recommend doing this outside on paper like I did. Wear gloves to protect your hands and don’t be afraid to get messy!

They were such a simple yet beautiful addition to the table. While Easter eggs are typically a tradition for the kids in their baskets, this is a chic way to bring that motif back for your adult friends.